7
48HCDD24A2A6-0A0
G
0
Product Type
Product Series
Cooling Tons
1
Example:
Position: 2 3 4 5 6 7 8 9
10
11 12 13 14 15 16
17
18
Refrig. Systems Options
Heat Options
Sensor Options
Indoor Fan Options
Coil Options (RTPF) (Outdoor - Indoor - Hail Guard)
Voltage
Design Revision
Base Unit Controls
Intake / Exhaust Options
Service Options
Factory Assigned
Electrical Options
A = None
C = Non-Fused Disconnect
D = Thru-The-Base Connections
F = Non-Fused Disconnect and
Thru-The-Base Connections
G = Two-Speed Blower
J = Non-Fused Disconnect and
Two-Speed Blower
K = Through the basepan electrical
and Two-Speed Blower
M = non-Fused Disconnect and
Through the basepan electrical
and Two-Speed Blower
Enter Unit’s
Model Number:
THIS UNIT’S MODEL NUMBER
C12090A
Fig. 9 -- Model Number Nomenclature Example, 48HC Series
ADDITIONAL VFD INSTALLATION AND
TROUBLESHOOTING
Additional installation, wiring and troubleshooting
information for the VFD can be found in the following
manuals: “Variable Frequency Drive (VFD) Installation,
Setup and Troubleshooting Supplement.”
MOTOR
When replacing the motor, use the following steps. See
Fig. 10.
BLOWER PULLEY
V-BELT
MOTOR PULLEY
MOTOR
MOTOR MOUNTING
BRACKET BOLTS (4)
MOTOR MOUNTING
BRACKET (2)
JACK BOLT JAM NUT (2)
JACK BOLT (2)
C12034
Fig. 10 -- Replacing Belt Driven Motor
Replacing the Motor
Use the following steps to replace the belt--driven motor.
1. Turn off all electrical power to the unit. Use approved
lockout/tagout procedures on all electrical power
sources.
2. Remove cover on motor connection box.
3. Disconnect all electrical leads to the motor.
4. Loosen the two jack bolt jamnuts on the motor
mounting bracket.
5. Turn two jack bolts counterclockwise until motor
assembly moves closer to blower pulley.
6. Remove V--belt from blower pulley and motor pulley.
EQUIPMENT DAMAGE HAZARD
Failure to follow this CAUTION can result in
premature wear and damage to equipment.
Do not use a screwdriver or a pry bar to place the new
V--belt in the pulley groove. This can cause stress on
the V--belt and the pulley resulting in premature wear
on the V--belt and damage to the pulley.
CAUTION
7. Loosen the four mounting bracket bolts and lock
washers.
8. Remove four bolts, four flat washers, four lock
washers and four nuts attaching the motor mounting
plate to the unit. Discard all lock washers.
9. Remove motor and motor mounting bracket from
unit.
10. Remove four bolts, flat washers, lock washers and
single external--tooth lock washer attaching motor to
the motor mounting plate. Discard all lock washers
and external--tooth lock washer.
11. Lift motor from motor mounting plate and set aside.
12. Slide motor mounting band from old motor.
13. Slide motor mounting band onto new motor and set
motor onto the motor mounting plate.
14. Remove variable pitch pulley from old motor and
attach it to the new motor.
15. Inspect variable pitch pulley for cracks and wear.
Replace the pulley if necessary.
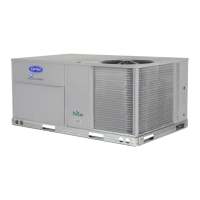
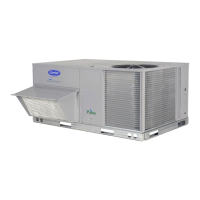
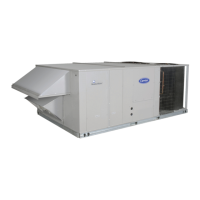
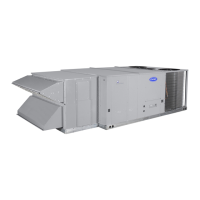
48HC
 Loading...