ZS duct sensors
ZS Sensors Carrier Proprietary and Confidential CARRIER CORPORATION ©2017
Installation Guide All rights reserved
21
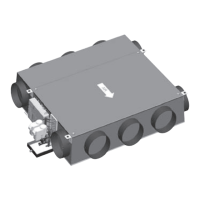
1 Determine the best location on the duct for the sensor. Mount the sensor in the middle or top of the duct as
shown below so that the flexible probe can enter the duct in a convenient place.
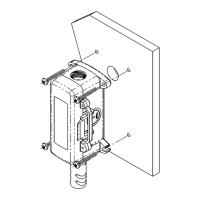
2 Unlatch and open the hinged door on the sensor's enclosure.
3 Remove the sensor's knockout that is appropriate for your application. The knockouts for indoor versus
outdoor applications are noted inside the enclosure. When you wire the sensor, you will pull the Rnet
communication cable through this hole. See To wire a ZS duct sensor (page 22).
4 Close the enclosure door until it latches.
5 If mounting the sensor to the outside of the duct, drill a .38 in. (.96 cm) hole in the duct for the sensor probe.
Insert the sensor probe into the hole by unrolling it into the duct carefully to avoid kinking it.
6 Push the sensor enclosure against the duct and mark the location of each screw hole in the 4 corners of the
enclosure.
7 Pull the enclosure away from the duct, and a drill 1/8 inch pilot screw hole where you made each mark in the
previous step.
8 Push the enclosure against the duct, and then use #8 sheet metal screws to attach the enclosure to the duct.
You must use a minimum of 2 mounting screws in opposite corners of the enclosure.
9 Tighten the screws so that the foam backing on the enclosure is depressed to prevent air leakage, but do not
overtighten or strip the screw threads.
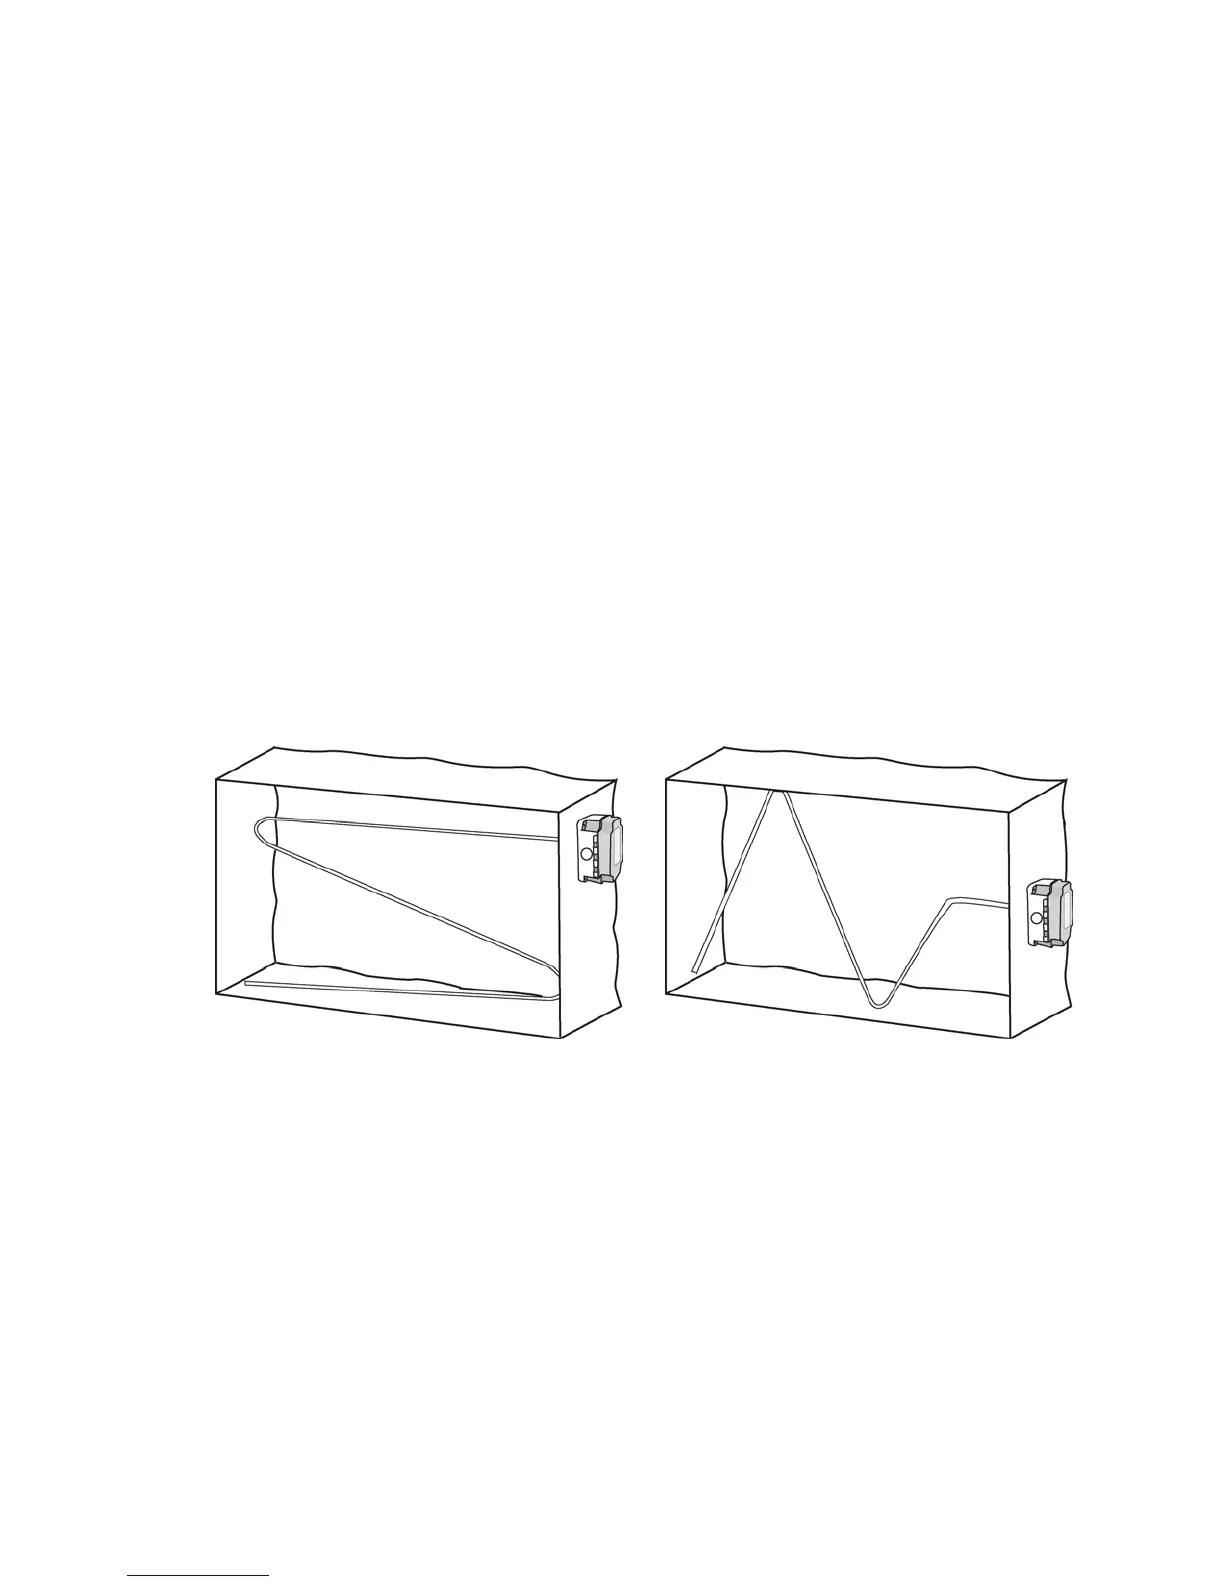
10 Serpentine the duct with the sensor probe at least twice across the stratified air in the duct to achieve the
best average temperature reading. At the turns, use the provided cable ties to attach the sensor probe to the
duct.
Best for vertical stratification
Best for horizontal stratification
 Loading...