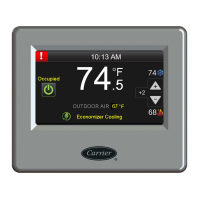
ZS outdoor air temperature sensors
ZS Sensors Carrier Proprietary and Confidential CARRIER CORPORATION ©2017
Installation Guide All rights reserved
36
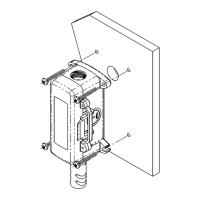
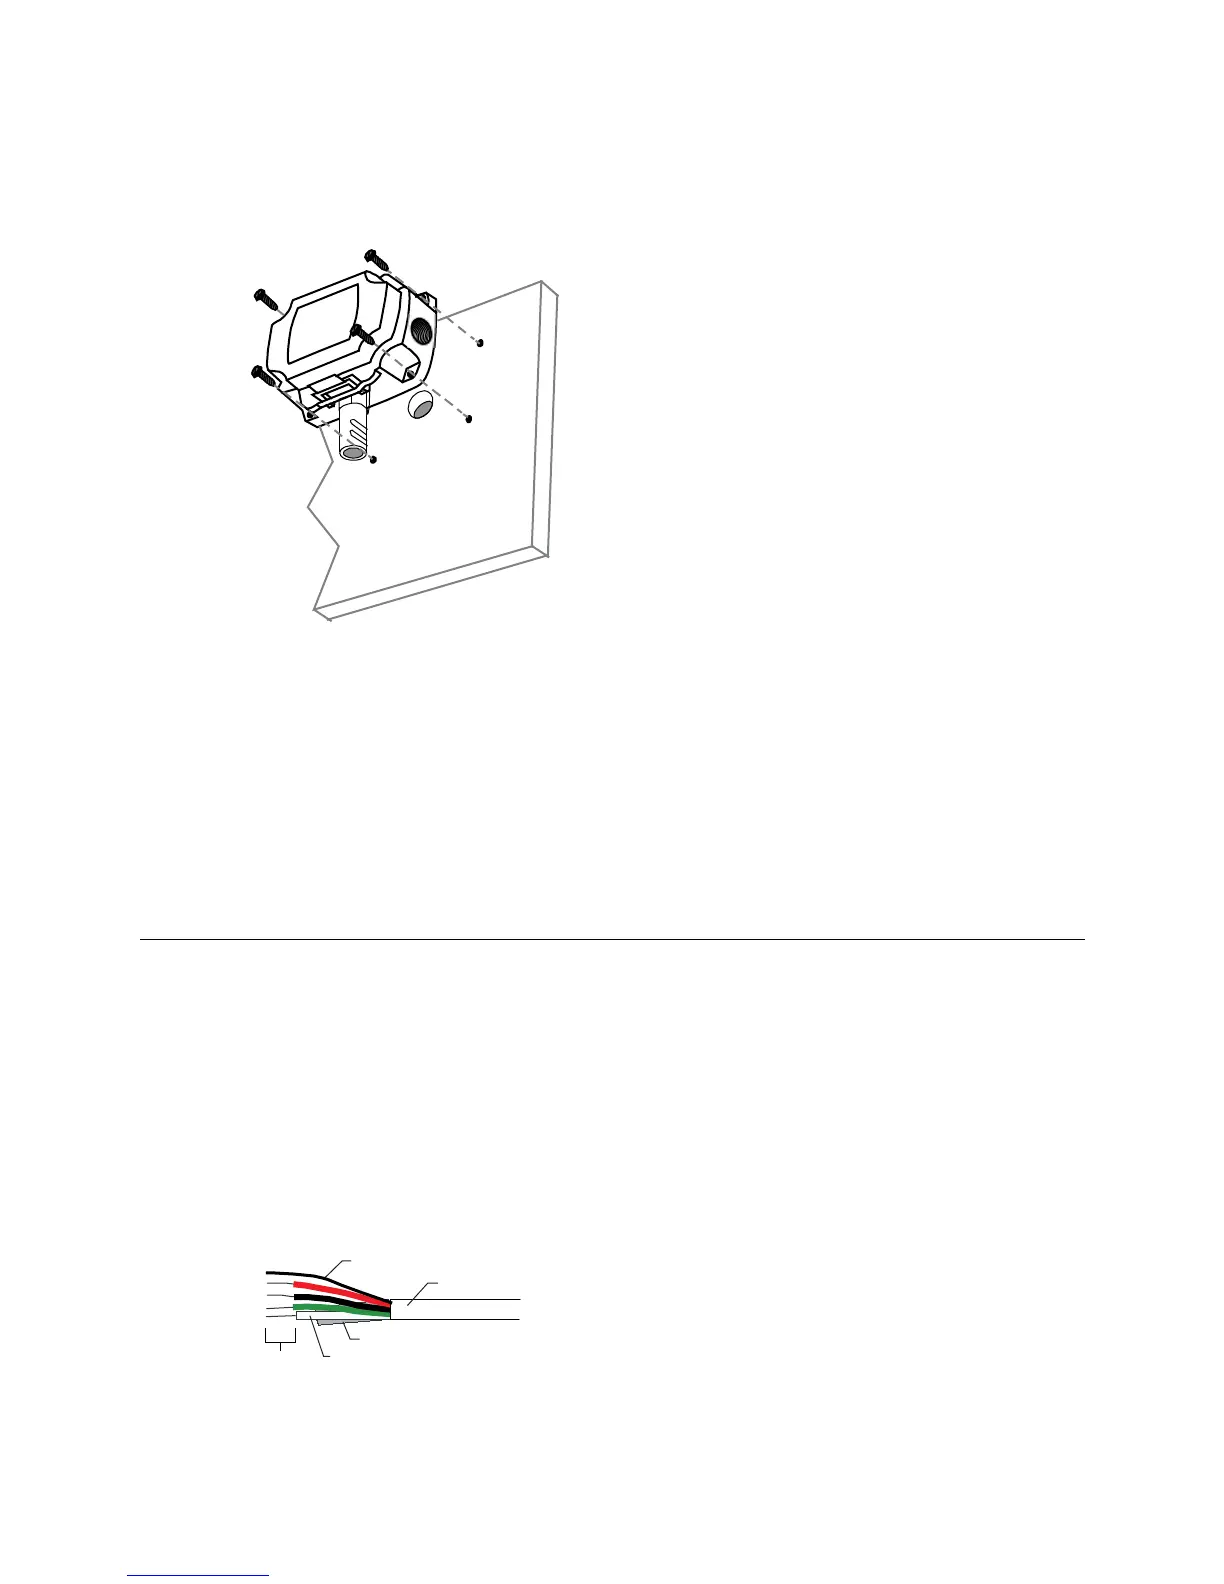
2 Drill the mounting holes and mount as shown below with the probe pointing down. Tighten the mounting
screws enough to ensure that the foam backing compresses to about 50% of its thickness to create a seal
against the wall surface.
3 Unlatch and open the hinged door on the sensor's enclosure.
4 Route the Rnet cable into the back of the enclosure, and then connect the wiring as described in To wire a ZS
outside air sensor (page 36).
5 After wiring the sensor, caulk the wiring hole.
6 Close the enclosure door until it latches. Secure with provided cover screws.
To wire a ZS outdoor air sensor
NOTES
• Do not drill into the sensor's watertight enclosure which will violate the NEMA and/or IP rating.
• Use caulk or Teflon tape for your conduit entries to maintain the appropriate NEMA or IP rating for your
application.
The Rnet cable is wired to the controller. The shield wire and the ground wire should be inserted
into the controller's GND terminal.
1 Turn off the controller's power.
2 Partially cut, then bend and pull off the outer jacket of the Rnet cable(s). Do not nick the inner insulation.
Inner insulation
Outer jacket
Foil shield
.25 in.
(.6 cm)
Shield wire
 Loading...