ZS pipe clamp-on temperature sensor
ZS Sensors Carrier Proprietary and Confidential CARRIER CORPORATION ©2017
Installation Guide All rights reserved
25
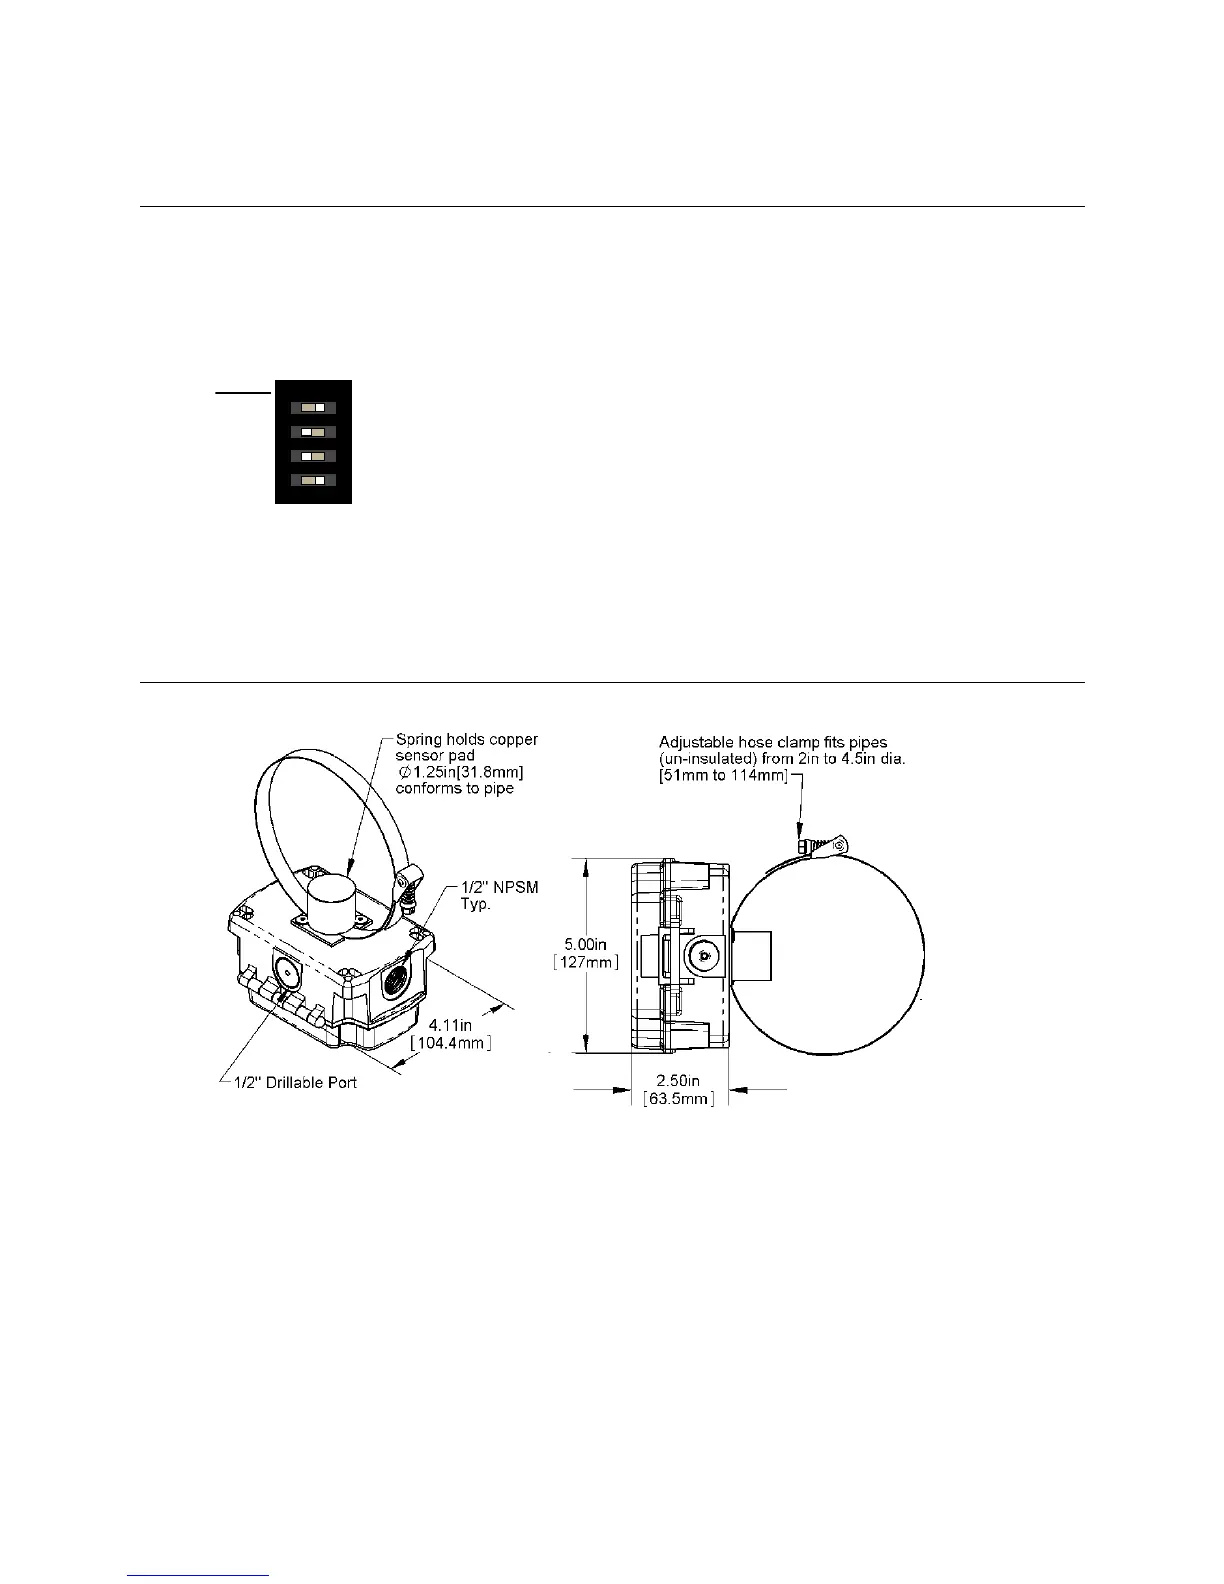
To address a ZS pipe temperature sensor
Each ZS Sensor on an Rnet must have a unique address, but addresses do not have to be sequential.
Open the hinged cover on the sensor enclosure, and then use the DIP switches to set an address from 0 to 14. (1
is factory default.) Each DIP switch has the value shown in the figure below. Turn on as many DIP switches as you
need so that their total value equals the address.
DIP
S
witch
value
1
ON
2
4
8
1 2 3 4
DIP switches 1 and 4 above
are on. Their values (1 + 8) total 9, so
the sensor's address is 9.
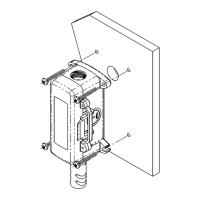
To mount a ZS pipe temperature sensor
1 Unlatch and open the hinged door on the sensor's enclosure.
2 Remove the sensor's knockout that is appropriate for your application. The knockouts for indoor versus
outdoor applications are noted inside the enclosure. When you wire the sensor, you will pull the Rnet
communication cable through this hole. See To wire a ZS pipe temperature sensor (page 26).
3 Close the enclosure door until it latches.
4 If the pipe has insulation, remove a 2 in. (5.08 cm) strip around the circumference of the pipe where the
sensor will be located. The copper sensor plate and stainless steel strap must directly contact the metal or
plastic pipe. Nothing should be between the copper plate and the bare pipe.
 Loading...