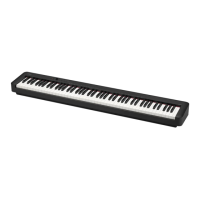
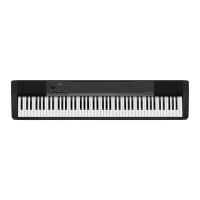
EN-35
Using Auto Accompaniment
■ Synchro Stop
With synchro stop, Auto Accompaniment stops as soon as
you release all of the keys on the accompaniment keyboard.
The Digital Piano automatically enters synchro start standby
at this time.
1.
Press bl SYNCHRO STOP.
This enters synchro stop standby.
2.
While Auto Accompaniment is sounding,
release all of the accompaniment keyboard
keys at the point where you want it to stop.
This stops Auto Accompaniment, and the Digital Piano
automatically enters synchro start standby.
• To exit synchro stop standby, press bl SYNCHRO STOP.
■ Changing Auto Accompaniment Speed (Tempo)
See “Changing the Tempo Setting” (page EN-18).
■ Adjusting the Accompaniment Volume
Use the procedure below to adjust the balance between what
you are playing on the keyboard and the volume of the Auto
Accompaniment.
See function number 21 (AcompVol) in the “Function Setting
Item List” (page EN-46).
Auto Harmonize lets you add harmony to melody notes you
play with your right hand for more melodic depth. You can
select any one of 12 Auto Harmonize types.
• A single button is used to control auto harmonize and the
arpeggiator (page EN-19). Because of this, the arpeggiator
cannot be used while auto harmonize is in use.
■ To turn on Auto Harmonize
1.
Press br RHYTHM.
2.
If there is no ACCOMP indicator displayed,
press bn [ACCOMP] to display it.
3.
Press cm A.HAR./ARPEG. and confirm that
the A.HAR. indicator is displayed.
• Fingering a chord on the accompaniment keyboard as
you play the melody on the Upper part keyboard will
add chords to your melody play.
4.
To turn Auto Harmonize off, press cm A.HAR./
ARPEG..
This causes the A.HAR. indicator to disappear.
• If the ARPEG. indicator is displayed instead of the
A.HAR. indicator in step 3 of the above procedure, you
will need to change the function assigned to the
button.
Use the operation under “Configuring Function
Settings” (page EN-45) to select “1 A.Har.” for function
number 12 (BtnAsign) in the “Function Setting Item
List” (page EN-46).
Using Auto Harmonize