191
Application systems
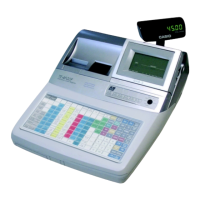
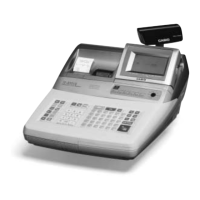
TE-3000S/4000F/4500F Dealer's Manual
Application systems
Scanning PLU
You can register items by scanning.
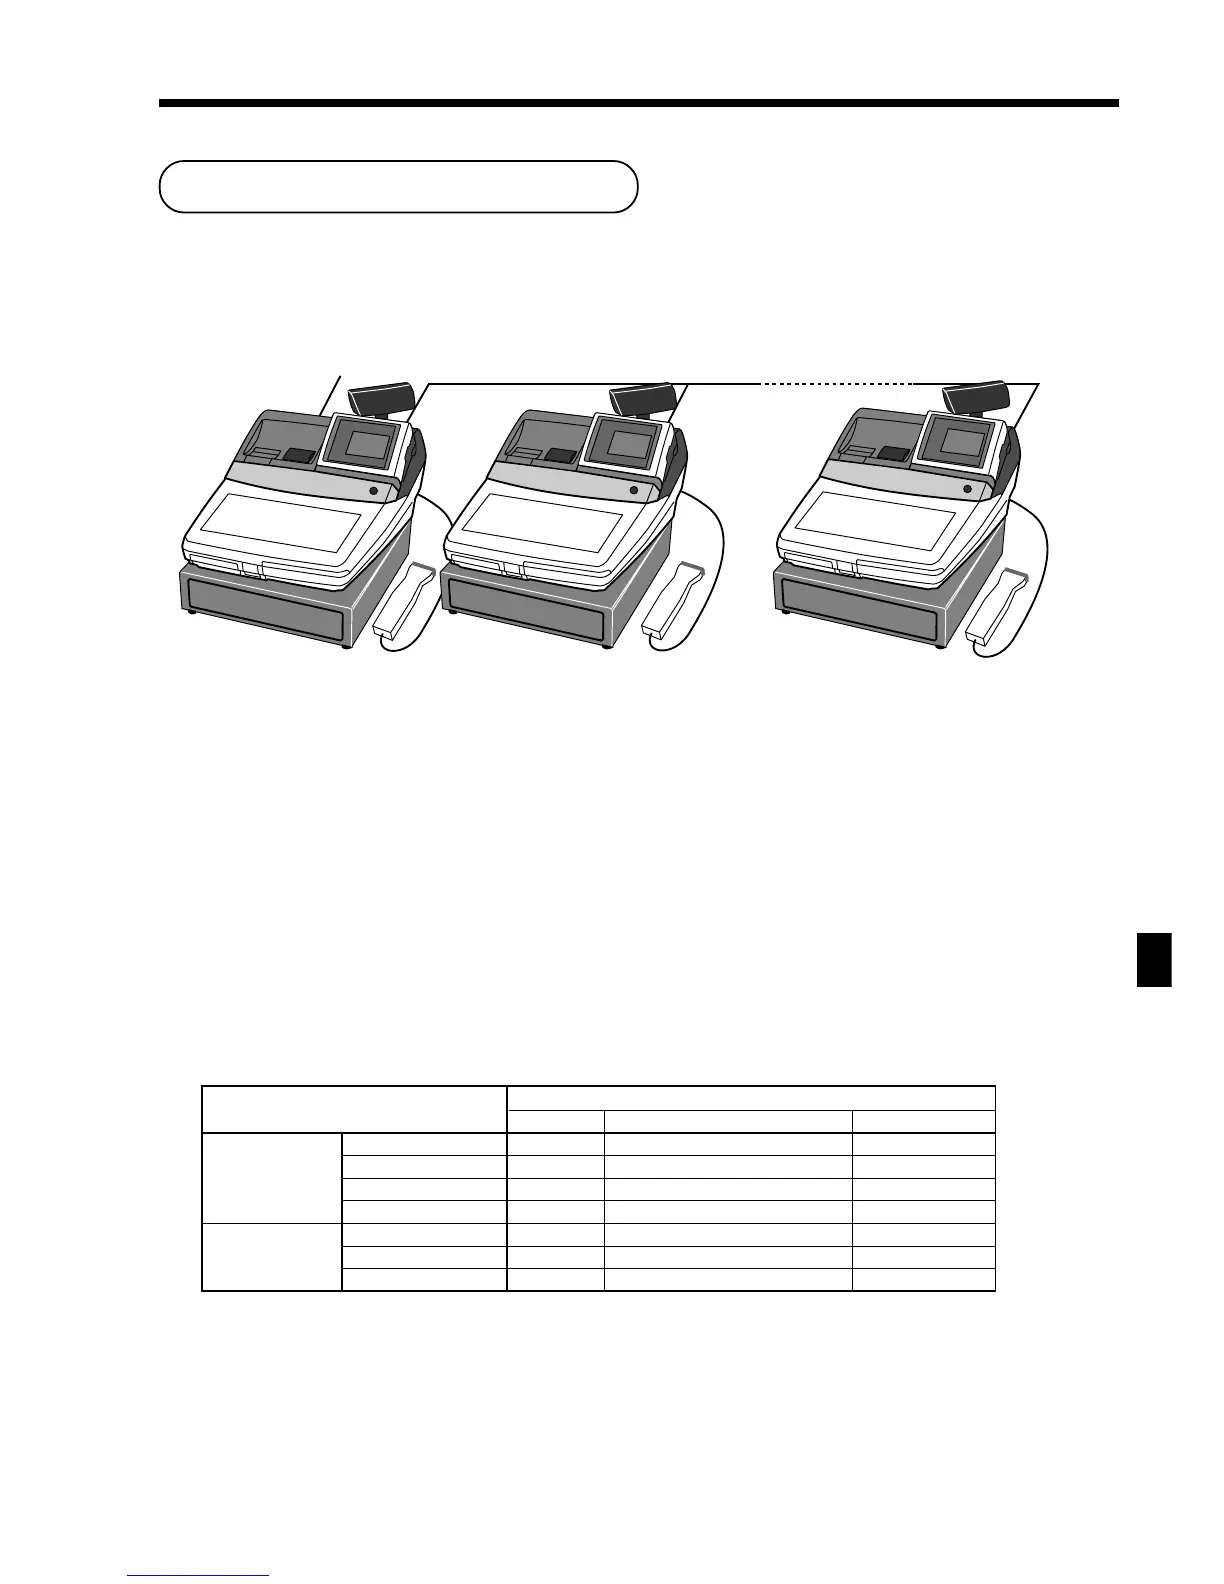
System configuration of the scanning PLU system
•Maximum 4 terminals
• Each terminal has its own scanning PLU files.
• Scanning PLU files (such as scanning PLU file, batch maintenance PLU file, not found PLU file, not found PLU mainte-
nance file and PLU direct maintenance file) are necessary to all terminals connected in the same inline (cluster).
Setup
1. After connecting a barcode scanner, program I/O parameter table to fit the scanner.
2. Allocate scanning PLU function keys (such as <OBR>, <One touch NLU>, <PRICE CHANGE>, and <PRICE IN-
QUIRY> ). If you use multi price, allocate <PRICE SHIFT> too.
3. Allocate scanning PLU files and non-PLU table file.
4. Program the non-PLU table to suit your scanning system.
5. Broadcast the programs above to all of the terminals of the cluster and flag clear all terminals.
6. Program batch maintenance PLU file to add items and broadcast it to all of the terminals.
7. Activate the batch maintenance PLU file.
Barcode system
Input method
Scanning PLU code Scanner OBR code <OBR> One touch NLU
EAN-13 (JAN-13) ✔ 13 digits with check digit ✔
PLU type
EAN-8 (JAN-8) ✔ 8 digits with check digit ✔
UPC-A ✔ 11 digits without check digit ✔
UPC-E ✔ 6 digits without check digit ✔
EAN-13 (JAN-13) ✔ 13 digits with check digit ✔
Non PLU type EAN-8 (JAN-8) ✔ 8 digits with check digit ✔
UPC-A ✔ 11 digits without check digit ✔
PC or MODEM
Inline
Max. 4 terminals
Master
Satellite 1
Satellite 3