OWNER’S MANUAL PAGE 23
Now do the same for the back of the wheel, running the tape just above the seat. The
rear measurement should be no more than 1/16” greater than the front measurement.
It's very important to get this right…if you have a quarter inch of toe your tires will wear
out VERY quickly and handling performance will be degraded. Proper toe-in will also
affect rolling efficiency. Too much toe-in (greater than 1/16” or toe-out where the front
of wheel is wider than the rear) are to be avoidable as either incorrect setting will
significantly reduce rolling efficiency.
TIP: The toe should be set by your Catrike dealer as part of the original assembly
setup. Once properly adjusted and set it should stay set in place. If you notice
increased rolling resistance or excessive tire wear you should ask your Catrike
dealer to check the alignment or check it yourself using the procedure described
above.
Brake cable routing
This is done by threading the cable through the brake lever and fitting the small metal
cylinder on the end into the recess in the lever. Screw the barrel adjusters on the
bottom of the levers almost all of the way in (they'll be used later to take up slack during
brake adjustment). The procedure for the left and right brake is the same. Slide the
brake cable housing on. You should have eight cable ferrules. Four are for the brake
cable housings. Thread the cable through a ferrule, then through the housing, then
through another ferrule.
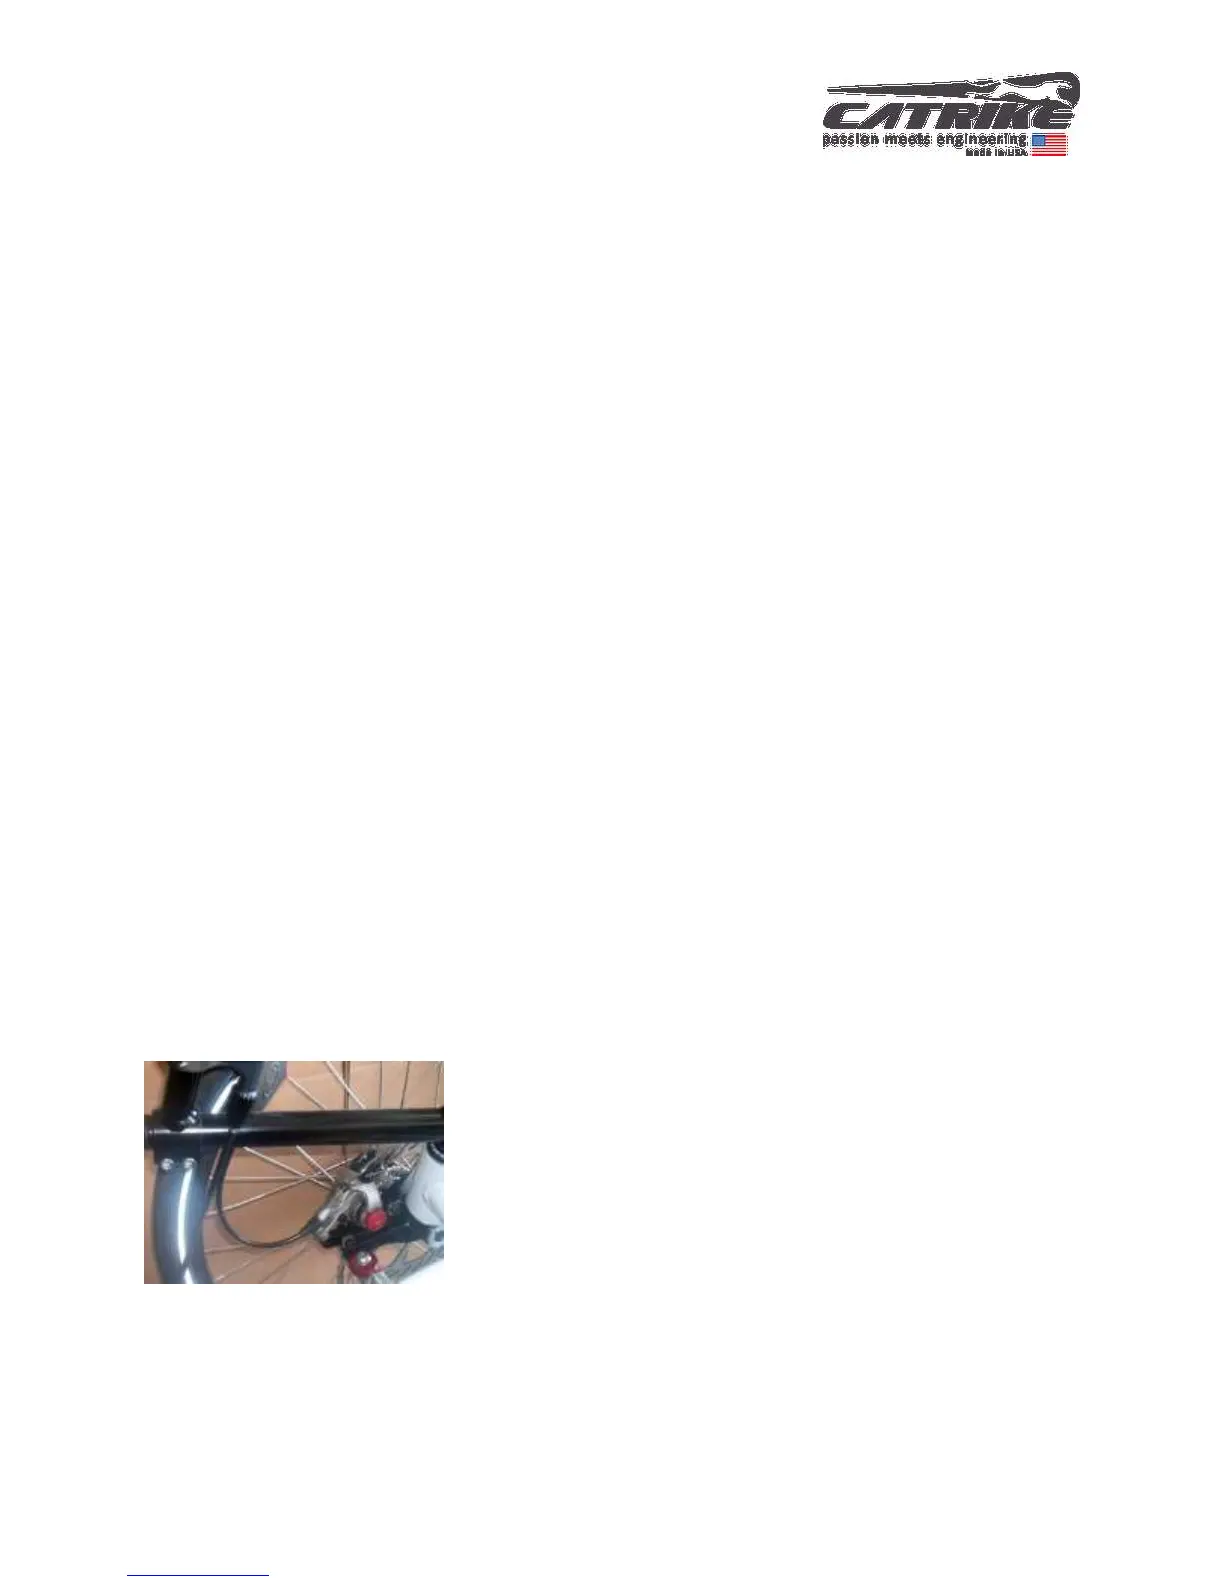
Thread the end of the cable through the fittings in the
brake actuating arm. The ferrule fits under the rubber
boot. Loosen the cable clamp bolt, put the cable under the
clamp plate, pull it taut and retighten the bolt. Using a
bicycle cable cutter (preferred) or a SHARP pair of wire
cutters cut the brake cable so that a few inches extend
beyond the clamp bolt.
 Loading...