22 Hz ELECTROMAGNETIC TRANSMITTER USER GUIDE
Page 30 of 52
GETTING STARTED ͳ CD42ͳT3
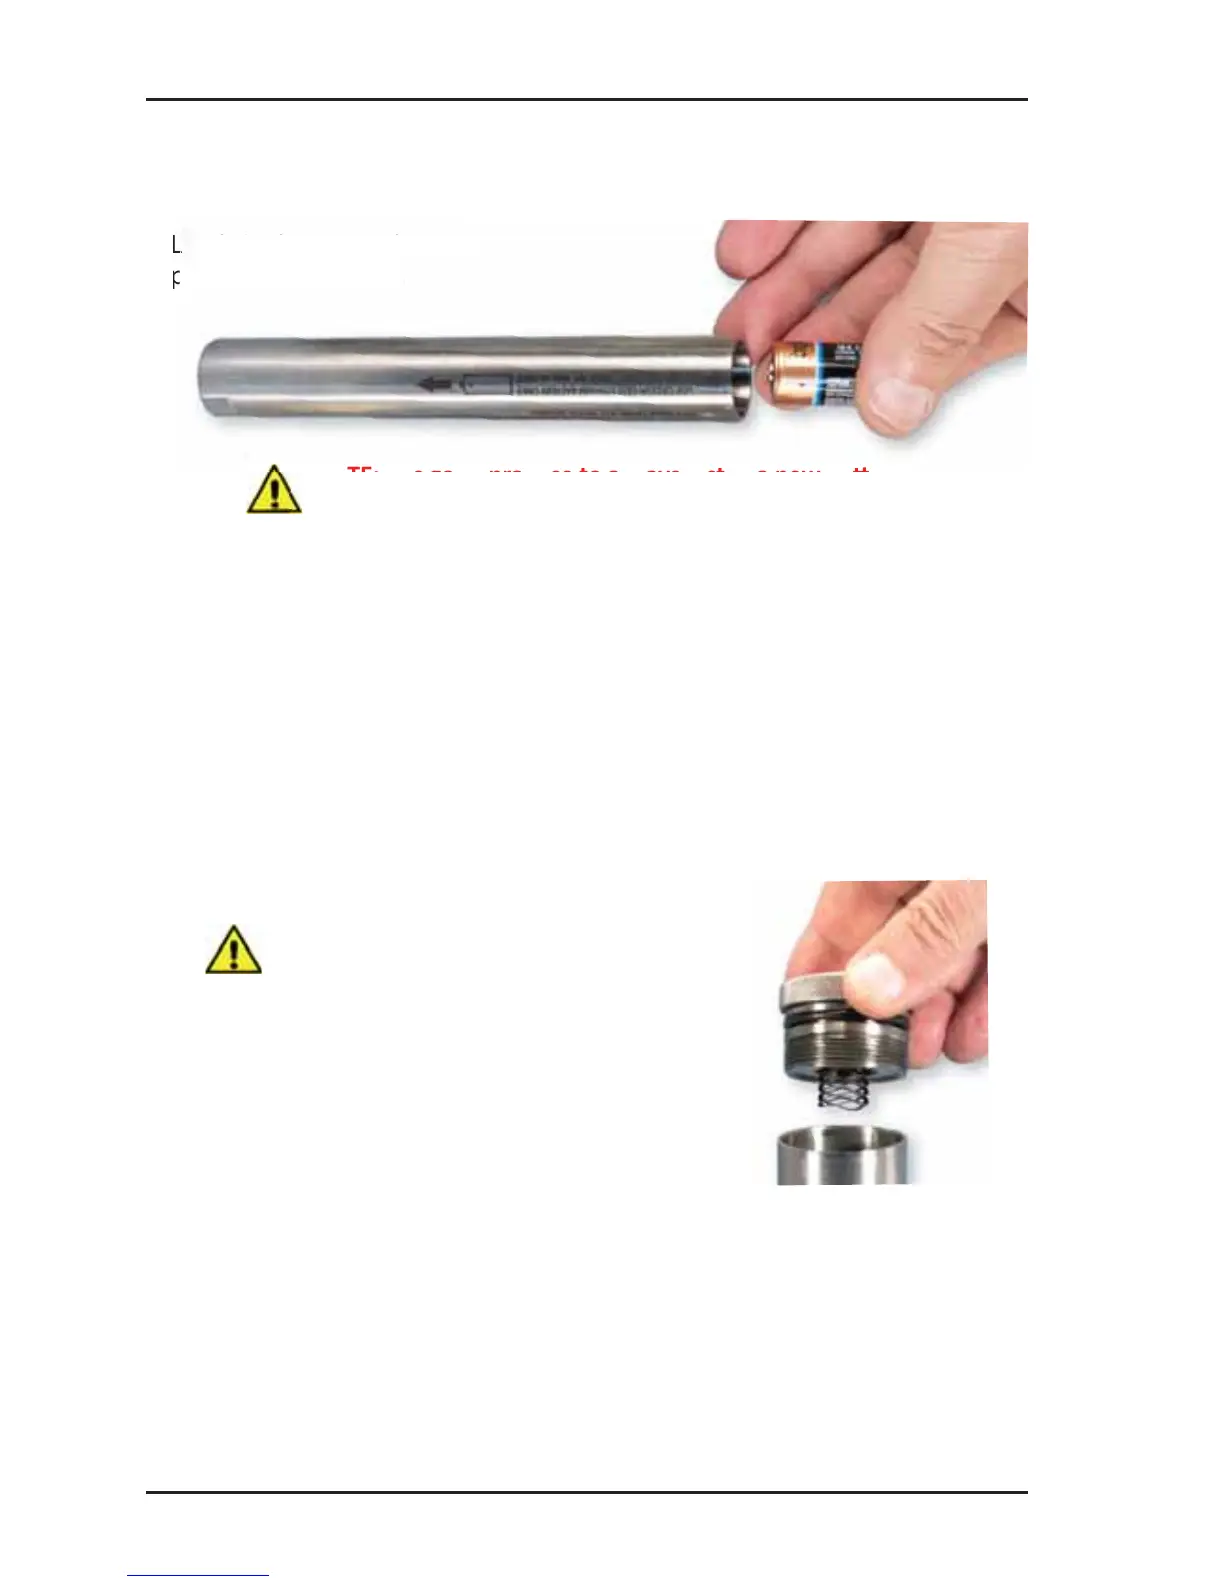
Installing BaƩ ery
Load single CR-123 ba ery,
posi ve (+) end fi rst.
Inspect cap and O-ring before replacing.
Ensure O-ring is serviceable. A bri le and/or deformed O-ring may not
properly seal. Lubricate O-ring with a light coa ng of petroleum jelly
if dry.
Ensure threads are clean and free of ruptures, dents, and other damage.
Replace cap. Your CD42-T3 is now ac ve.
Placing Into Service
See pg. 34
NOTE: T-Series Transmi ers have no “ON-
OFF” switch. Unless your transmi er is
factory-confi gured for Delay On opera on,
it will begin opera on when cap is installed.
NOTE: it is good prac ce to always install a new ba ery
prior to deployment.