7
INSTRUCTIONS FOR UNPACKING AND ASSEMBLING
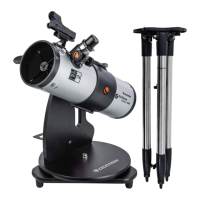
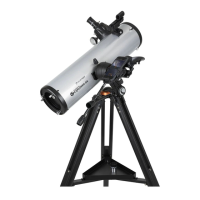
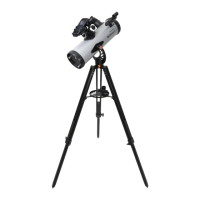
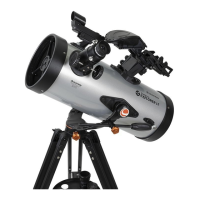
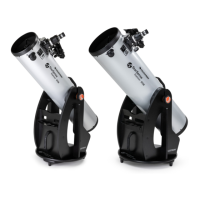
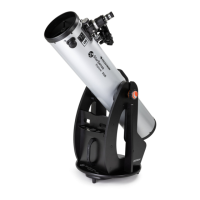
STAR HOPPER
®
6 AND 8 TELESCOPES
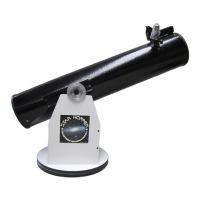
UNPACKING
The
Star Hopper
®
6
and
8
telescopes come in two boxes.
The first box contains the telescope tube, collimating tool, 25mm SMA 1
¼"
ocular, and the primary mirror, with
the pinnacle mirror cell.
The second box contains the parts necessary to assemble the altazimuth mount, including:
•
Two side panels
•
Front panel
•
Base plate (with the four pre-drilled holes)
•
Ground plate (with the teflon pads)
•
Nylon sleeve
•
Two washers
•
Azimuth Pivot Bolt
•
Azimuth Pivot Washer
•
Wood screws
•
Three rubber feet
•
Plastic screw head caps
ASSEMBLY
Assembling the Mount for the Star Hopper
®
6 and 8
1.
Locate the front panel and the two side panels of the base (refer to Figure 1 to identify all the parts referred to
in these instructions).
2.
Align the predrilled holes of the side panels with the holes on the edge of the front panel and attach using four
of the wood screws. Do not completely tighten the screws yet. ( The
Star Hopper
®
logo should be facing the
outside of the base).
3.
Turn the side panel assembly upside down on a flat surface and align the predrilled hole on the base plate with
the holes on the bottom of the side panels.
4.
Use the remaining wood screws to fasten the base plate to the side panels by inserting the screws through the
holes and tightening until the head of the screw is below the surface of the base plate.
5.
Press on the black plastic caps over the heads of the wood screws.
6.
Use a hammer to tap the rubber feet into the bottom of the ground plate. Position the feet so they are 120º
apart.
7.
Place the base plate with side panels attached on top of the ground plate (so that the teflon pads are between
the two plates) and align the center holes.
8.
Insert the nylon sleeve into the center hole of the base plate until it is flush with the top surface.