3. Push the Motor (part #7F), with its attached Belt Guard (parts #1F, #4F), forward
and place the V-Belt (part #40-I) on the Motor Pulley (part #5F).
(See Figure P, and Assy. Diagrams F, and I.)
4. Turn the Height Handle clockwise until it stops.
(See Figure B, and Assy. Diagram G.)
5. Pull the Motor (part #7F), with its attached Belt Guard (parts #1F, #4F), out until
the V-Belt (part #40-I) is taut. Then, securely tighten the two Hex Head Bolts
(part #44-I). (See Figure P, and Assy. Diagrams F, and I.)
6. Close the hinged Belt Guard (parts #1F, #4F).
(See Figure P, and Assy. Diagram F.)
To Install The 10" Saw Blade:
1. Turn the Height Handle (part #5G) clockwise until it stops.
(See Figure B, and Assy. Diagram G.)
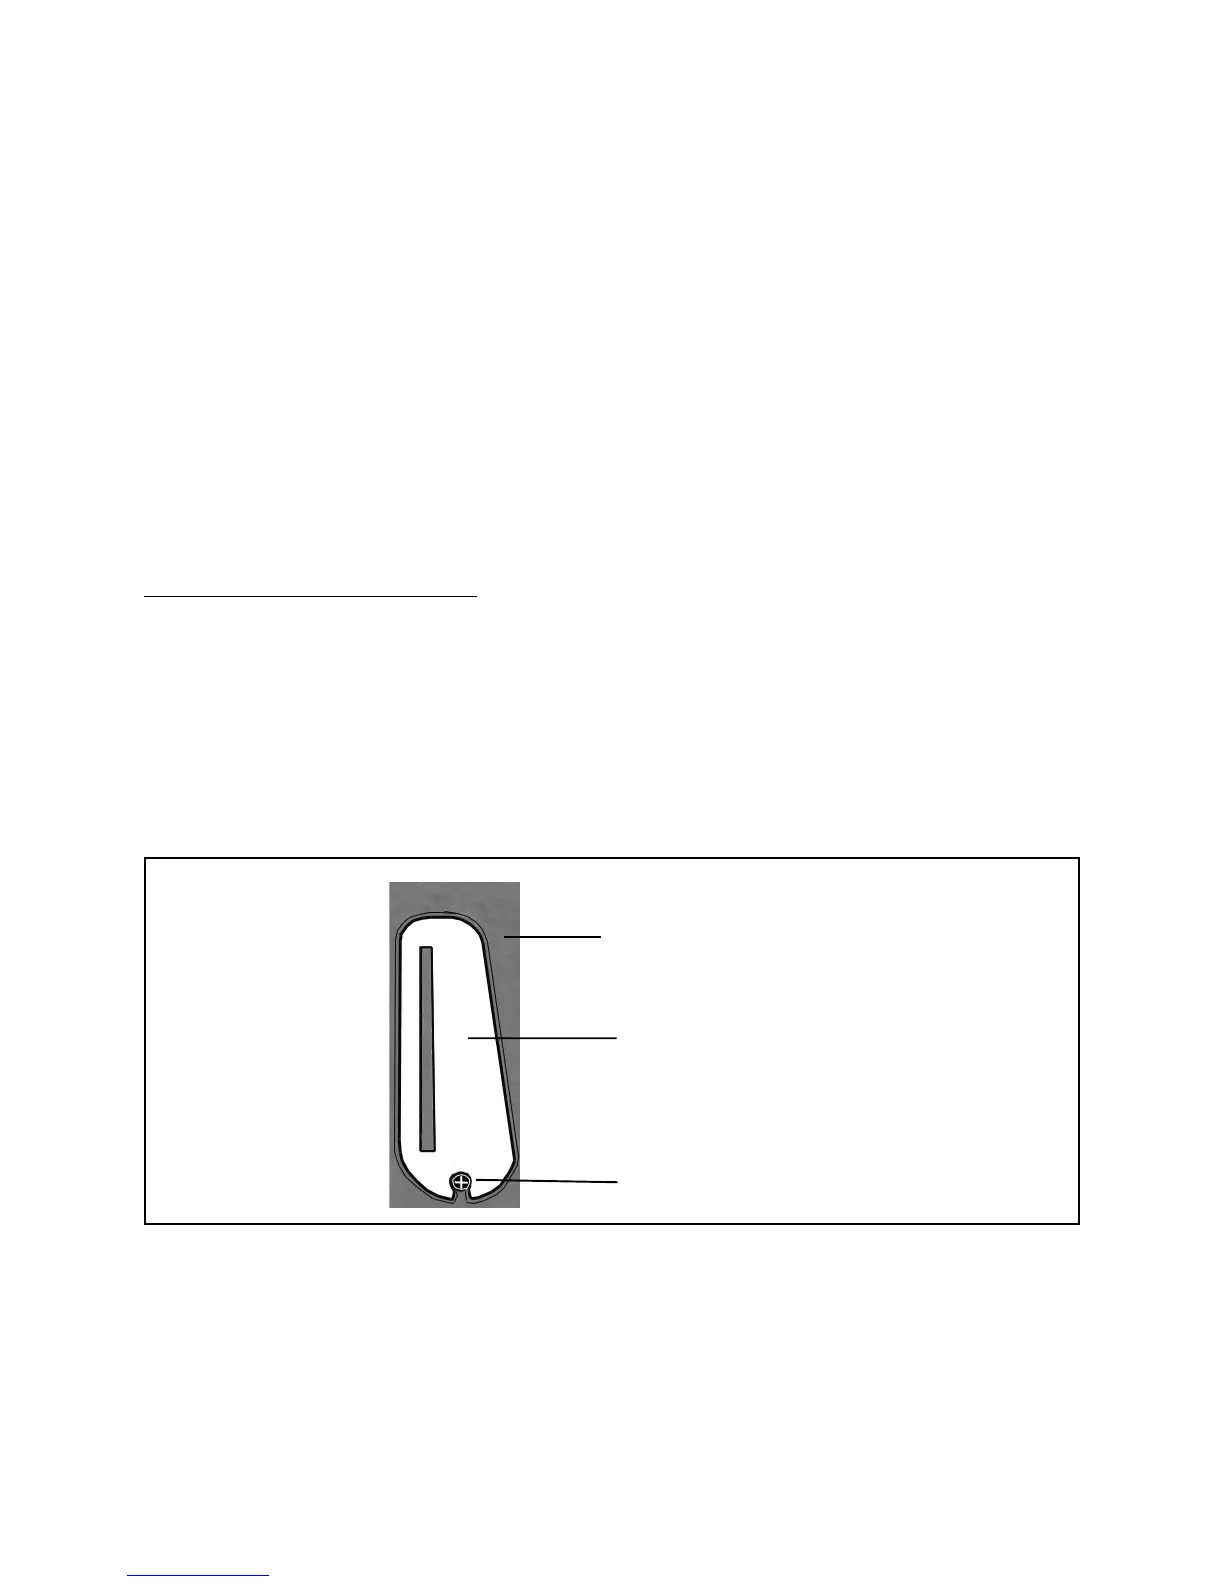
2. Unscrew and temporarily remove the Flat Head Screw (part #16H)) located at the
front of the Throat Plate (part #15H)). Then, remove the Throat Plate to expose
the 10" Saw Blade opening. (See Figures Q, R, and Assy. Diagram H.)
SAW TABLE (#17H)
THROAT PLATE (#15H)
FLAT HEAD SCREW (#16H)
FIGURE Q
SKU 46813 PAGE 20 REV 04/03