page 44 www.centsys.com
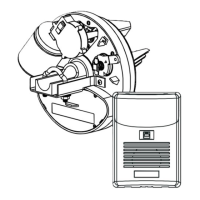
6.7.1. Four-wire safety beams
6.7.1.1. Mounting
1. Mark the inside garage door framing so that the bottom edge of the beam sits
125mm o the oor.
2. Using a small angle bracket, fasten each beam to the wall so that they face each
other across the garage door (Refer to installation instructions for further
information).
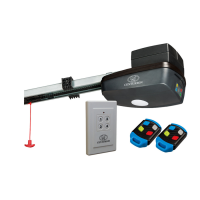
6.7. Safety Beams
• The Photon or other four-wire safety beams may be connected to the SDO4 SMART
• The installation of safety beams greatly enhances safety by constantly monitoring
for persons or objects which may pass within the path of the moving garage
door
• The SDO4 SMART will safety reverse if the safety beams become momentarily or
permanently interrupted during a closing cycle
• A pair of Photon SMART infrared beams can be added to the SDO4 installation without
running any wires, making it an easy and cost-eective solution that oers maximum
safety
OPERATOR INSTALLATIONSECTION 6
6.7.1.2. Connection
Follow the safety beam instructions and connect to the output terminals. Use the
normally-closed contacts of the beam to connect to input ‘SB’ on the SDO4 SMART.
Refer to Section 7 - “Electrical setup of accessories”.
The SDO4 SMART provides a 24V DC output and normally-closed input for
safety beams.
For aligning and testing the safety beams, please refer to the installation manual
supplied with the respective safety beams used.
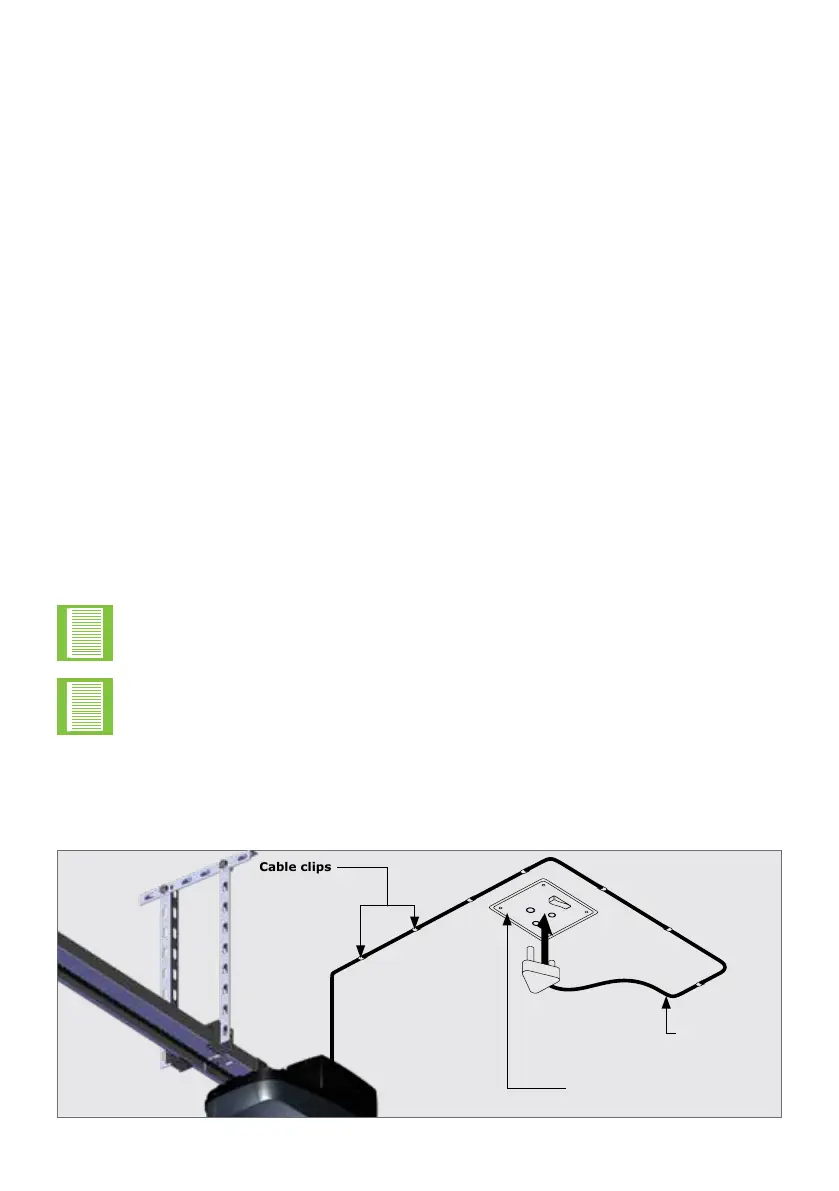
6.8. Connecting to a Power Supply
• Plug the SDO4 SMART into a properly-earthed 220 to 240V AC power outlet
• Ensure that no excess power cord hangs below the control box
FIGURE 79
SDO4 SMART
power cable
220 TO 240V AC Power outlet
on ceiling
Cable clips