en 4
2 5
6
8
7
3
4
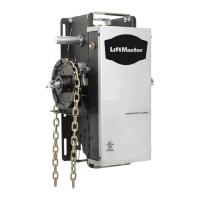
The device is intended for the opening and closing of garage doors
(please refer to section 6 “Door Types”)� The device is not meant for commer-
cial use but solely for the use in private garage doors that are appropriate for
a single household� Any improper use of the drive could increase the risk of
accidents� The manufacturer assumes no liability for such usage� Only the
original accessories of LiftMaster may be connected to the drive� With this
drive, automated gates must comply with the currently valid international and
country-specic standards, guidelines and regulations (among other things,
EN 13241, EN 12453 and EN 12604)�
IMPORTANT NOTE
If your garage does not have a side entrance, an external emergency
release should be installed� This allows for manual operation of the
garage door from the outside during power failure�
Ladder
Marking pen
Pliers
Drilling machine
Hammer
Ratchet 10 mm / 13 mm
Hacksaw
Dierent drill bits for concrete
and(or wood (8, 6, 5, 4�5 mm)
Box wrench
Water level
Screwdriver
Measuring tape
First, check whether your door is balanced and in equilibrium�
Open your door about halfway and let it go�
The door can now hardly change its position independently,
but must remain in this position held by the spring force alone�
1� The rail of the garage door MUST be connected securely and rm-
ly to the supporting wall or ceiling above the garage door�
2� Additional brackets and mounting rails (not included in the supply)
might be required, if the your garage ceiling has a cladding, boards
or similar�
3� If your garage does not have a separate side entrance, an external
emergency release (refer to section 34 “Optional Accessories”)
must be installed�
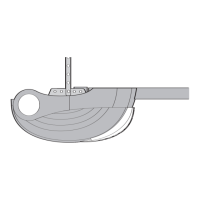
A� One-Piece Door with Horizontal Track Only�
B� One-Piece Door with Horizontal and Vertical Track – Special door
arm (E, The Chamberlain Arm™) and the Protector System™
required� See your dealer�
C� Sectional Door with Curved Track – See 20B – connect door arm�
D� Canopy door – Special door arm (E, The Chamberlain Arm™) and
the Protector System™ required� See your dealer�
E� The Chamberlain Arm™ for use on door types B and D�
Please check the supplied parts for completeness before starting the in-
stallation� Note: The numbering only applies to the corresponding section�
This gure always oers you a complete overview of the readyassem-
bled system during the step by step installation of the system�
Intended use Before you begin
Door Types
Tools required
Preparation
Scope of supply
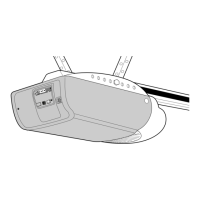
Product overview
Parts overview:
Tool list:
Hardwarebag:
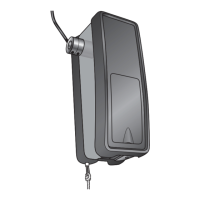
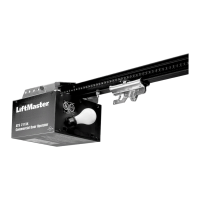
1� Header bracket 8� Power cable
2� Belt 9� Drive head
3� Rail 10� Release
4� Carriage 11� Straight door arm
5� Connecting piece 12� Curved door arm
6� Rail bracket 13� Door bracket
7� Hanging bracket
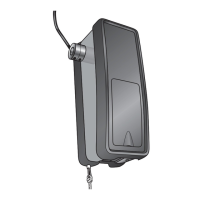
1� Drive head 1x 8� Adapter for gear wheel 1x
2� Remote control 2x 9� Curved door arm 1x
3� Rail bracket 2x 10� C-bracket 2x
4� Hardwarebag 1x 11� Hanging bracket 2x
5� Quick release 1x 12� Rail 1x
6� Header bracket 1x 13�
MyQ Gateway and
Photocells (LM70EVFFC)
1x
7� Door bracket 1x
14�
Truss head screw
6 x 80 mm
1x
19� Safety cotter pin 1x
15� Lock nut M6 1x 20� Screw ST 6 x 50 mm 4x
16� Hexagonal head screw 4x 21� Screw ST 6,3 x 18 mm 8x
17� Nut M6 4x 22� Plug 4x
18� Bolt 1x