To avoid SERIOUS INJURY or DEATH from electrocu-
tion, DISCONNECT electric power before manually
moving limit nuts.
WARNING
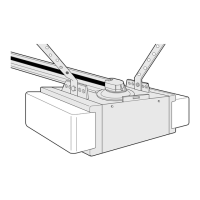
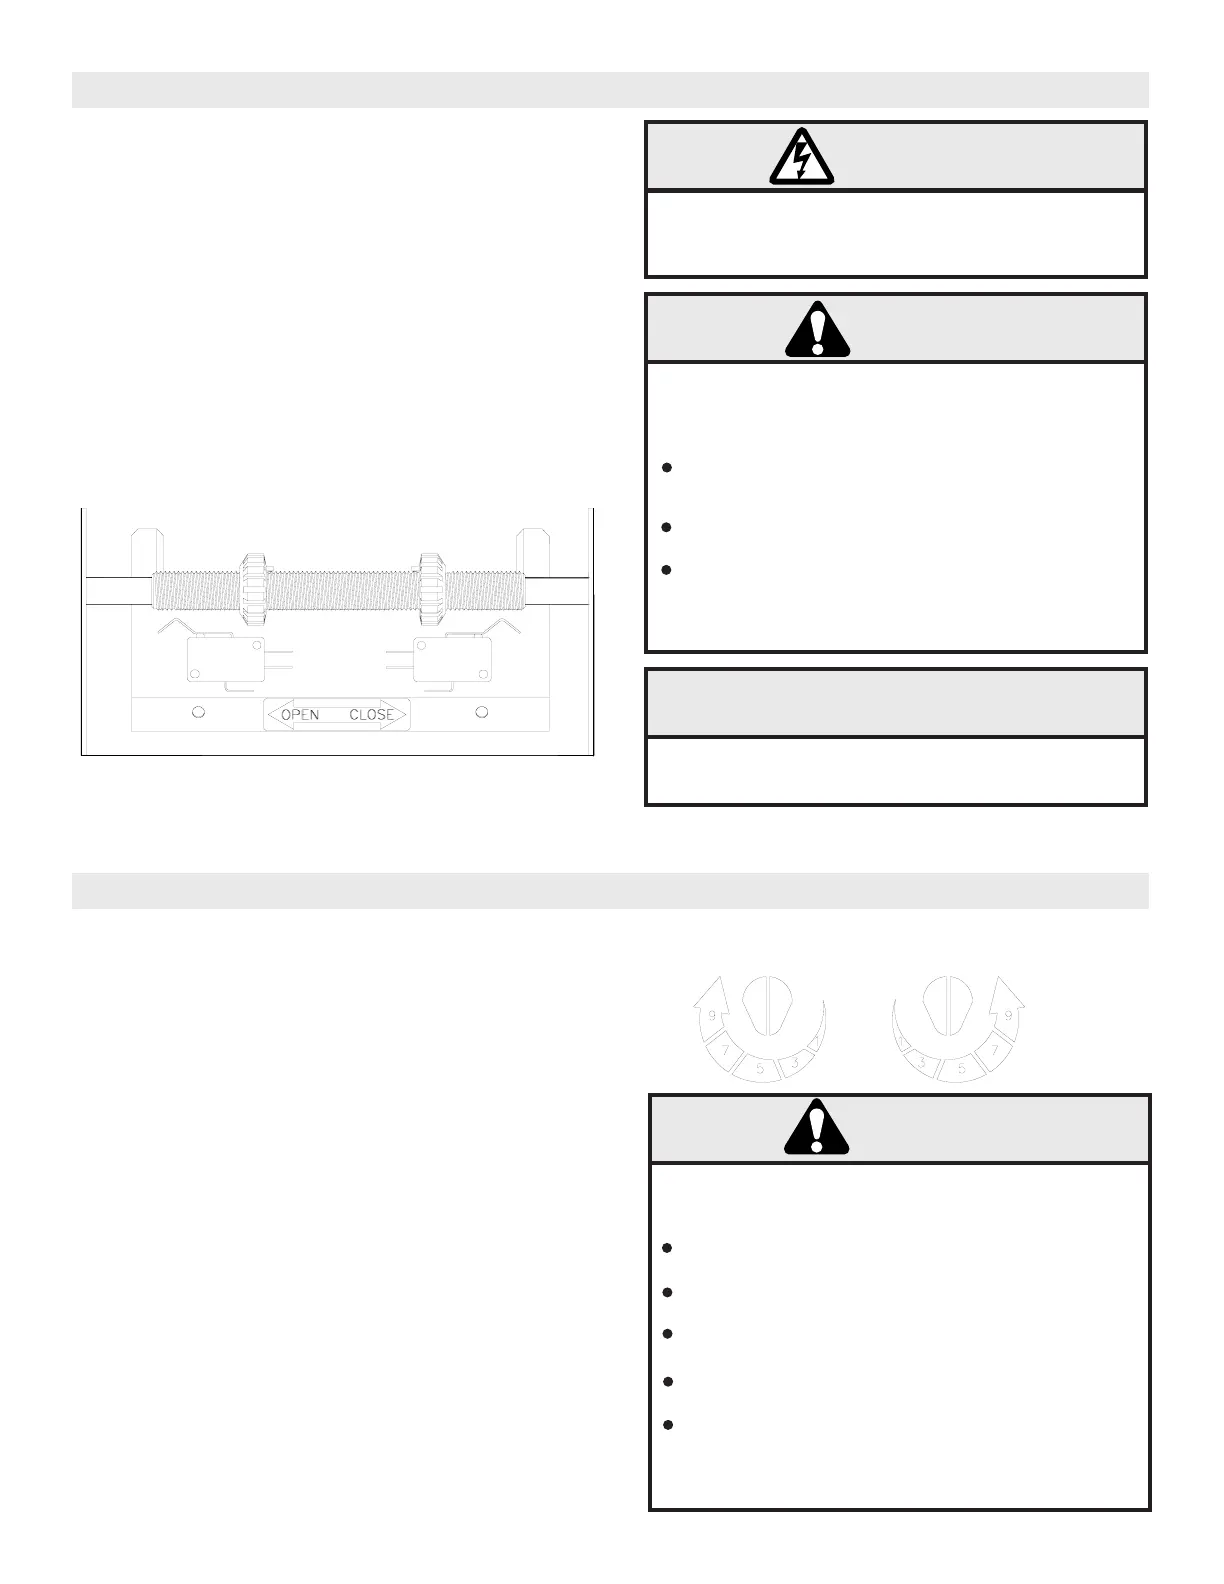
1. To adjust limit nuts, depress retaining plate to allow nut
to spin freely. After adjustment, release plate and
ensure it seats fully in slots of both nuts.
2. To increase door travel, spin nut away from actuator.
To decrease door travel, spin limit nut toward actuator.
3. Adjust open limit nut so that door will stop in open posi-
tion with the bottom of the door even with top of door
opening.
4. Repeat Steps 1 and 2 for close cycle. Adjust close limit
nut so that actuator is engaged as door fully seats at
the floor. Refer to figure 16.
LIMIT ADJUSTMENTS
MAKE SURE THE LIMIT NUTS ARE POSITIONED
BETWEEN THE LIMIT SWITCH ACTUATORS BEFORE
PROCEEDING WITH ADJUSTMENTS.
FIGURE 16
Without a properly installed safety reversal system,
persons (particularly small children) could be
SERIOUSLY INJURED or KILLED by a closing garage
door.
Incorrect adjustment of garage door travel limits will
interfere with proper operation of safety reversal
system.
If one control (force or travel limits) is adjusted, the
other control may also need adjustment.
After any adjustments are made, the safety reversal
system MUST be tested. Door MUST reverse on
contact with one-inch high object (or 2x4 laid flat) on
floor.
WARNING
To prevent damage to vehicles, be sure fully open door
provides adequate clearance.
WARNING
CAUTION
WARNING
WARNING
CAUTION
16
If other problems persist, call our toll-free number for
assistance 1-800-528-2806.
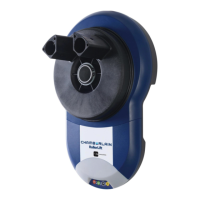
FORCE ADJUSTMENTS
The open/down force adjustments are made by adjusting
two control knobs inside the operator end panel. One
knob controls the drive force adjustment. The second
knob controls the sensitivity, which is the change of force
as seen by the operator.
To set the forces
1. Adjust the drive force to minimum and the sensitivity
to minimum.
2. Increase the drive force in 10 degree increments until
the door travels freely from limit to limit.
3. Increase the sensitivity in 10 degree increments until
the door begins to reverse/stop in mid-travel.
4. Decrease the sensitivity by a 10 degrees and run the
door through a complete cycle to confirm normal opera-
tion. Refer to figure 17.
If the door stops normal travel of open/close to the limits,
decrease the drive and sensitivity knobs to minimum and
repeat steps 2 through 4.
DRIVE FORCE
SENSITIVITY
FIGURE 17
Without a properly installed safety reversal system, per-
sons (particularly small children) could be SERIOUS-
LY INJURED or KILLED by a closing garage door.
Too much force on garage door will interfere with
proper operation of safety reversal system.
NEVER increase force beyond minimum amount
required to close garage door.
NEVER use force adjustments to compensate for a
binding or sticking garage door.
If one control (force or travel limits) is adjusted, the
other control may also need adjustment.
After ANY adjustments are made, the safety
reversal system MUST be tested. Door MUST
reverse on contact with one-inch high object (or
2x4 laid flat) on the floor.
WARNING