Classification [Protected] P/N:707305
© 2017 Check Point Software Technologies Ltd. All rights reserved.
For a list of our trademarks, please refer to: www.checkpoint.com/copyright.html.
For a list of our Third Party Copyright notices, please refer to: www.checkpoint.com/3rd_party_copyright.html
Smart-1 Installing and Removing
Memory
707305
Protected
2017
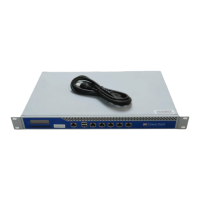
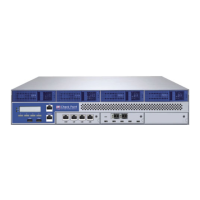
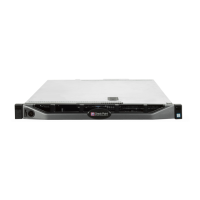
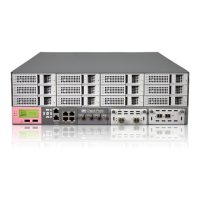
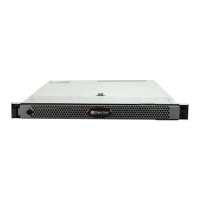
This document is for Smart-1 205, 210, 225, 3050 and 3150 models.
Important - We recommend that only experienced personnel install or
remove hardware components. Installing or removing components
incorrectly can permanently damage the Security Management
Appliance.
Preparing the Security Management
Appliance
Before you start to install or remove DIMMs, make sure that:
• You can connect to the WebUI or CLI to shut down the Security Management
Appliance.
• The Security Management Appliance is in a clean environment and on a
level surface.
• You can physically access and open the cover of the Security Management
Appliance.
• You have the Check Point DIMM upgrade kit.