gap between the steel ring and
hub cap, and then turn it carefully
to remove the hub cap.
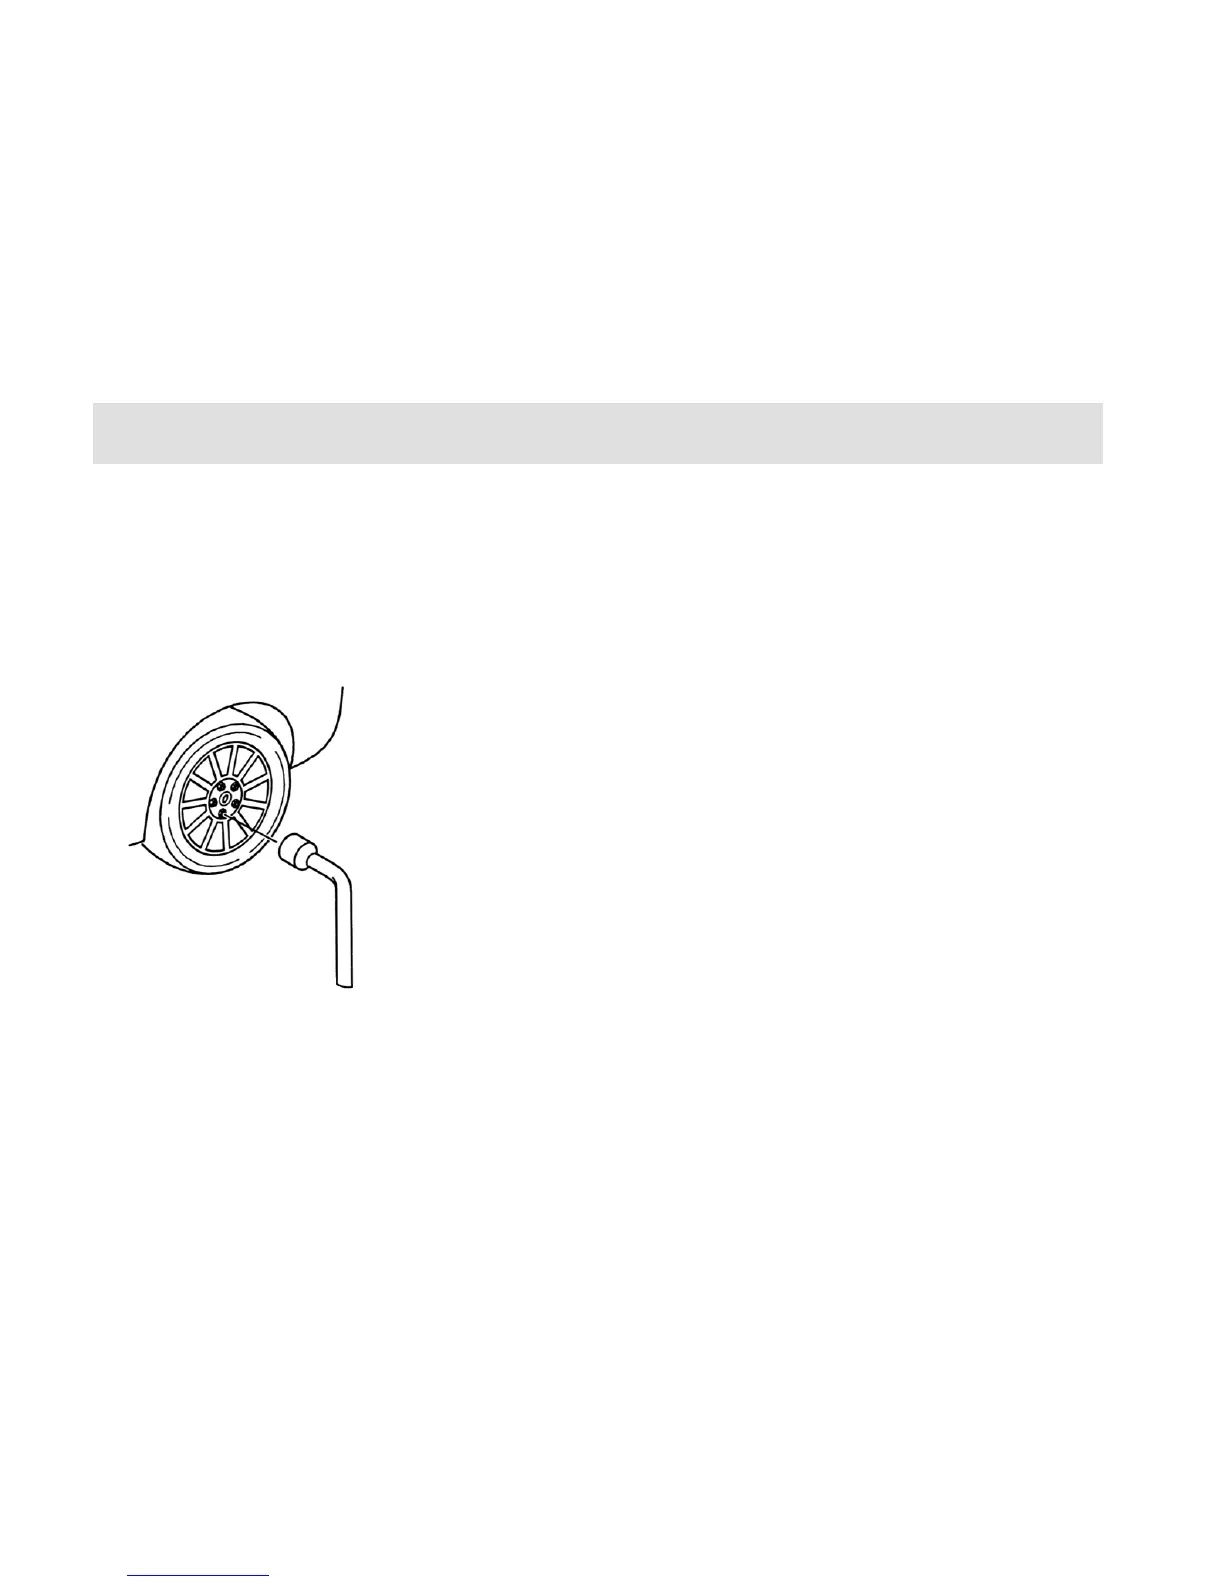
7. Use a special tool to unscrew the
wheel nuts, as shown in the
figure below.
8. Place the jack and make sure that
the jack seat stays on a solid
ground.
9. The jack must rise vertically to
the lift point.
10. Lift up the vehicle until the wheel
leaves the ground.
11. Remove the wheel nuts and then
dismount the wheel.
Install the wheel
1. Push the wheel to the wheel
cotter, and screw up the wheel
nuts in the clockwise direction,
and then make certain that the tip
of any wheel nut faces to the
wheel.
2. Jack down the vehicle and
remove the jack.
3. Full tighten the wheel nuts with
the diagonal tightening mode (the
tightening torque shall be
110±10N•M).
4. Press the hub cap steadily into its
proper position by your both
hands.
5. Collect the jack and disable
wheel in the reserve order and fix
them.
6. Please get to the CHERY
Authorized Service Station
A.S.A.P. to make the wheel nut
screwing torque and tire pressure
examined.
7. Since the spare tire may not be
used for a long time, to keep the
standard air pressure of the spare
tire, please charge it with the air
pressure which is slightly greater
than the normally-used air
pressure of a tire.