Installation
2.5 Remote Sense Connection
The remote sense function of the AC source monitors the voltage at the load instead at the
output terminal of the AC source for 6460 series mode and 6463/6490 3-phase mode. It
ensures the delivery of accurate voltage as programmed at the load by automatically
compensating the output voltage drop over the connecting cable. The user has to set
Remote Sense ON so as to enable this function.
Connect the sensing leads from the “∅1”, “∅2”, “∅3” and “COM” terminals on the remote
sense to the load as shown in Figure 2-2
(on the previous page). Because the sensing leads
carry only a few milliamperes, the wires for sensing are much lighter than the load leads.
The sensing leads are part of the feedback path of the AC source, so they must be kept at a
low resistance in order to maintain the best performance. Connect the sensing leads
carefully so that they will not be open-circuited. If the sensing leads are left unconnected or
become open-circuited during operation, the AC source will disable the output, and display
“OPEN INT”. The sensing leads must be a twisted pair to minimize the pickup of external
noise. The sensing leads need to be connected to the load as close as possible. The user
must press
ENTER over two seconds to reset the AC source.
2.6 The Procedures of Power-on
Before turning on the instrument, all protective earth terminals, extension
cords, and devices connected to the instrument must be connected to a
protective earth ground. Any interruption in the protective earth
grounding will cause a potential shock hazard that might injure a
Apply the line power, and turn on the power switch on the front panel. No load shall be
connected to the output terminal block. The AC source will do a series of self-tests every
time the power switch is turned on.
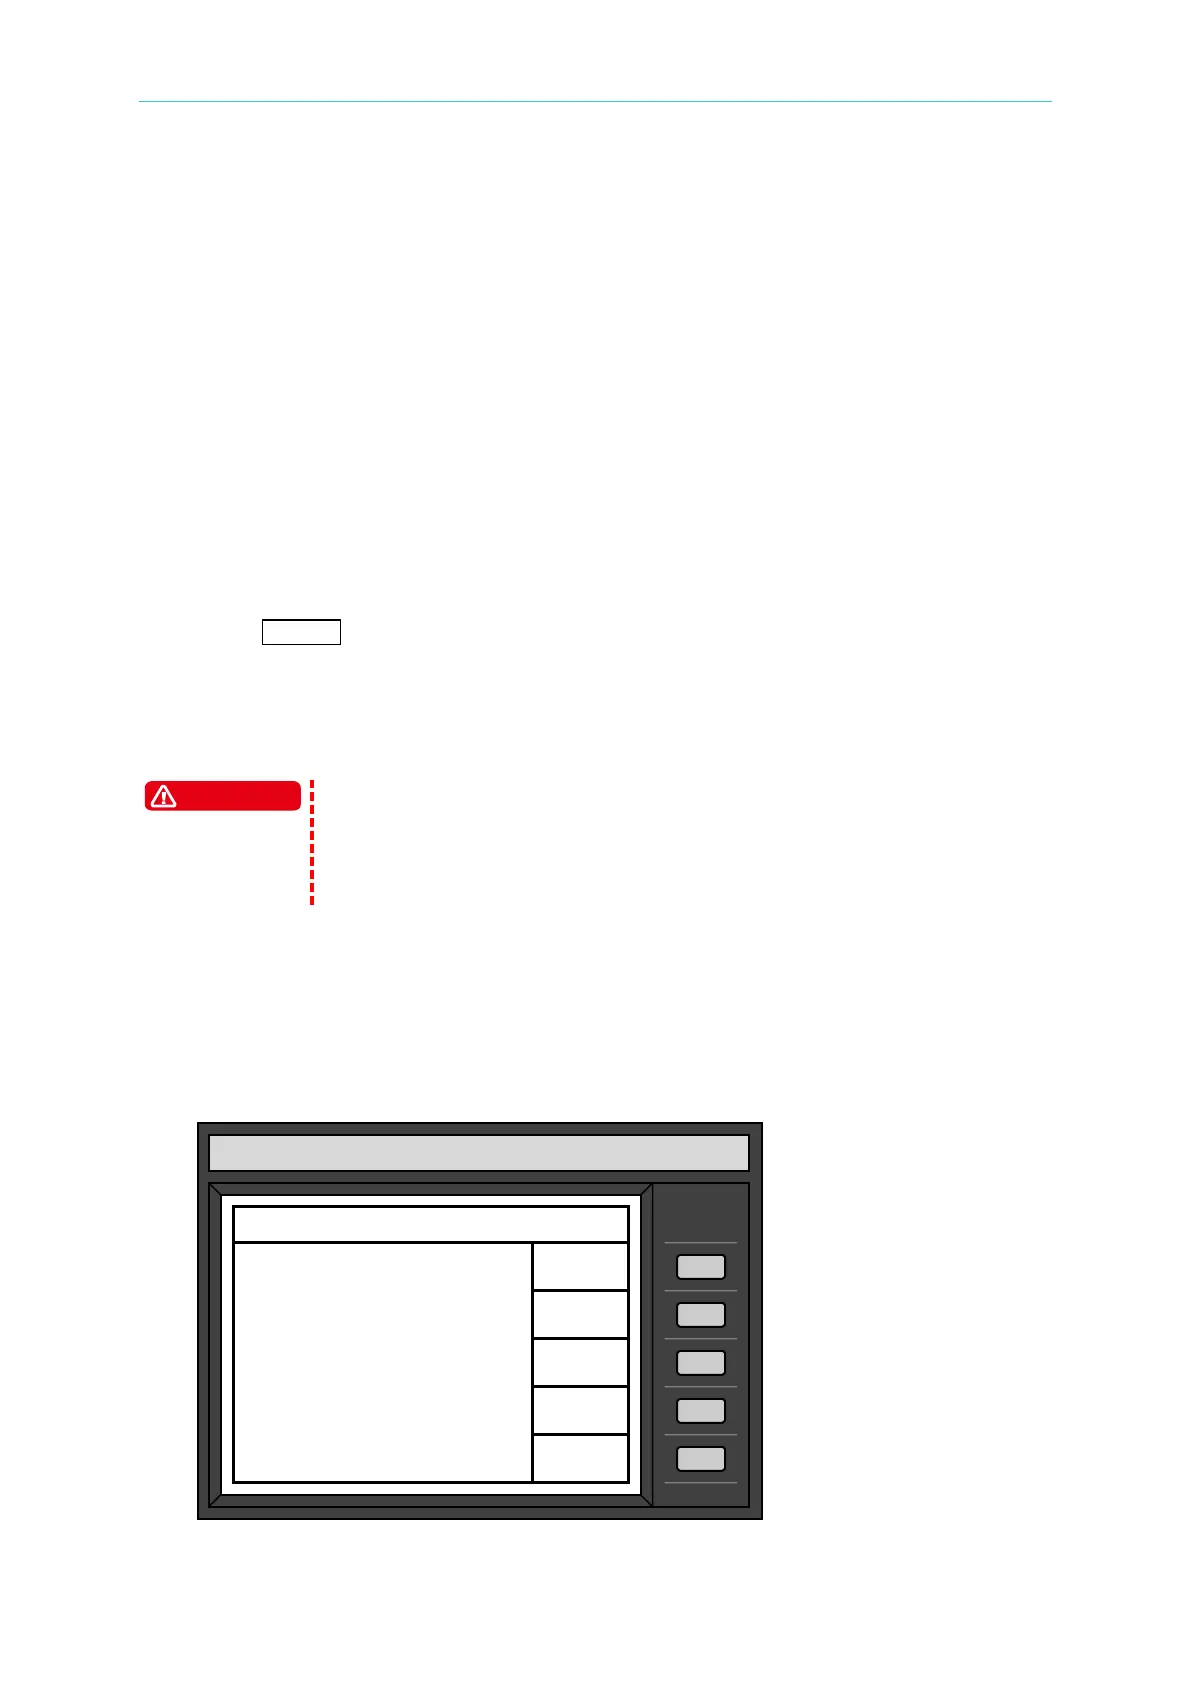
After the routines of the self-test are done, the display will show an “OK” at the right side of
each test item indicating that the item is no problem as follows:
If any failure is detected on a certain item, an “NG” will be shown at the right side of that item,
CHROMA programmable AC source
Model 6490
Φ1 Φ2 Φ3
ROM test :OK OK OK
RAM1 test :OK OK OK
RAM2 test :OK OK OK
Waveform :OK OK OK
Frequency :OK OK OK
Status Check :OK OK OK
NEXT