User Instructions
Heat Exchanger
Removal/Replacement
(Closed loop system)
1. Disconnect all power to the system.
2. Bleed pressure and drain all water from the system.
3. Remove top panel.
4. Remove cover on the cooling solenoid (see Figure 6.4,
Heat Exchanger).
5. Disconnect “COOLING INLET” and “COOLING
OUTLET” piping.
6. Disconnect copper tubing connected to the heat exchanger.
7. Unbolt the heat exchanger and remove (4 bolts).
8. Place new heat exchanger in system and bolt down.
9. Reconnect “COOLING INLET” and “COOLING
OUTLET” piping.
10. Reconnect wires to the cooling solenoid.
11. Reconnect copper tubing.
12. Replace cover on cooling solenoid and top panel.
13. Replace system water and reconnect the system.
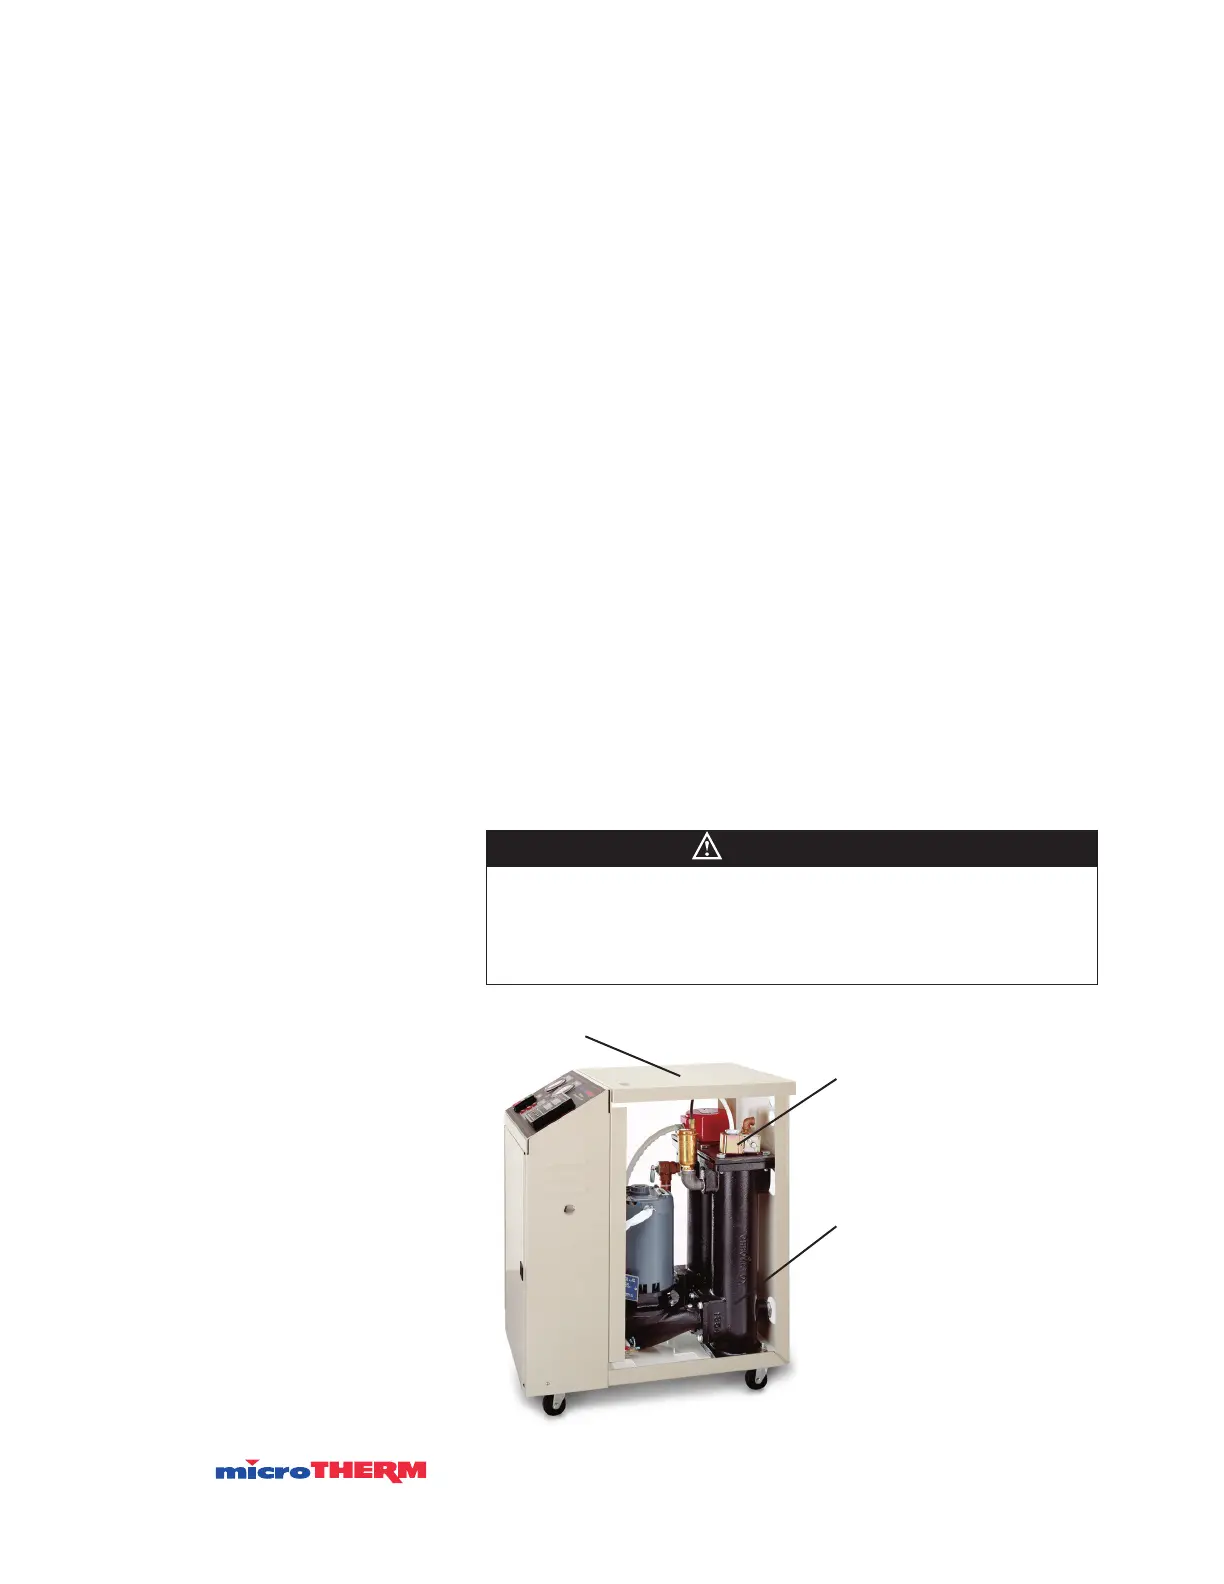
Figure 6.4
Heat Exchanger
Close the front electrical enclosure door and retighten the
locking screw. This must be done to limit access to high voltage
components. Failure to comply could lead to electric shock or
electrocution
Top Panel
Cooling Solenoid
Heat Exchanger
27
WARNING
 Loading...