EN - 28
Reverting to original sensor configuration
In certain configurations, the sensor may still not be found even after repeated sensor stimulation procedures. Revert to the original
sensor configuration to delete all the data from its memory:
- Press and hold the PROG button for 7 seconds
- Release the button when the LED starts to flash green
At the end of the procedure, repeat the complete outdoor sensor pairing sequence.
Other functions
If a radio component (sensors or heat pump) is already paired, the following functions are
accessible:
- Check: used to check that pairing has been correctly performed (not visible if the selected
components is the outdoor sensor)
- Delete: deletes a component from the database
- Replace: used to replace the selected component (e.g. an out of service sensor) if there is
an identical component.
System pairing
On an IO-Home Control
system outside the heat pump, this function is used to pair with the heat pump profile or the heat pump
sensors, perform a key change or transfer or receive the system key.
Maintenance
This function is used to check the range of the radio signal for each paired component or to
erase a component paired with the heat pump.
Machine unpaired
If radio communication has never been established between the heat pump and the control
terminal: no pairing of the terminal with the heat pump (see section 3.2.3.1), the message
NO PAIRING is displayed on the home screen.
Replacing a radio temperature sensor (outdoor or indoor for dual zone management) on a heat pump
that is already paired:
In the "UNIT CONFIGURATION" tab, "Pairing", "Heat pump pairing" then select "Outdoor sensor".
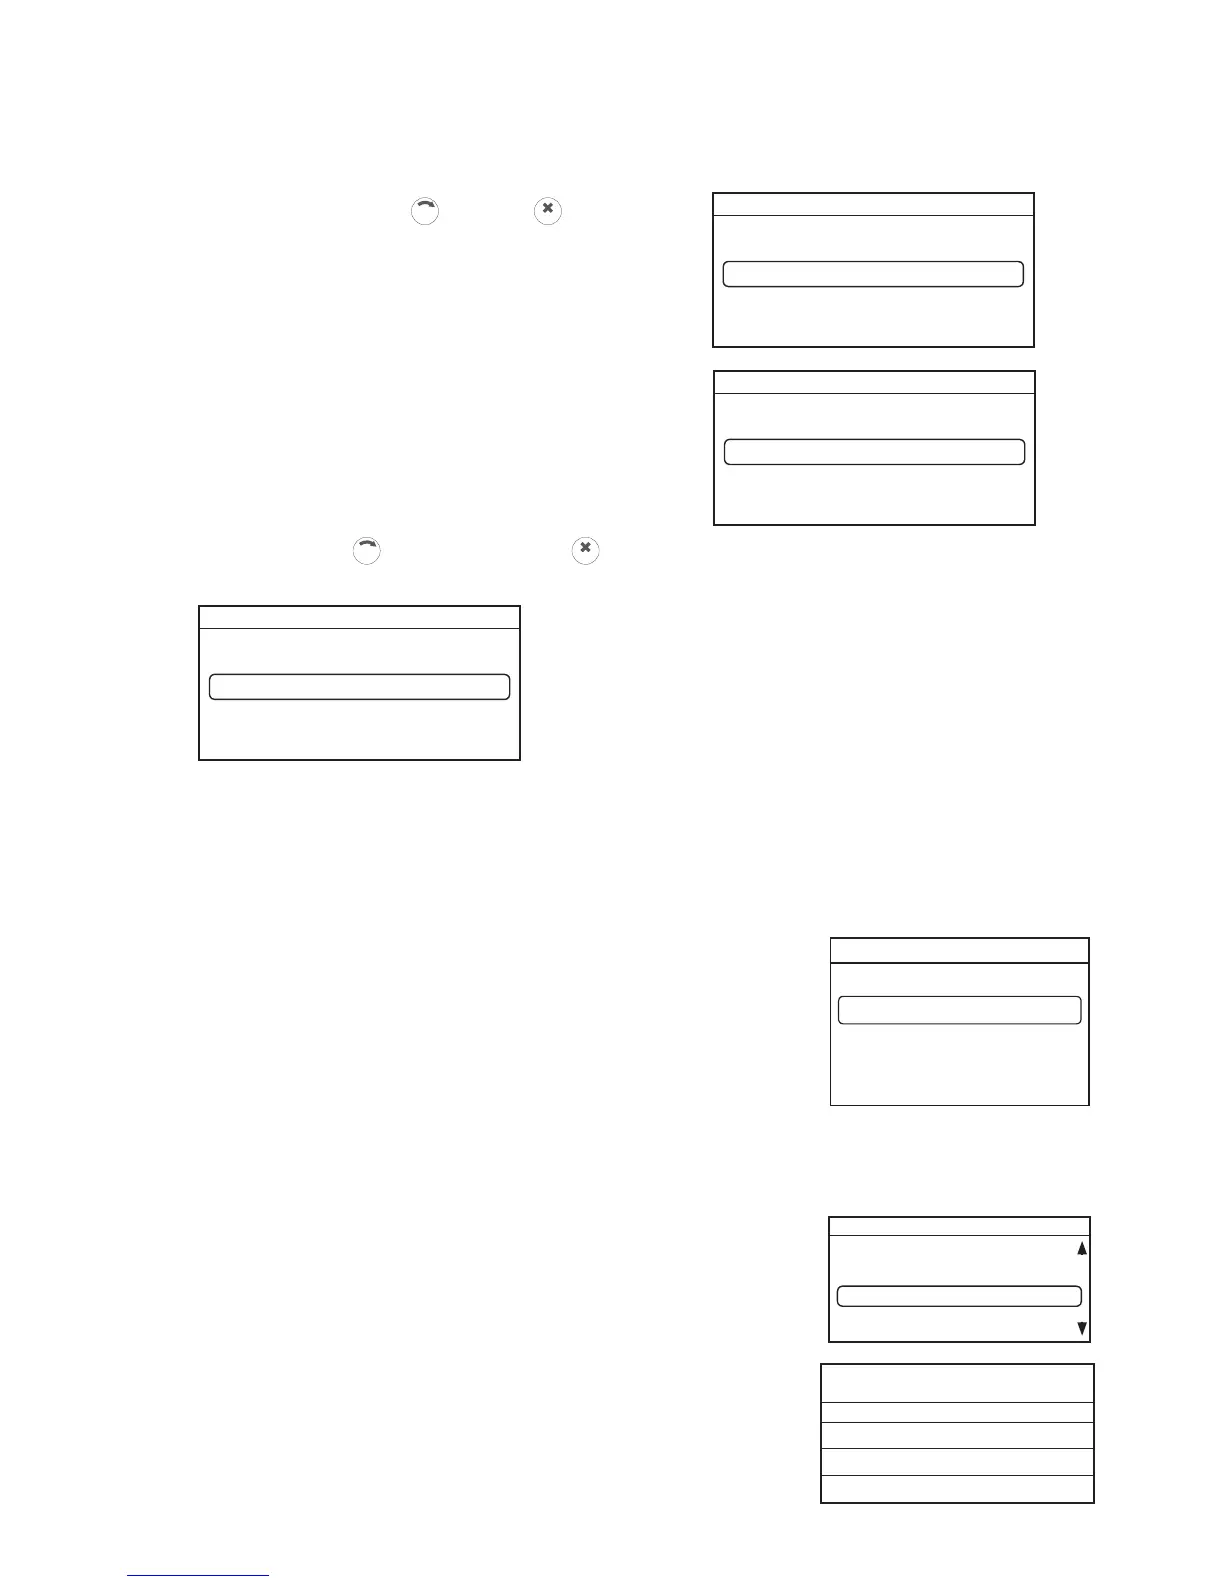
The screens below will appear:
Select "Delete" using the
button then
CLIC
The display opposite appears
Select "CONFIRM" using the
button then confirm with
CLIC
If the deletion procedure is performed correctly, the screen below appears:
To repair a radio sensor, repeat the
"Outdoor sensor pairing" procedure
Outdoor sensor pairing