54
FILLING RESERVOIR
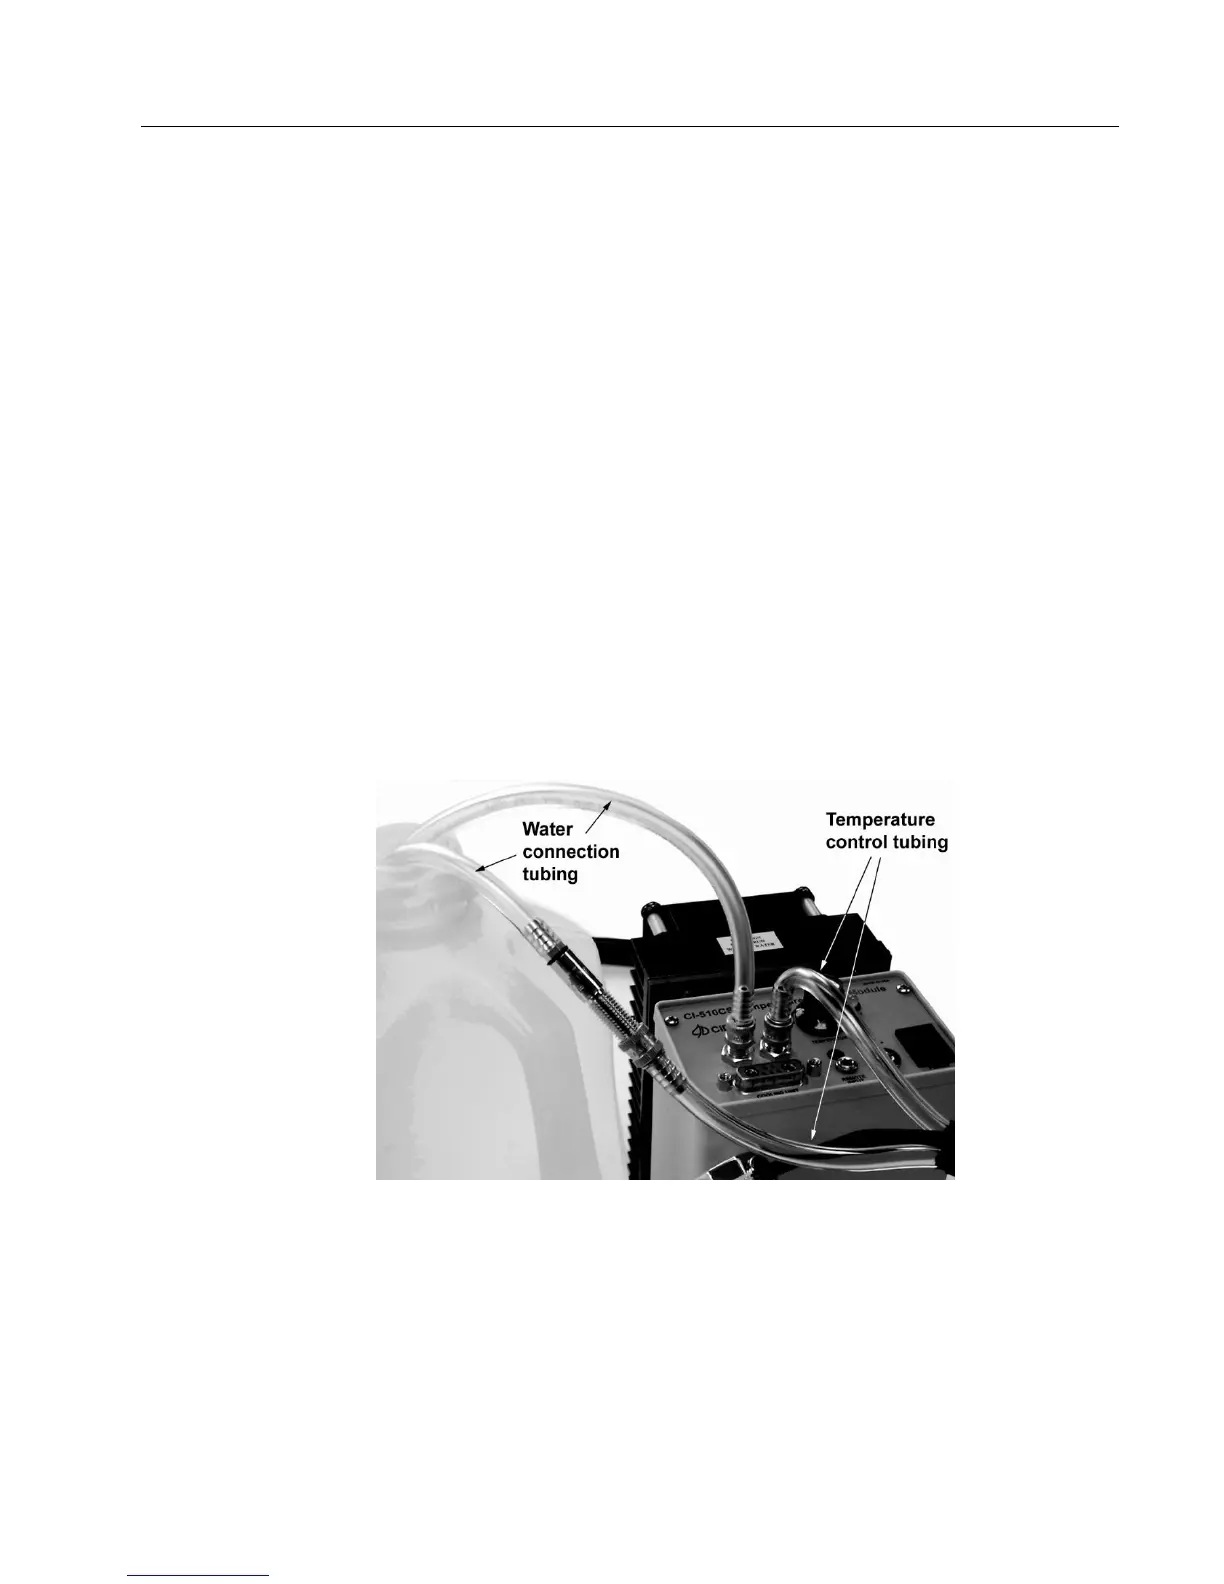
Attach one of the hoses from the Temperature Control Attachment to the “OUT” fitting (Figure A-4).
There is no polarity; it does not matter which hose is used. A water connection kit is provided in a
plastic bag. The water connection hose (Figure A-3) is connected to the “IN” fitting. This connection
hose can be used to prime the assembled unit with water (distilled water should be used) by inserting
it into a water bath (a large bowl, bucket, sink, etc.). The remaining water connection hose (Figure A-
3) attaches to the other hose connection on the Temperature Control Attachment (Figure A-4).
Turn the power on and observe the flow of water so that water steadily exits the other hose
connection (from the Temperature Control Attachment). Once a steady flow of water has been
established (air bubbles should not be noticed within the hoses), turn the power off momentarily,
detach the water connection hose and connect the free-end hose from the Temperature Control
Attachment into the “IN” fitting on the controller. Make sure the hoses are not bent or twisted. It is
advisable to remove all moisture on the Controller panel (especially around the electrical connector).
The Temperature Control Attachment is connected to the Controller marked “COOLING UNIT” with
an electrical five-pin connector (Figure A-5).
CAUTION: Do not run the Controller without connecting the supply hose to a filled water
reservoir. Otherwise, this could result in overheating and a possible malfunction of the pump.
Figure A-4 Tube configuration for filling the CI-510CS reservoir.