EasyManua.ls Logo

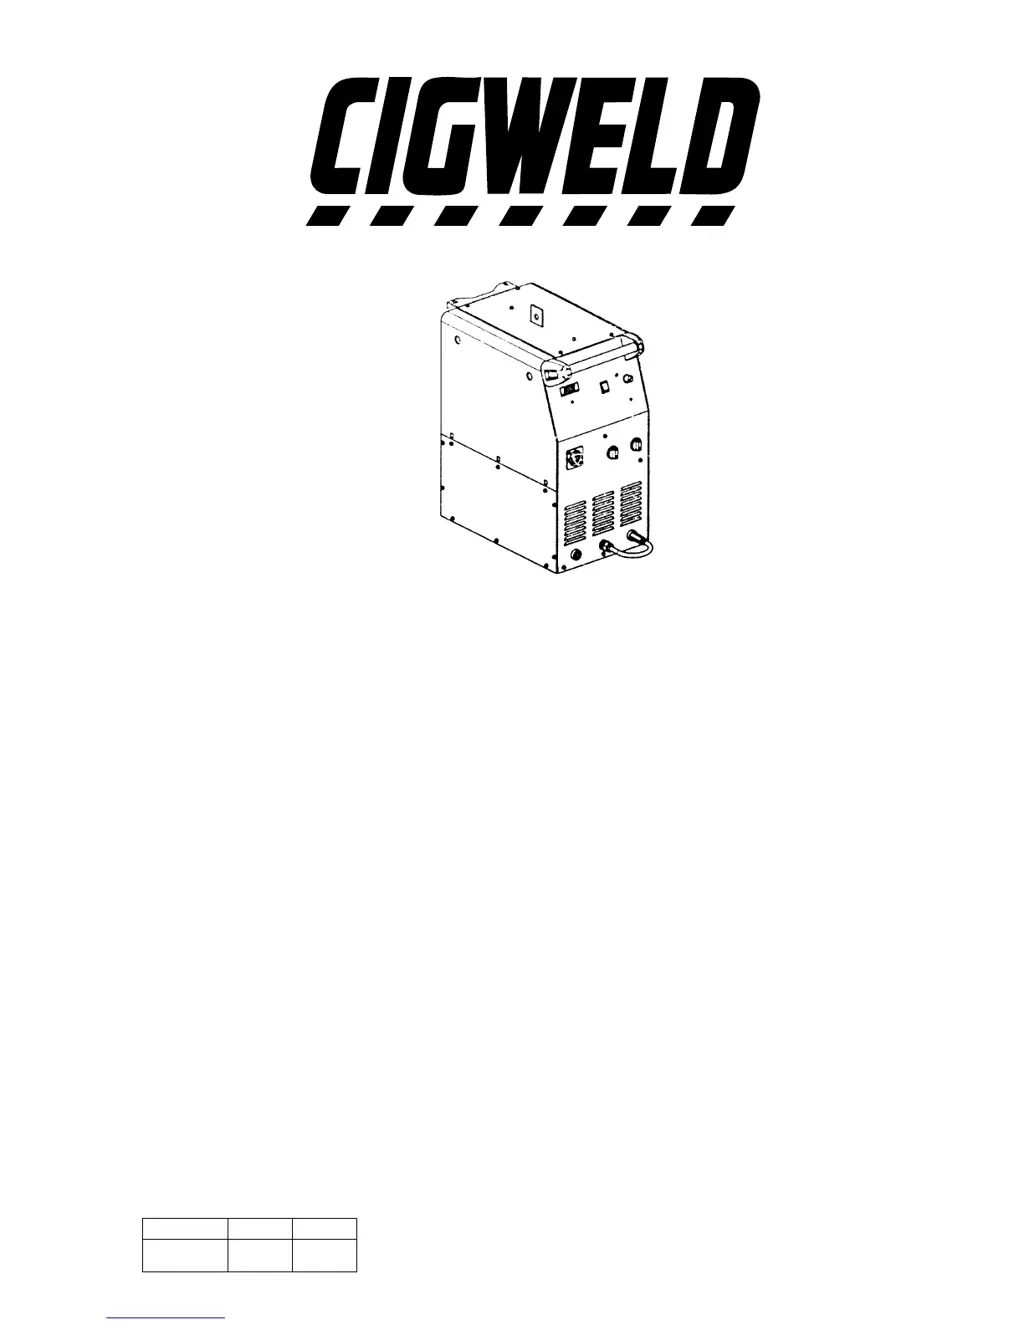
CIGWELD TRANSMIG 253 - User Manual

CIGWELD TRANSMIG 253
38 pages
Print Icon
To Next Page IconTo Next Page
Loading...
OPERATING MANUAL
MIG POWER SOURCE
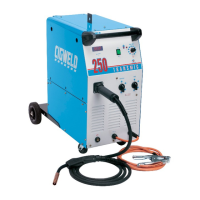
Model Description Plant Power Source
TRANSMIG 220 710024 710025
(Single Phase)
TRANSMIG 250 710018 710019
(Single Phase)
TRANSMIG 253 710009 710013
(Three Phase)
PART NO. ISSUE DATE
719454 02 403

Questions and Answers

  • S
    Samuel MeyersAug 19, 2025
    How to fix porosity in CIGWELD Welding System?
    • S
      Shawn MillerAug 19, 2025
      To fix porosity issues in your CIGWELD Welding System, ensure the gas cylinder isn't empty and the flow meter is correctly adjusted to 15 liters per minute. Check for gas leaks between the regulator/cylinder connection and in the gas hose to the power source. Also, make sure the hose from the solenoid valve to the MIG torch adapter is connected and not fractured. Shield the weld area from wind or increase the gas flow. Clean contaminants off the plate, and keep the distance between the MIG torch nozzle and the workpiece to a minimum. Ensure the gas holes aren't blocked and gas exits the torch nozzle. Prevent spatter buildup inside the MIG torch nozzle to avoid restricting gas flow.
  • A
    Alicia LandryAug 21, 2025
    Why is the wire feed inconsistent in my CIGWELD Welding System?
    • J
      Jennifer LynchAug 21, 2025
      Inconsistent wire feed in your CIGWELD Welding System can be caused by several factors. The wire spool brake might be too tight, causing the feed roller to slip, or too loose, leading to unwinding and tangling. A worn or incorrect feed roller size can also be the culprit; use the correct 'U', 'V', or 'knurled' groove feed roll for the wire type. Misalignment of inlet/outlet guides can cause the wire to rub, reducing feedability. A blocked liner, incorrect contact tip, poor work lead contact, or a bent liner can also contribute to this issue. Ensure all components are in good condition and properly aligned.
  • T
    Tamara ArmstrongAug 25, 2025
    What to do if there is excessive spatter with CIGWELD Welding System?
    • M
      Mr. Jacob GriffithAug 25, 2025
      Excessive spatter in your CIGWELD Welding System can occur if the voltage is too high or too low. To correct this, lower the voltage by reducing the voltage selection switch or increase the wire speed control if the voltage is too high. If the voltage is too low, raise the voltage by increasing the voltage selection switch or reduce the wire speed control.
  • M
    Michelle EscobarAug 26, 2025
    How to prevent undercut when using CIGWELD TRANSMIG 253 Welding System?
    • K
      Kimberly MaddoxAug 26, 2025
      Undercut in your CIGWELD Welding System can be due to a welding arc voltage that's too high, an incorrect torch angle, or excessive heat input. Reduce voltage by lowering the voltage selection switch position or increase the wire feed speed. Adjust the torch angle, and increase the torch travel speed and/or reduce welding current by reducing the voltage selection switch position or reducing the wire feed speed.
  • S
    Shawn CamposAug 28, 2025
    Why is the weld shape irregular with my CIGWELD TRANSMIG 253 Welding System?
    • J
      Joseph CarrollAug 28, 2025
      An irregular weld shape with your CIGWELD Welding System can stem from incorrect voltage and current settings (convex shape indicates voltage too low; concave shape indicates voltage too high), a wandering wire, incorrect shielding gas, or insufficient/excessive heat input. Adjust voltage and current using the voltage selection switch and wire speed control. Replace the contact tip if the wire is wandering. Check the shielding gas, and adjust the wire speed control or voltage selection switch to manage heat input.
  • C
    coxjessicaAug 30, 2025
    What causes lack of penetration in CIGWELD TRANSMIG 253 Welding System?
    • L
      laurenandradeAug 30, 2025
      Lack of penetration in your CIGWELD Welding System can be caused by a welding current that is too low, a joint preparation that is too narrow or a gap that is too tight, or an incorrect shielding gas. Increase welding current by increasing wire feed speed and increasing the voltage selection switch position. Increase the joint angle or gap. Change to a gas which gives higher penetration.
  • A
    Angela HendersonSep 1, 2025
    Why is the wire feed jerky in my CIGWELD Welding System?
    • L
      Laura StokesSep 1, 2025
      A jerky wire feed in your CIGWELD Welding System can be caused by a worn or dirty contact tip, a worn feed roller, excessive back tension from the wire reel hub, or a worn, kinked, or dirty conduit liner. Replace the contact tip or feed roller if worn. Reduce brake tension on the hub. Clean or replace the conduit liner.
  • A
    Andrea PughSep 3, 2025
    What causes weld cracking when using CIGWELD TRANSMIG 253?
    • T
      Tonya TaylorSep 3, 2025
      Weld cracking in your CIGWELD Welding System can be attributed to weld beads that are too small, weld penetration that is narrow and deep, excessive weld stresses, excessive voltage, or a cooling rate that is too fast. Decrease travel speed. Reduce current and voltage and increase MIG torch travel speed or select a lower penetration shielding gas. Increase weld metal strength or revise the design. Decrease voltage by reducing the voltage selection switch. Slow the cooling rate by preheating the part to be welded or cool slowly.
  • A
    allisonsamanthaSep 6, 2025
    Why is there no gas flow in my CIGWELD TRANSMIG 253?
    • S
      Sarah WebsterSep 6, 2025
      If there is no gas flow in your CIGWELD Welding System, it could be due to a cut gas hose, impurities in the gas passage, or the gas regulator being turned off. Replace or repair the gas hose. Disconnect the gas hose at the rear and raise the gas pressure to blow out impurities. Ensure the gas regulator is turned on.
  • K
    Kristopher BarronSep 8, 2025
    Why won't arc establish on CIGWELD Welding System?
    • C
      Cheryl RamseySep 8, 2025
      If your CIGWELD Welding System feeds wire when the trigger is depressed but the arc cannot be established, this is due to poor or no work lead connection. Clean the work clamp area and ensure a good electrical contact.

Summary

Unpacking Your Transmig

Introduction

Important Safety Precautions

Crucial safety advice for operating welding equipment.

Gases and Fumes

Electric Shock

Risks and precautions associated with electric shock during welding.

Fire and Explosion

Noise

Protection against hearing damage from welding noise.

Arc Rays

Eye and skin protection against arc rays and UV radiation.

Electromagnetic Compatibility

Electromagnetic Compatibility - Methods Of Reducing Emissions

Safe Practices For The Use Of Welding Equipment

Precautions to be taken by Operators

Specific safety precautions for welding operators.

Personal Protection

Resuscitation For Electric Shock Victims

Steps to follow for resuscitation of electric shock victims.

Resuscitation

Installation Recommendations

Alternative Supply Voltage

Set Up For Compact Transmig

Power Source Controls, Indicators and Features

Voltage Control Switches

Wirefeeder Drive Roller Pressure Adjustment

Installing A New Wire Conduit

Basic Welding Technique

Routine Maintenance & Inspection

Basic Troubleshooting

Solving Problems Beyond the Welding Terminals

Troubleshooting issues starting from the wire spool to the torch.

Welding Problems

Undercut

Causes and remedies for weld undercut.

Lack of penetration

Causes and remedies for insufficient weld penetration.

Lack of fusion

Causes and remedies for lack of fusion in welds.

Excessive spatter

Causes and remedies for excessive spatter during welding.

Irregular weld shape

Causes and remedies for irregular weld shapes like convex or concave.

Power Source Problems

Mains supply voltage is ON. Welding arc can not be established.

Troubleshooting when the arc cannot be established with mains voltage.

Mains supply voltage is ON but when the torch trigger switch is depressed nothing happens.

Troubleshooting when the torch trigger does not activate the machine.

Wire feed when trigger is depressed but arc cannot be established.

Troubleshooting when wire feeds but no arc is established.

Transmig 220 & 250 Compact Power Source Circuit Diagram

Transmig 253 Compact Power Source Circuit Diagram

CIGWELD TRANSMIG 253 Specifications

General IconGeneral
Output Current Range30 - 250A
Duty Cycle250A @ 30%, 160A @ 60%, 120A @ 100%
Weight87kg
Dimensions980 x 540 x 930mm
Wire Size Range0.6 - 1.2 mm
Wire Diameter Range0.6 - 1.2 mm
Input Voltage415V 3 Phase

Related product manuals