Do you have a question about the Cisco MERAKI MX84 and is the answer not in the manual?
Reset button location on the side of some MX appliances, next to the USB port.
Reset button location on the back of MS350 series switches.
Reset button in the upper left quadrant of the back plate of MR12, MR16, MR24 APs.
Reset button adjacent to power/Ethernet ports on MR11/14/18/26/32/33/34 APs.
Reset button next to the Ethernet port on MV21 and MV71 cameras.
Accessing reset button by turning optical dome on MV12/MV22 cameras.
Loosening security screws to access reset button on MV72 cameras.
Reset button next to Ethernet port on MV32 cameras.
This document provides comprehensive instructions for resetting various Cisco Meraki devices to their factory defaults, covering a range of product categories including security appliances, access switches, outdoor access points, indoor access points, and security cameras. The primary function of these devices is to provide network connectivity, security, and surveillance capabilities, and the reset procedure is a crucial maintenance feature for troubleshooting, reconfiguring, or preparing devices for redeployment.
For most Cisco Meraki devices, the factory reset process involves locating a small reset button, typically requiring a paper clip or a similar thin object to press and hold it for 10-15 seconds. The duration is critical, often until a power light goes out, indicating that the reset has initiated. This action clears all local configurations, including statically assigned IP addresses, Ethernet configurations, DHCP lease pools, and web proxy settings.
A key usage feature to note is that if a device is still connected to a network after a factory reset, it will automatically redownload its previous configuration from the Meraki Dashboard once it comes back online. To ensure a complete configuration reset, it is essential to remove the device from its network before performing the factory reset. This prevents the device from reverting to its old settings. After a reset, devices typically take 5-10 minutes to download their latest configuration from the Dashboard, requiring patience during this process.
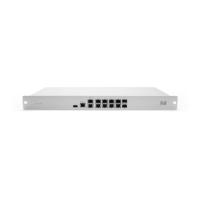
For rack-mounted security appliances, the reset button is usually located on the front panel and is clearly labeled "Reset." The procedure remains consistent: press and hold for 10-15 seconds to clear static IP address settings, DHCP lease pool, and local configuration. As with other devices, the appliance will then download its latest configuration from the Dashboard, which can take several minutes. Reconfiguring a static IP address after a reset requires following specific instructions detailed in a separate knowledge base article.
Compact (non-rack-mounted) MX Security Appliances and Z-Series Teleworker Gateways have their reset button on the back panel, also labeled "Reset." The reset process is identical to the rack-mounted versions, clearing all local configurations and requiring a download from the Dashboard afterward. The visual aids in the document show the "Reset" button often located near USB ports or other network interfaces. It's important to recognize that the label on the reset button might vary, sometimes appearing as "Restore" or a circular arrow icon, but the function and procedure remain the same.
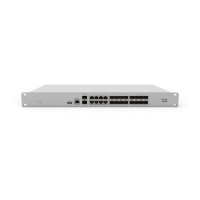
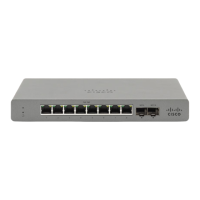
For MS access switches, the reset button's location can vary by model. On MS420 series switches, the "Restore" button is on the right side, adjacent to the SFP ports. For MS350 series switches, the reset button is on the back of the unit and is typically indicated by a circular arrow. The reset procedure for switches also involves pressing and holding the button for 10-15 seconds until the power light goes out, clearing static IP settings and local configuration. A crucial maintenance note for switches is to release the button once the power light goes out; holding it longer after the switch reboots can place it in factory test mode. If this occurs, a simple reboot will return it to normal behavior. Information on configuring static IP addresses for switches is available in the MS Quick Start Guide.
Outdoor access points like the MR6X and MR7X have their "Reset" button located below the Ethernet port. The reset process is the standard 10-15 second hold, clearing static IP address settings and local configuration. Similar to other devices, they will download their configuration from the Dashboard after a reset. Setting up a static IP address on these devices requires consulting a specific knowledge base article for Cisco Meraki APs.
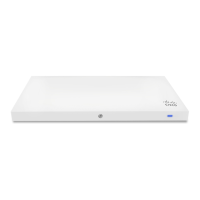
Indoor access points (MR1X/2X/3X series) also feature a reset button, though its location varies by model. For MR12, MR16, and MR24 models, the reset button is in the upper left quadrant of the back plate. For MR11, MR14, MR18, MR26, MR32, MR33, and MR34 models, the button is adjacent to the power and Ethernet ports. The reset procedure is consistent: press and hold for 10-15 seconds to clear local configurations. Note that some older models, like MR58 and OD2, do not have a reset button.
MV Security Cameras also have a reset button, though its location differs across models. Regardless of the model, after a reset, cameras will download their latest configuration from the Dashboard, a process that can take 5-10 minutes. An important maintenance feature for cameras is that stored video will not be deleted during a factory reset; to delete video, the camera must be removed from the network.
Specific instructions for cameras include:
The document provides clear visual aids with red arrows pointing to the exact location of the reset buttons on various devices, enhancing the usability of these instructions. This comprehensive guide ensures that users can effectively perform factory resets for maintenance, troubleshooting, or reconfiguration across the diverse range of Cisco Meraki networking and surveillance equipment.
| Form Factor | 1U |
|---|---|
| Firewall Throughput | 500 Mbps |
| Maximum VPN Tunnels | 100 |
| Recommended Clients | 200 |
| USB Ports | 1 x USB 2.0 |
| Max. Client VPN Users | 50 |
| Operating Temperature | 32°F to 104°F (0°C to 40°C) |
| Humidity | 5% to 95% non-condensing |
| Interfaces | 2x GbE SFP ports, 8x GbE ports |
| WAN Interfaces | 2 x 1GbE RJ45, 2 x SFP |
| LAN Interfaces | 8 x GbE RJ45 |
| Power Supply | 100-240V AC |