Step 3 Plug the four fan connectors into the motherboard.
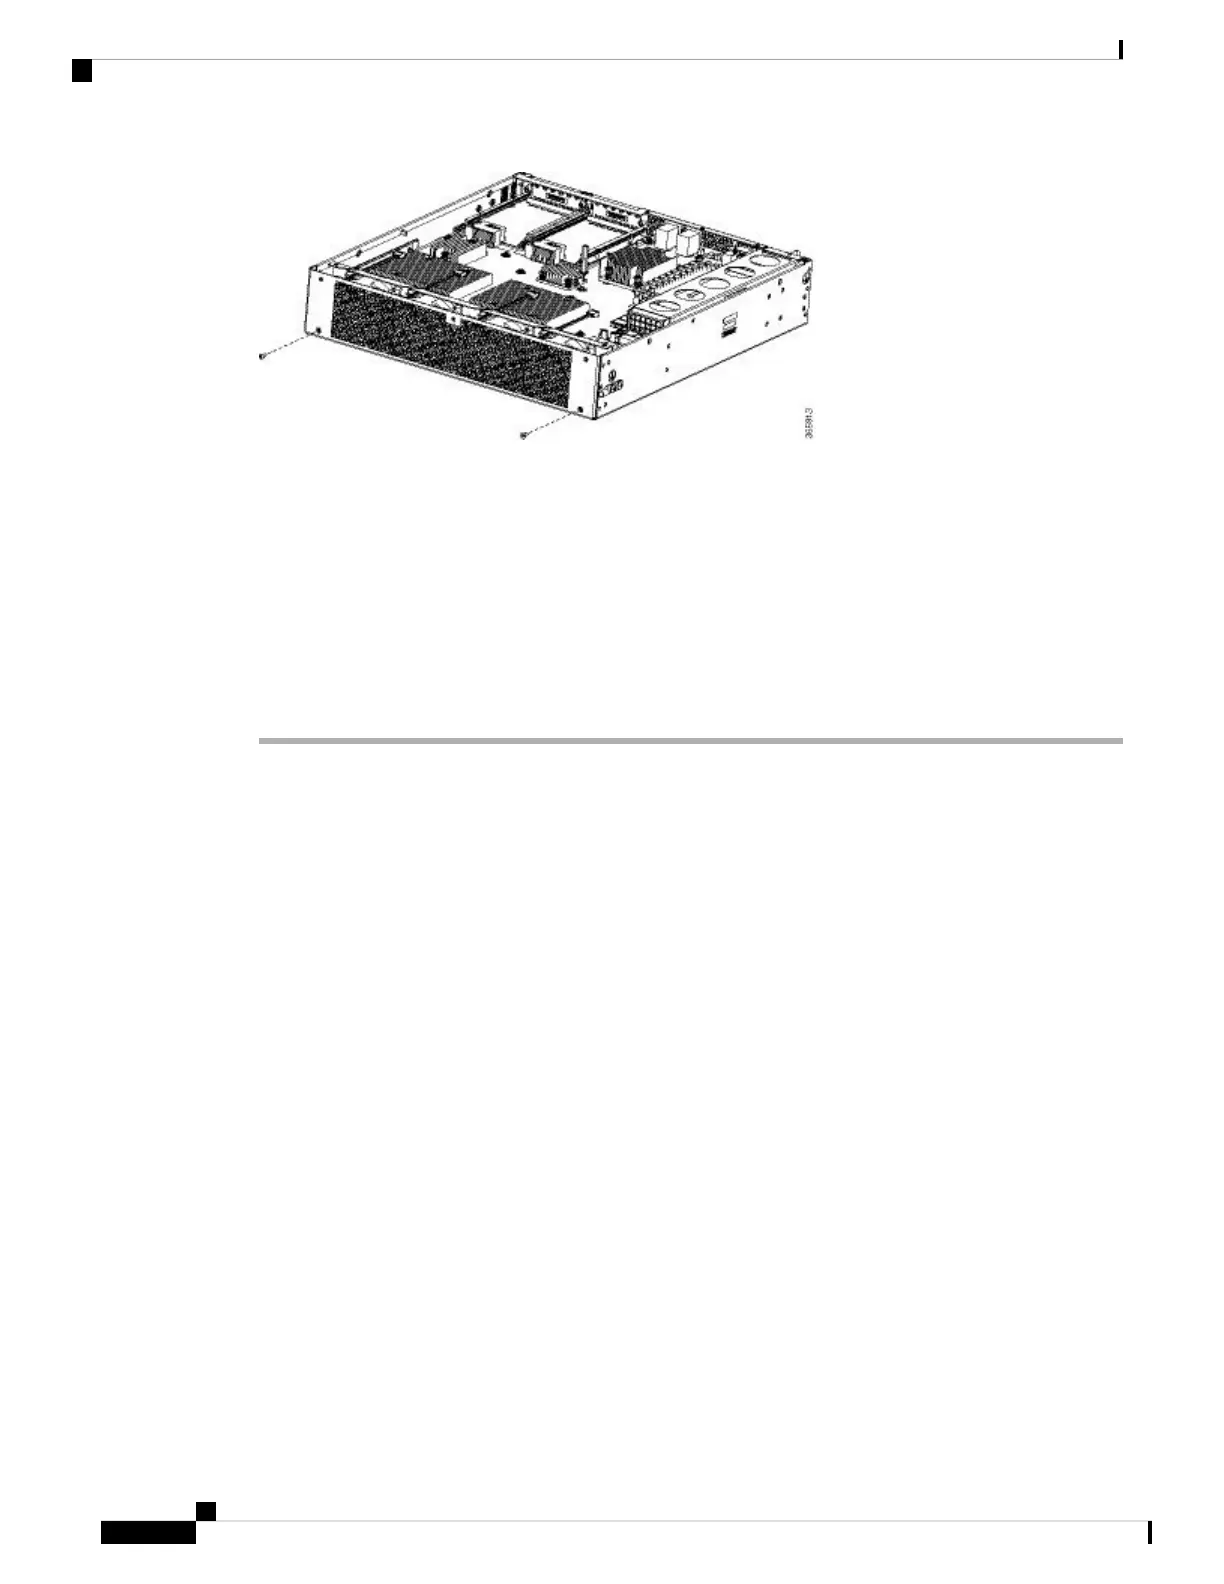
Step 4 Replace the Cisco ASR 1002-HX Router top cover:
a) Slide the cover onto the chassis ensuring that the interlock hook feature fits on the chassis cover and base.
b) Install the top surface screws, the rear screws, and the side screws and tighten them slightly.
Step 5 Install the power supplies into the chassis and power up the router. See:
• Installing AC Power Supplies
• Installing DC Input Power Supplies
Repacking the Router
If your system is damaged, you must repack it for return shipment.
Before you return the router or move the router to a different location, repack the system using the original
packaging material.
Removing and Replacing FRUs
30
Removing and Replacing FRUs
Repacking the Router

 Loading...


