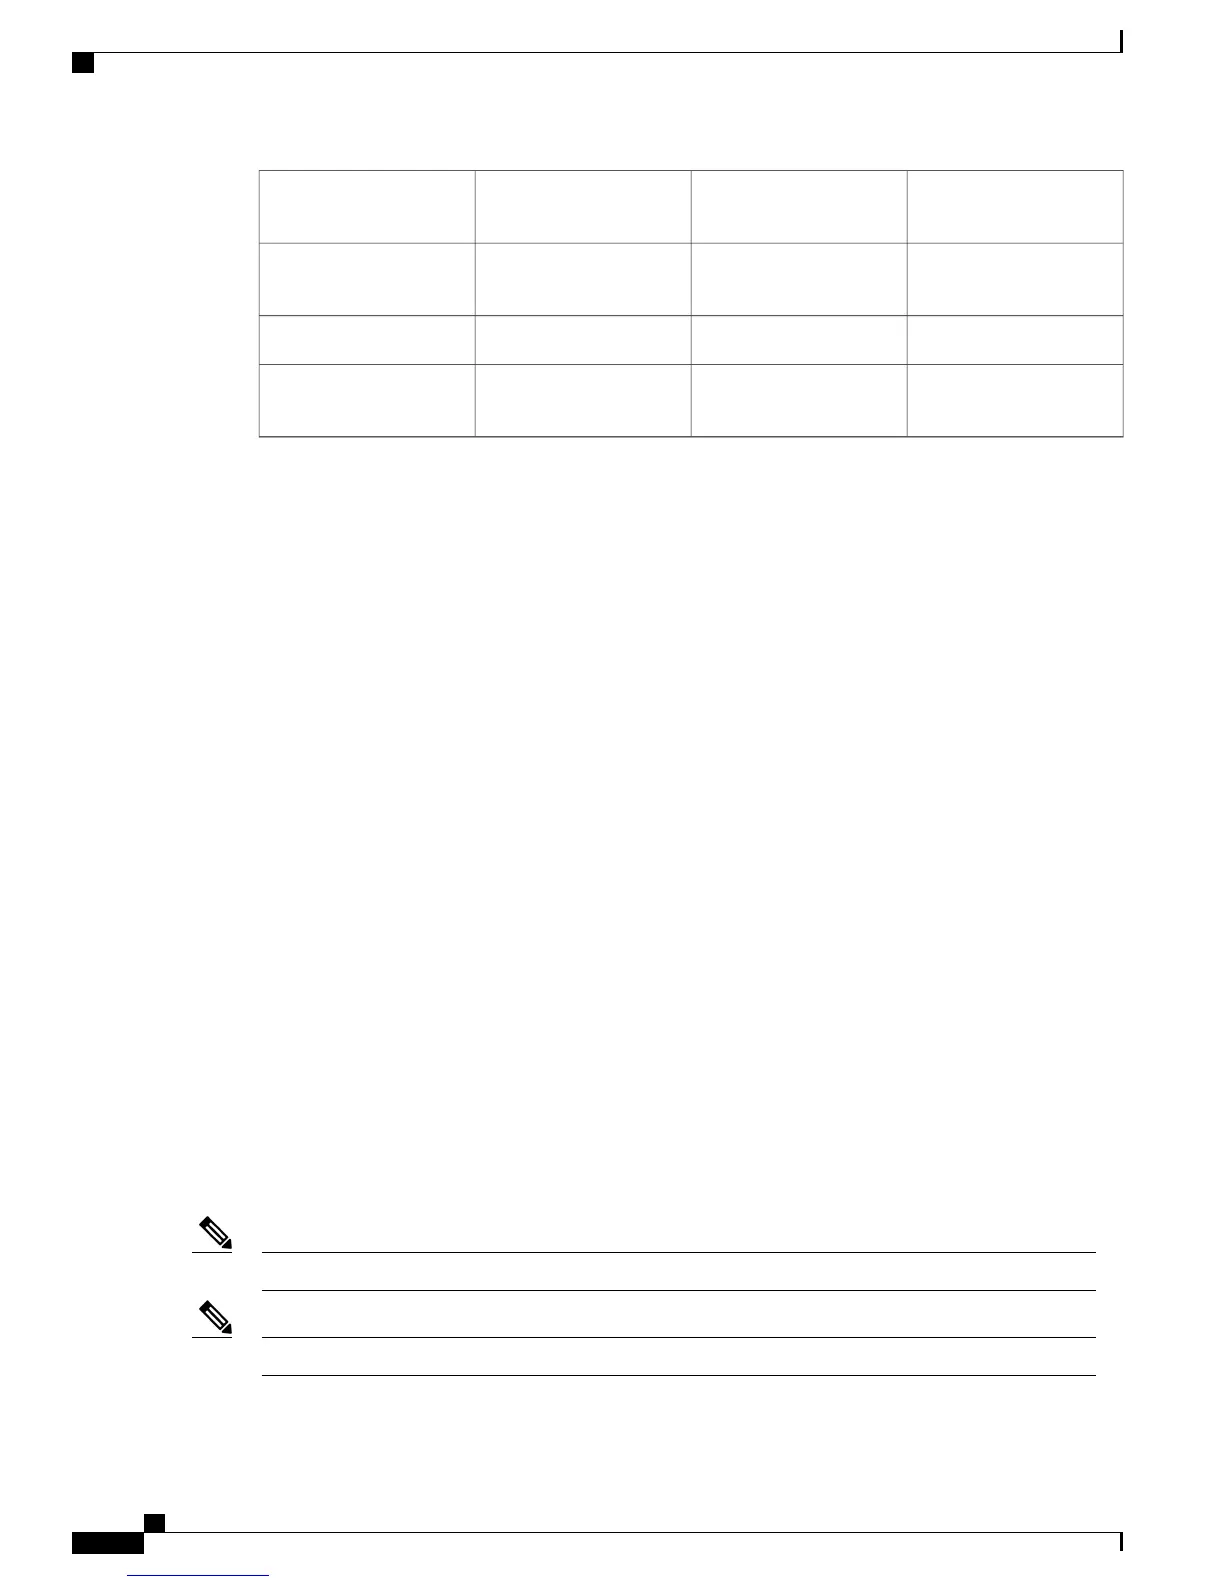
AC power supply in slot
1 (power supply zone 0)
7Forward rack-mount ears
are shipped installed
2
AC power supply in slot
0 (power supply zone 0)
8Chassis handle3
Chassis ground stud9Rear rack-mount brackets4
——
AC power supply in slot
3 (power supply zone 1)
5
Cisco ASR 1013 Router Power Zones
Internal fans draw cooling air into the chassis and across internal components to maintain an acceptable
operating temperature. (See the preceding figure.) The fans are built into the power supply allowing fan and
power supply replacement. A two-hole grounding lug is located on the bottom rear of the chassis (see the
preceding figure, callout 6). Four power supplies, either AC power supplies or DC power supplies, are accessed
from the rear of the router. The power supply bays are numbered from bottom to top: 0, 1, 2, and 3 respectively.
The Cisco ASR 1013 Router has two power zones:
•
Power zone 1(top half of chassis) includes slots:
◦
PS1-A
◦
PS1-B
◦
Carrier card slots 3, 4, and 5
◦
RP1
◦
FP1
•
Power zone 0 (bottom half of chassis) includes slots:
◦
PS0-A
◦
PS0-B
◦
Carrier card slots 0, 1, and 2
◦
RP0
◦
FP0
Do not combine AC and DC power supplies in the same chassis.Note
Cisco ASR 1013 Router supports only Cisco ASR1000-RP2.Note
Cisco ASR 1000 Series Router Hardware Installation Guide
6
Cisco ASR 1013 Router Overview and Installation
Cisco ASR 1013 Router Power Zones

 Loading...


