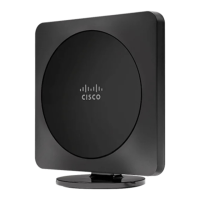
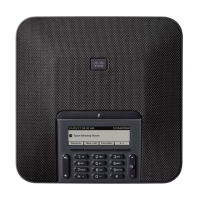
Install the Base Station
When the base station connects to the network, the LEDs light to indicate the network status:
• Green—Connected.
• Amber—Connection in progress.
• Red, flashing—Can't connect to the network.
• Red, solid—Network connection resetting.
Use this procedure to check that the base station and the network can communicate with each other, before
you mount the base station in the chosen location.
Before you begin
The base station requires:
• Power over Ethernet (PoE) or a power adapter
• LAN connection
• An IP address assigned by DHCP in the network
Procedure
Step 1 Plug one end of the Ethernet cable into the base station.
Step 2 Plug the other end of the Ethernet cable into the LAN port.
Step 3 If you don't use PoE, plug the power adapter into the base station and then into the electrical outlet.
Step 4 If the LED flashes red after a few minutes, do these steps:
a) Locate the Reset button on the bottom edge of the base station.
b) Press and hold Reset until the LED is a solid red.
c) Release Reset.
The LED should flash amber and then try to connect. If the LED doesn't light green, then the base station
can't get an IP address. See Base Station LED is Solid Red for further help.
What to do next
Mount the base station with one of these procedures:
• Mount the Base Station on the Ceiling, on page 6
• Mount the Base Station on a Desk, on page 9
• Mount the Base Station on the Wall, on page 10
Hardware Installation
5
Hardware Installation
Install the Base Station