Do you have a question about the Cisco Meraki MR36 and is the answer not in the manual?
Explains how to dynamically assign IP addresses using DHCP for Meraki APs.
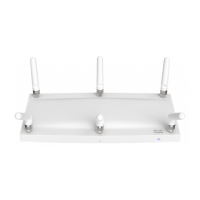
Details the process of attaching the MR36 AP to an already installed mount cradle.
Guides users on checking the status of the AP's LEDs for functionality and firmware upgrade status.
| Frequency Bands | 2.4 GHz and 5 GHz |
|---|---|
| Maximum Data Rate | 1.7 Gbps |
| MIMO Configuration | 2x2 MU-MIMO |
| Antenna Type | Integrated omni-directional antennas |
| Operating temperature | 0°C to 40°C (32°F to 104°F) |
| Wi-Fi Standards | 802.11a/b/g/n/ac/ax |
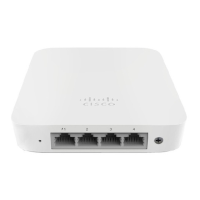
| Ethernet Ports | 1x Gigabit Ethernet |
| PoE | 802.3af |
| Mounting Options | Wall, Ceiling |
| Security | WPA2-Enterprise |
| Management | Meraki Cloud Management |
| Weight | 450 g |