Do you have a question about the Cisco Meraki MR46 and is the answer not in the manual?
Details physical attributes like interfaces, power, and environment.
Lists the physical connection ports on the MR46 access point.
Describes power input requirements and consumption for the MR46.
Specifies operating temperature and humidity limits for the device.
Outlines options for physically securing the access point.
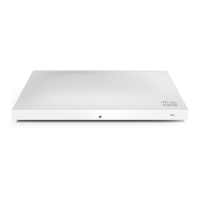
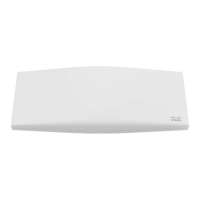
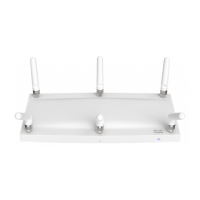
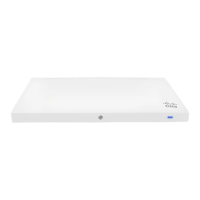
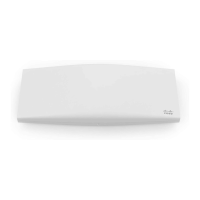
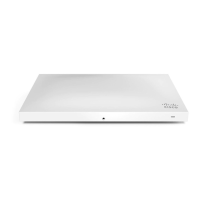
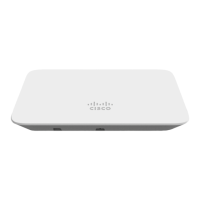
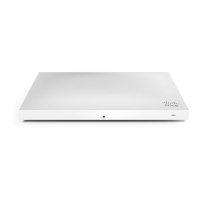
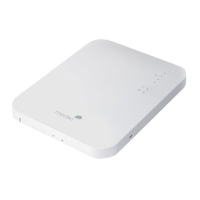
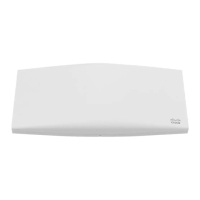
Illustrates the MR46's physical appearance and key features.
Details the Gigabit Ethernet RJ45 port for WAN uplink.
Lists available methods for powering the MR46 access point.
Explains how to use the factory reset button to restore default settings.
Details LED status lights and the "Run Dark" mode for reduced visibility.
Steps for adding and configuring an access point in the Meraki Dashboard.
Recommends upgrading firmware before mounting the access point.
Guidance on firewall rules required for Meraki access points.
Configuring DHCP for static IP assignment to Meraki APs.
Manual configuration of static IP addresses via the AP's web server.
Using DHCP server reservations for AP IP address management.
Lists the necessary tools for performing an installation.
Guidelines for selecting an optimal mounting location for the AP.
Covers the process of mounting the access point using the provided cradle.
Instructions for installing the AP mount cradle to various surfaces.
Details mounting the cradle to walls or solid ceilings securely.
Specific steps for mounting the AP on a drop ceiling T-rail.
Instructions for mounting the AP cradle to junction boxes.
How to physically attach the MR46 unit to the installed mount cradle.
Describes placing the AP on a desk or shelf without the mount cradle.
Using the included security screw to prevent unauthorized removal.
Securing the AP to a permanent structure using a Kensington lock.
Interpreting the meaning of different LED indicator states.
How to confirm the AP is connected and functioning on the network.
Assessing the wireless signal strength and coverage area.
Common steps to resolve basic connectivity and operational issues.
Testing radio function by temporarily configuring the AP as a repeater.
Verifying the Ethernet port is working correctly by connecting a client.
Validating the static IP address setup on the access point.
| Antenna Type | Internal |
|---|---|
| Operating Frequency | 2.4 GHz, 5 GHz |
| Mounting | Wall, Ceiling |
| Operating Temperature | 0°C to 40°C (32°F to 104°F) |
| Wi-Fi Standards | Wi-Fi 6 (802.11ax) |
| Ethernet Ports | 1 x 2.5 Gbps (PoE++) |
| Power over Ethernet (PoE) | 802.3at |
| MIMO | 4x4:4 |
| Radio Chains | 4 |