Do you have a question about the Cisco Meraki MR36H and is the answer not in the manual?
Provides an overview of the installation guide's purpose and scope.
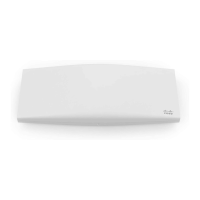
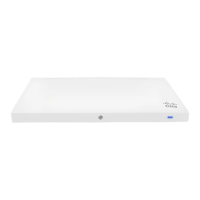
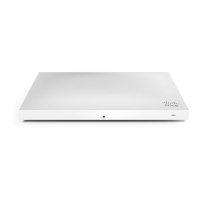
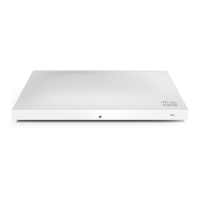
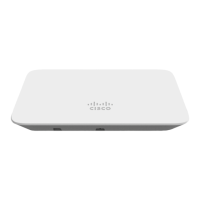
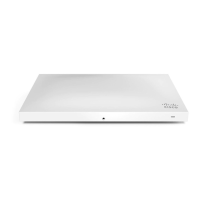
Introduces the MR36H access point and its general capabilities.
Details hardware attributes including interfaces, power, environment, and security.
Covers power input requirements, consumption, and injector details.
Specifies operating and storage temperature and humidity limits.
Describes security screw options and concealed mount plate features.
Lists the items included in the MR36H product package.
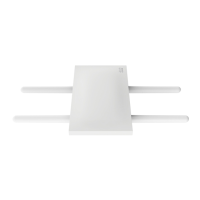
Covers the mount cradle, its components, and necessary tools for installation.
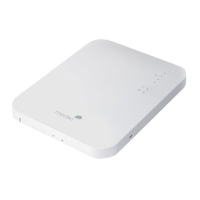
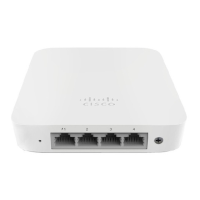
Explains the function of uplink and LAN access ports on the MR36H.
Lists required tools like screwdrivers and drills for installation.
Guides on selecting an optimal placement for the access point.
Details attaching the mount cradle to junction boxes or outlet boxes.
Explains how to securely attach the MR36H unit to the already mounted cradle.
Details how to secure the AP using the provided security screw.
Explains the procedure to release the MR36H from its mount plate.
Describes power sources and the factory reset procedure.
Explains the meaning of system and Ethernet status LEDs.
Guides on configuring the network, firmware, and firewall settings in the Meraki dashboard.
Covers dynamic and static IP assignment methods for the MR36H.
Explains reserving IP addresses for APs through the DHCP server.
Instructions for checking LEDs, connectivity, and network coverage post-installation.
Provides steps for resolving common connectivity issues.
Guides on verifying Ethernet port functionality and static IP configuration.
Outlines the warranty coverage period for the MR36H AP.
Provides contact information for support and additional operational guidelines.
The Cisco Meraki MR36H is a dual-band 802.11ax cloud-managed access point with integrated Ethernet ports, designed for room wireless and wired connectivity. It is easy to install on a single gang box on the wall and is the first cloud-managed hospitality AP from Meraki. This guide provides instructions for installation, configuration, mounting, and limited troubleshooting.
The MR36H serves as a cloud-managed access point, providing both wireless (802.11ax) and wired connectivity. It is particularly suited for hospitality environments due to its design for room-specific deployment and integrated Ethernet ports. The device can be powered via Power over Ethernet (PoE), either through a Meraki PoE Injector (sold separately) or a PoE switch. When powered by an 802.3af source, the MR36H operates in a low power mode, disabling 802.3af output on the LAN1 port but still providing full wireless capabilities.
The device features a system status LED and Ethernet status LEDs to convey its operational state. It supports "Run Dark" mode for enhanced security and reduced visibility, where the LEDs are not illuminated during normal operation, though an orange LED will briefly light up during boot before turning off.
| Brand | Cisco |
|---|---|
| Model | Meraki MR36H |
| Category | Wireless Access Point |
| Language | English |