Do you have a question about the Cisco Meraki MR36-HW and is the answer not in the manual?
Lists the items included in the MR36-HW hardware package.
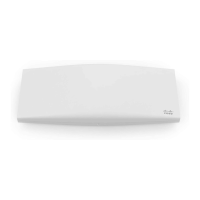
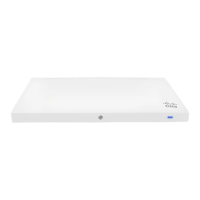
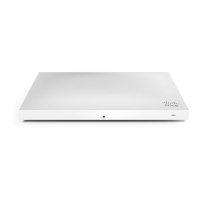
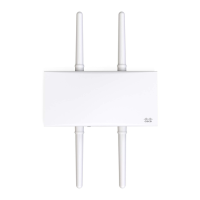
Details the features, operation temperature, and specifications of the MR36-HW.
Describes options for physically securing the access point, including security screws and Kensington locks.
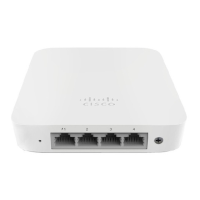
Details the RJ45 Ethernet port used for WAN connection and PoE power.
Explains how to power the MR36-HW using an AC adapter or PoE.
Explains the function of the reset button for restoring factory settings.
Guides users through setting up the network and adding the MR36-HW in the Meraki dashboard.
Recommends upgrading firmware before installation for optimal performance.
Specifies firewall requirements for outgoing connections on specific ports and IP addresses.
Details dynamic and static IP assignment methods for gateway MR36-HWs.
Procedure for setting static IP addresses via the AP's local web server.
Explains assigning static IPs via upstream DHCP server reservations.
Lists the essential tools required for installing the MR36-HW.
Lists required additional hardware like PoE power sources and network cables.
Provides guidance on selecting an optimal location for the MR36-HW for best performance.
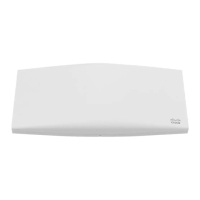
Outlines the two-step process of attaching the mount plate then the MR36-HW.
Describes how to attach the MR36-HW mount plate to various surfaces.
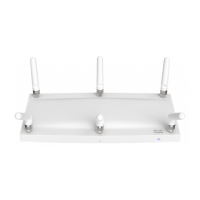
Instructions for mounting the MR36-HW to a wall or solid ceiling using the mount plate.
Details the installation of the MR36-HW on a drop ceiling T-rail using the accessory kit.
Instructions for mounting the MR36-HW to junction boxes or outlet boxes.
Guides on how to connect power to the MR36-HW for operation.
Steps for powering the MR36-HW using the optional Meraki AC adapter.
Instructions for powering the MR36-HW using a Meraki 802.3at PoE injector.
How to power the MR36-HW using an 802.3at PoE switch.
Illustrates the physical attachment of the MR36-HW to a mounted plate.
Detailed steps for attaching the MR36-HW unit to the installed mounting plate.
Instructions for placing the MR36-HW on a desk or shelf without using the mount plate.
Methods for securing the installed MR36-HW to prevent theft or dislodging.
How to install the security screw for physical securing of the device.
Instructions for using a Kensington lock to secure the MR36-HW.
Steps to check device operation and wireless network coverage after installation.
| Model | MR36-HW |
|---|---|
| Wireless Standard | 802.11ax |
| Frequency Bands | 2.4 GHz, 5 GHz |
| MIMO | 4x4 MU-MIMO |
| Ethernet Ports | 1 x 10/100/1000 Mbps |
| Power over Ethernet (PoE) | 802.3af/802.3at |
| Mounting Options | Ceiling, Wall |
| Operating Temperature | 32°F to 104°F (0°C to 40°C) |
| Max concurrent clients | 200 |