4.3
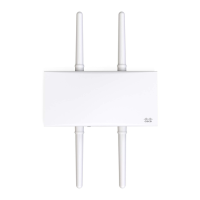
Secure the MR36-HW
Depending on your mounting environment, you may want to secure the MR36-HW to its mount location.
Your MR36-HW
can be secured in several ways. If the MR36-HW has been installed using the mount plate, it can be
secured via security screw (Torx and Philips head security screws are included; choose one), and/or
Kensington lock. If the mount
plate was not used, the MR36-HW can still be secured using a Kensington lock.
4.3.1
Security Screw
Install the security screw in the lower mount plate tab.
4.3.2
Kensington Lock
Attach a Kensington lock cable to the access point at the hard point on the side of the
device. Attach the other end of the cable to a secure location, such as a pipe or building
fixture.

 Loading...