Send documentation comments to nexus5kdocs@cisco.com.
4-3
Cisco Nexus 6000 Series Hardware Installation Guide
OL-15902-01
Chapter 4 Replacing Components
Replacing Modules
Installing a LEM
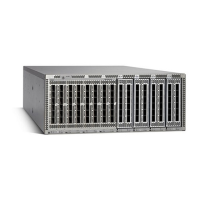
To install a LEM in a Cisco Nexus 6004 chassis, follow these steps:
Step 1 Insert the LEM into the slot and make sure it is firmly installed.
Step 2 The LEM will auto power on if the poweroff command was not executed earlier on this slot. Otherwise
no poweroff module <x> will power it on.
If the following error message is observed, remove and reinsert the LEM as per guidelines:
2013 Feb 21 23:05:17 switch %$ VDC-1 %$ %USER-2-SYSTEM_MSG: Module 5 might not have been
seated properly. Please remove and re-insert the module.
If the error persists beyond 3 attempts, contact customer support.
Replacing Modules
This section includes the following topics:
• Removing a Module, page 4-3
• Installing a Module, page 4-3
Removing a Module
To remove a module from a Cisco Nexus 6000 chassis, follow these steps:
Step 1 Shut all the ports on the module
Step 2 Poweroff the module using the poweroff module <x> command.
Step 3 Physically remove the module.
Installing a Module
To install a module in a Cisco Nexus 6000 chassis, follow these steps:
Step 1 Insert the module into the slot and make sure it is firmly installed.
Step 2 Power on the moddule using the command no poweroff module <x>
Step 3 Bring up the ports on the module by issuing ‘no shut’ on the interfaces of the module