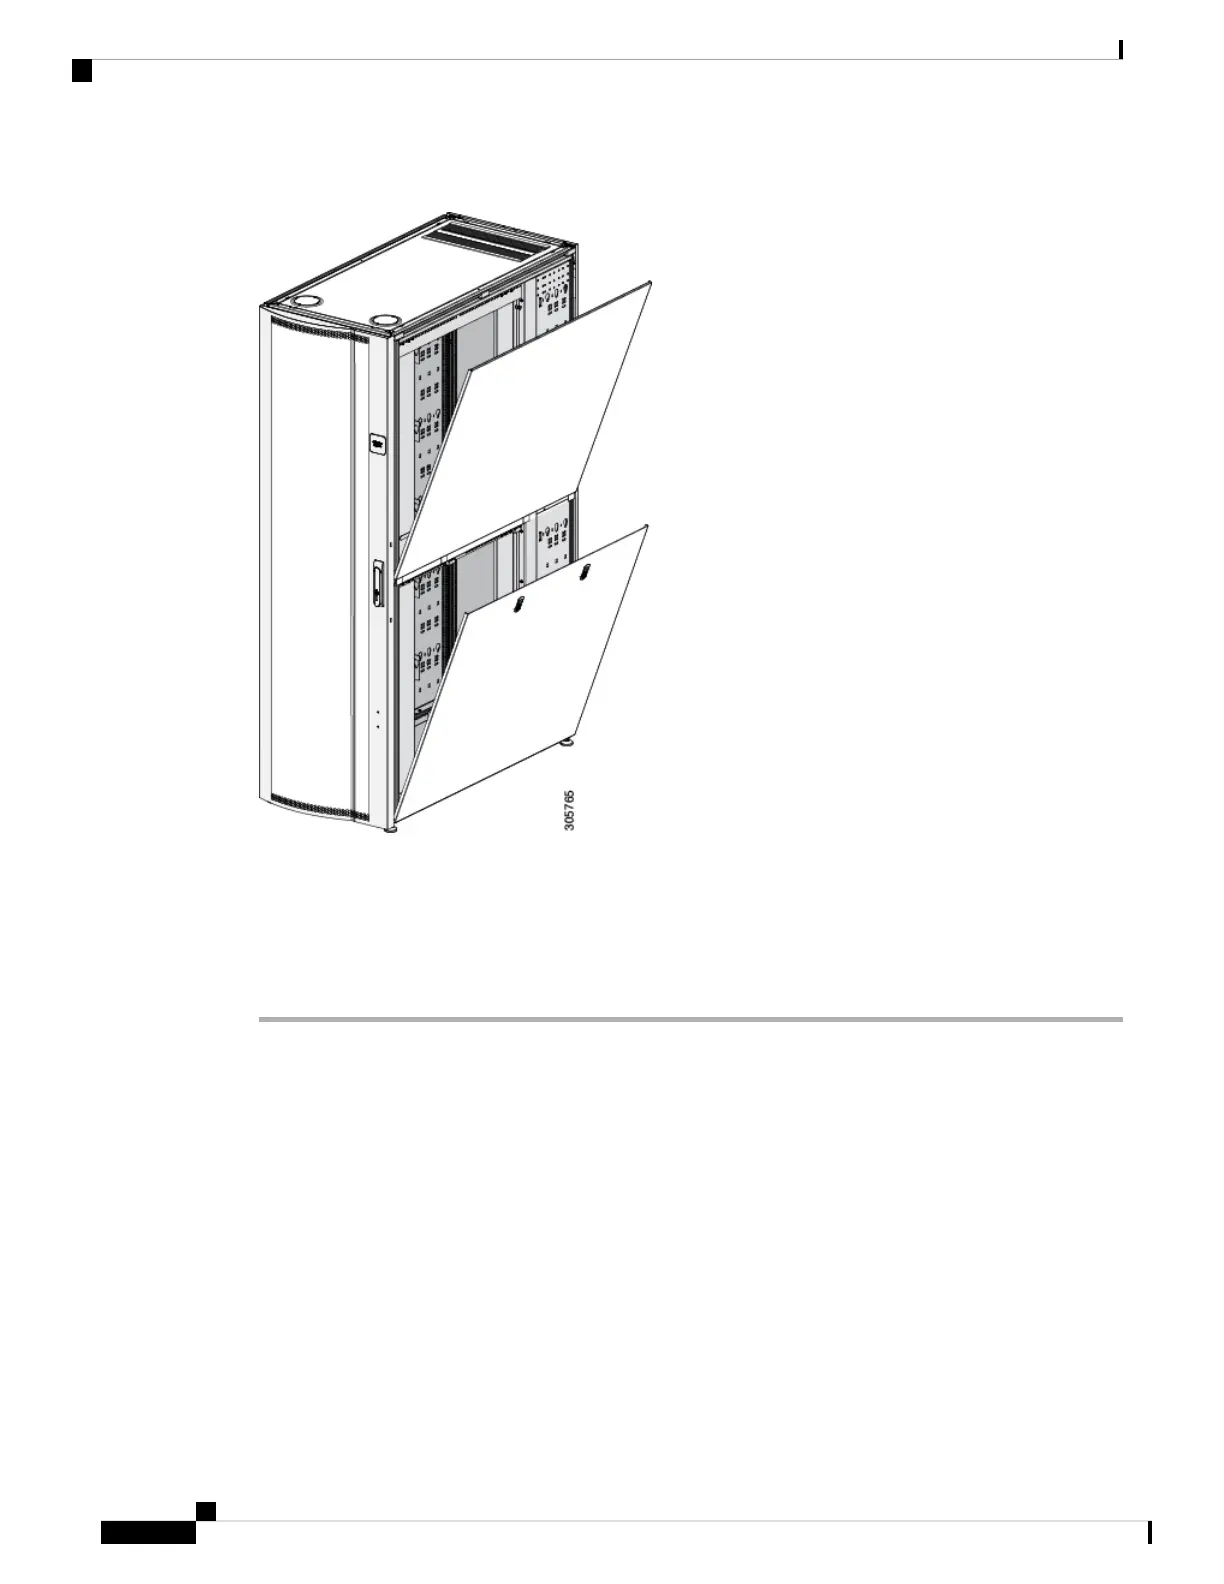
Figure 22: Side Panels Open
Step 2 Hold the top panel by its sides and slightly pull the bottom of the panel towards you; then lift the side panel
and pull it away from the ridge on the top of the rack.
Step 3 Hold the bottom panel by its sides and slightly pull up on the bottom of the panel; then lift the panel and pull
it away from the ridge on the middle of the rack.
Step 4 Store the side panel(s) in an upright position against a flat surface.
Removing and Installing Cisco R-Series Rack Doors
All Cisco R42612 Racks come with front and rear doors installed. Removing the doors when installing and
removing devices in the rack is only required if part of the rack is obstructed by the door as you install the
device. Most devices can be installed without removing the doors.
Removing and Installing the Front Door
Installing the front door on the rack is the reverse of removing the front door. Complete the following steps
to remove the front door from the Cisco R42612 Rack.
Cisco R42612 Rack and RP-Series Metered Input PDU Installation Guide
44
Replacing Components
Removing and Installing Cisco R-Series Rack Doors
 Loading...