Figure 23: Removing the Hinges
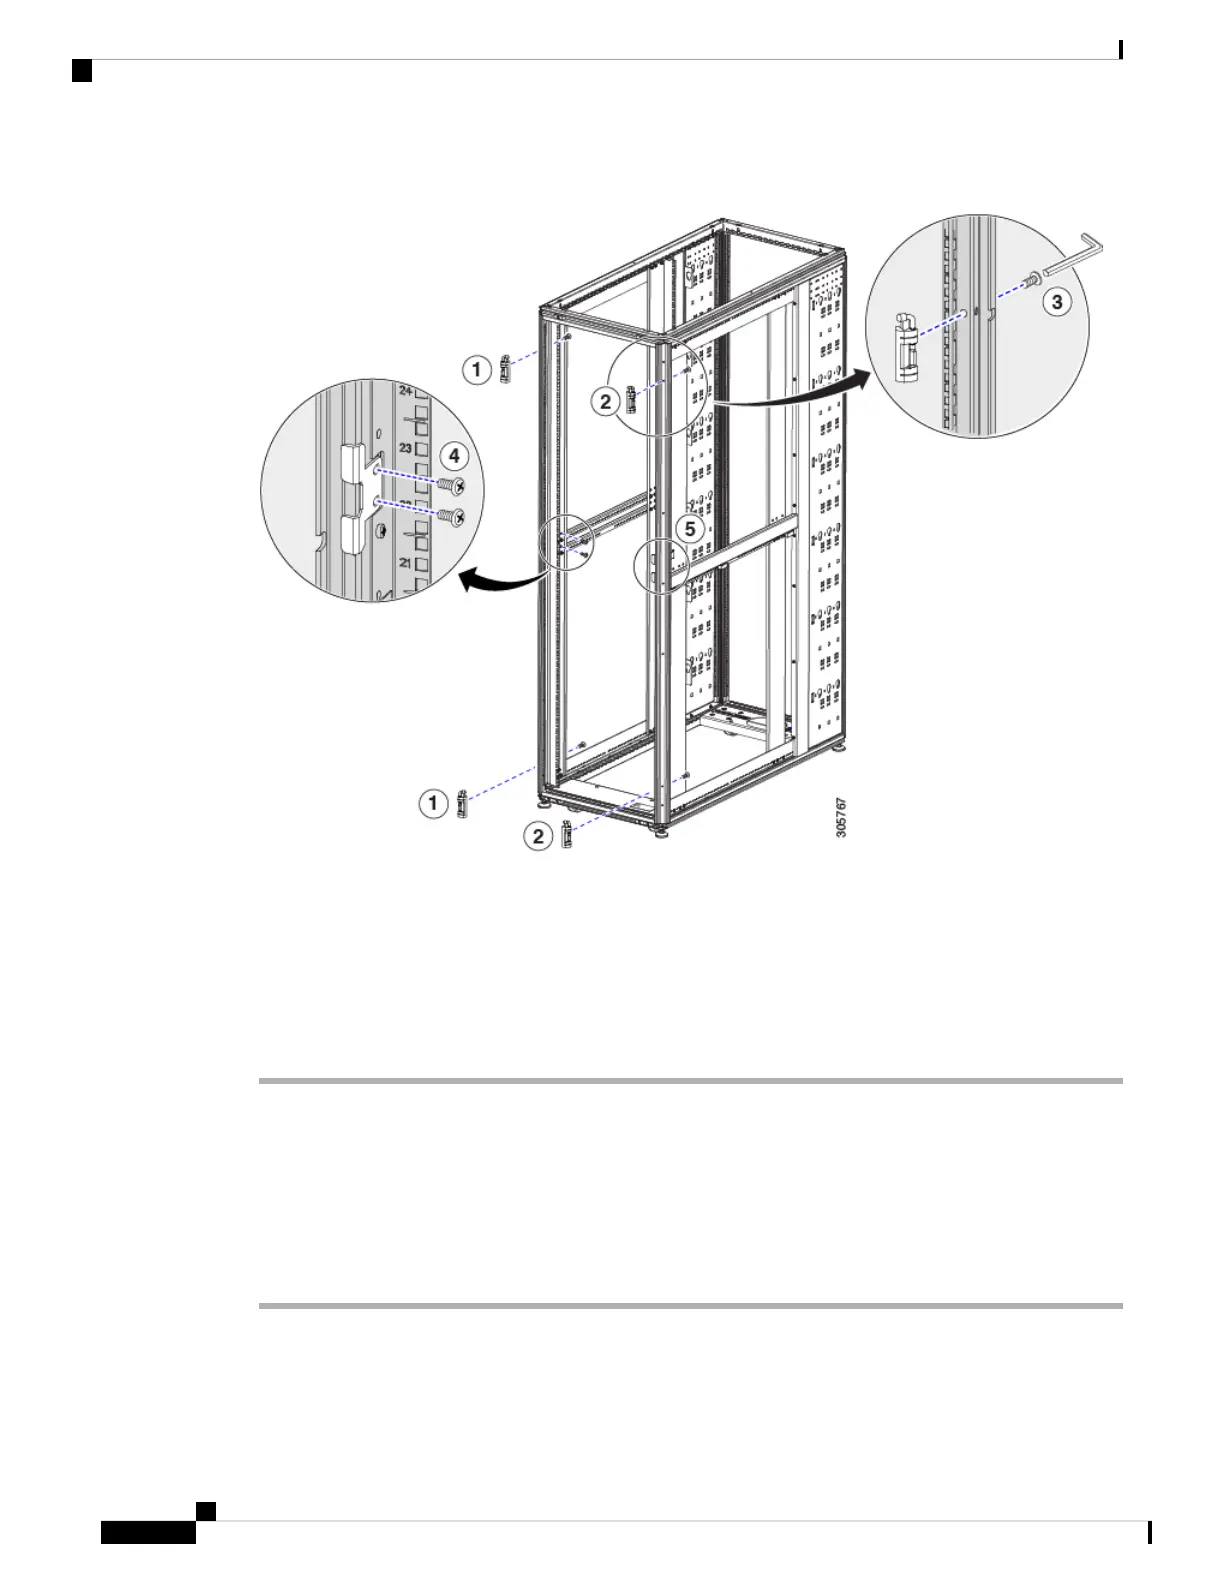
Step 3 Install the hinges on the other side of the rack. See callouts 2 and 3.
Step 4 Remove the front door latch. See callout 4.
Step 5 Attach the front door latch to the other side of the rack. See callout 5.
Step 6 Rotate the door 180°; then install the door on the other side of the rack.
Step 7 Remove the Cisco logo from the right side of the door and snap it into the holes on the left side of the door.
Removing and Installing Rear Doors
Installing the rear doors is the reverse of removing the rear doors. Complete the following steps to remove
the rear doors from the Cisco R42612 Rack.
Procedure
Step 1 Unlock and open the right-side door.
Step 2 While holding the door steady, lift both captive hinge pins until they unlock. See the following figure.
Cisco R42612 Rack and RP-Series Metered Input PDU Installation Guide
46
Replacing Components
Removing and Installing Rear Doors
 Loading...