Lab Overview
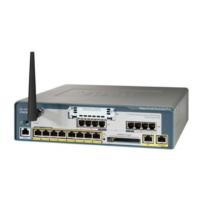
Be sure to turn off your wireless adaptor before completing the labs to avoid routing issues. An
Ethernet connection from your laptop to the UC500 / lab network should be the only network
connection.
In the lab documents, ‘xx’ refers to your Pod number. For example, if you are seated at POD01, you
would replace all instances of ‘xx’ in the lab documents with ‘01’.
Several of the labs will require you to partner with another pod to demonstrate certain features of the
system. This is to emulate an analog PSTN connection for the lab environment. Normally, you would
plug trunks from the PSTN into the FXO or ISDN ports and analog devices (such as fax machines) into
the FXS ports. Please be sure and coordinate with the team seated at your ‘buddy’ pod so that you are
both working on roughly the same portion of a lab and can complete the verification steps successfully.
One of the labs requires an analog phone for completion. There is only a single analog phone for each
pair of Pods. Please share the phone between yourselves and your ‘buddy’ pod.
There are two Ethernet cables at each pod. These are both ‘broadband internet’ connections (emulating
the internet). One of these is for the UC500 WAN port, the other is used during the VPN lab to connect
your laptop. Either cable will work for either connection – there is no difference between them.
All of the software needed on your laptops to complete the lab is available from the lab facilitator.
Please copy all of this software to your hard drive before the lab begins so you will have it when needed.
This software will include the Cisco Configuration Assistant (CCA), Cisco IP Communicator (CIPC),
Cisco VPN Client and the new auto attendant (AA) script.
Unless otherwise noted, it is necessary to restore the UC500 to factory default condition after each lab
section. Instructions for how to do this are included in Appendix A.
Please read items in RED very closely. These are notes / tips that will make the lab go much more
smoothly.

 Loading...