filL
1.
Antes de hacer las conexiones, asegurese de
desconectar la alimentaci6n de la unidad.
2.
Sea especialmente cuidadoso al dirigir y fijar
los cables.
mantengalos alejados del motor, tubo de
escape, etc.
EI
calor puede danar los cables.
3.
Si
el
fusible se quema, revise las conexiones.
Si
esta quemado, reemplace
el
fusible por otro
nuevo con el mismo valor de amperaje que el
original.
4.
Para reemplazar
el
fusible, abra la tapa de la
unidad fuente, retire
el
fusible antiguo e instale
otro nuevo. (Figura 7)
* Existen distintos tipos de cajas de fusibles.
no permita que
el
terminal del lado de la
baterfa quede en contacto con otras partes
metancas.
5.
Retire la eti'queta adhesiva antes de conectar
un
dispositiv~
CeNET. (Figura
8)
6.
Abra
el
capuch6n antes de conectar una
unidad externa.
AI
abrir el capuch6n, procure
no danarlo.
Asegurese de que
el
capuch6n este cerrado
cuando no haya ninguna unidad externa
conectada. (Figura 9)
Pour rernplacer
Ie
fusible, ouvrir
Ie
C6tf3
de
I'n'
.......
·
.....
'-,.'r'i!
fusible
et
-\
II
existe
;-"d,,~""""
"r,~
fusibles. pas
entrer en contact avec
rnetalliques.
1.
S'assuror
l'apparoil
horE:;
circuit
avant de faire
Ie
c21.bla~le.
Faire particulierernent c:lttention
!'Z'::1Cllt1nlinernent
des fils.
eloigner
elu
rnotf::ur~
d\~chappernent!
chalt'1ur
d'endornrnaoer
1.
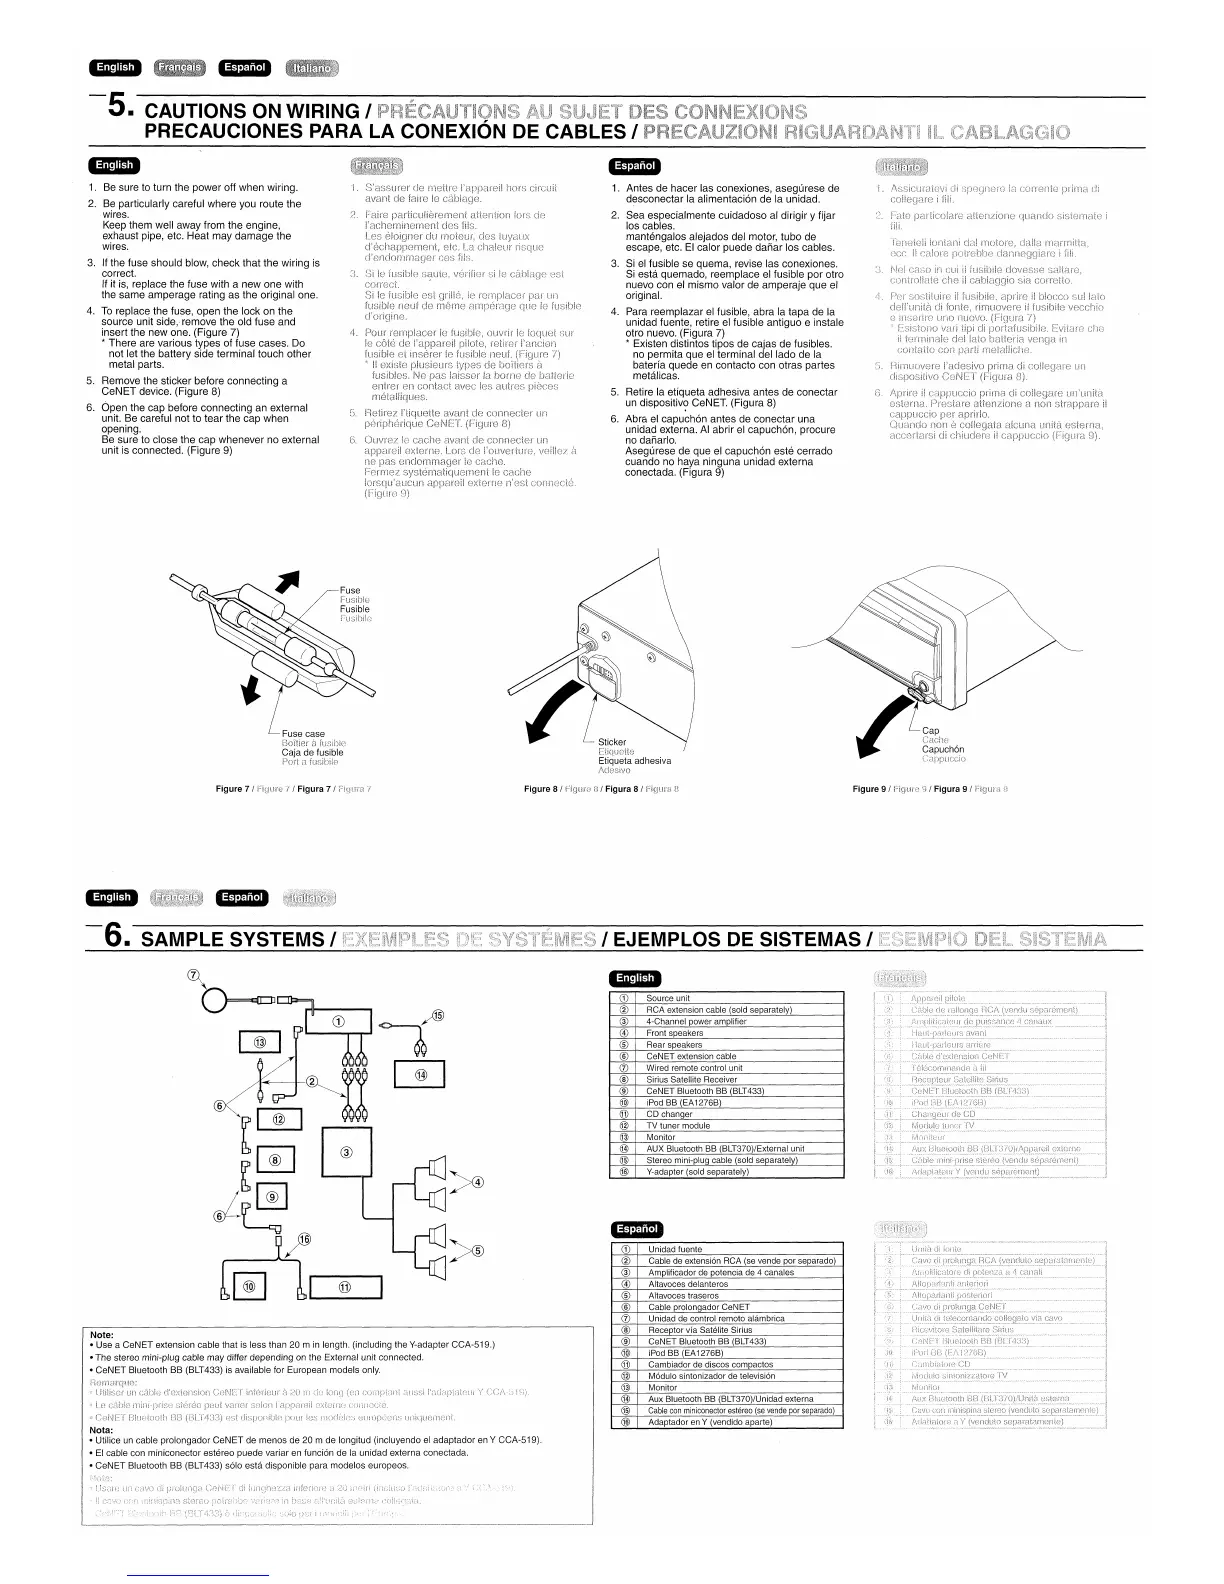
Be sure to turn the power off when wiring.
2.
Be particularly careful where you route the
wires.
Keep them well away from the engine,
exhaust pipe, etc. Heat may
damage
the
wires.
3.
If the fuse should blow, check that the wiring is
correct.
If it is, replace the fuse with a new one with
the same amperage rating as the original one.
4.
To
replace the fuse, open the lock on the
source unit side,· remove the old fuse and
insert the new one. (Figure 7)
* There are various types of fuse cases. Do
not let the battery side terminal touch other
metal parts.
5.
Remove the sticker before connecting a
CeNET
device. (Figure 8)
6. Open the cap before connecting an external
unit. Be careful not to
tear
the cap when
opening.
Be sure to close the cap whenever no external
unit is connected. (Figure 9)
..
-5.
Fuse
Fusible
Fusible
Fusihile
Fuse
case
E30Ttier
afusible
Caja
de
fusible
Port
fUE~ibilp
Sticker
Etiquotte
Etiqueta
adhesiva
/\c1esivo
Cap
Caelle
~apuch6.n
\j;1PPUCCiU
Figure 7 /
/ Figura
7/
Figure 8 / / Figura
8/
Figure 9 /
/ Figura 9 /
..
-
-6.
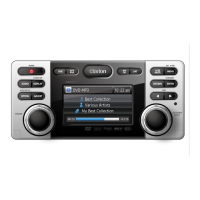
SAMPLE SYSTEMS I
I
EJEMPLOS
DE
SISTEMAS I
CD
Unidad fuente
®
Cable de extension RCA (se vende por separado)
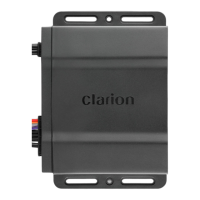
®
Amplificador de potencia de 4 canales
@
Altavoces delanteros
®
Altavoces traseros
®
Cable prolongador CeNET
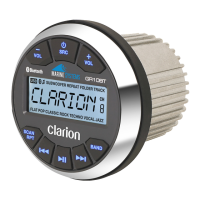
(j)
Unidad de control remoto alambrica
®
Receptor via Satelite Sirius
®
CeNET Bluetooth BB (BLT433)
@
iPod BB (EA1276B)
@
Cambiador de discos compactos
@
Modulo sintonizador de television
@
Monitor
@
Aux Bluetooth BB (BLT370)/Unidad externa
@
Cable
con
miniconector
estereo
(se
vende
por
separado)
@
Adaptador
en
Y (vendido aparte)
CD
Source unit
®
RCA extension cable (sold separately)
®
4-Channel power amplifier
@
Front speakers
®
Rear speakers
®
CeNET extension cable
(j)
Wired remote control unit
®
Sirius Satellite Receiver
®
CeNET Bluetooth BB (BLT433)
@
iPod BB (EA1276B)
@
CD changer
@
TV tuner module
@
Monitor
@
AUX Bluetooth BB (BLT370)/External unit
@
Stereo mini-plug cable (sold separately)
@
V-adapter (sold separately)
®
Note:
•
Use
a
CeNET
extension
cable
that
is
less
than
20 m in length. (including
the
V-adapter
CCA-519.)
•
The
stereo
mini-plug
cable
may
differ
depending
on
the
External
unit
connected.
•
CeNET
Bluetooth
BB
(BLT433) is available for
European
models
only.