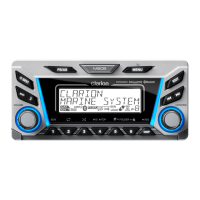
1.
Insert
the source unit into the cutout
hole until
to the end. (Figure
5)
2.
Using the
supply
screws (M4 x
30)
to secure the source unit. (Figure
5)
3.
Using support strap to secure the source unit on the back side by
supply
M4 nut.
(Figure
5)
Note:
Some
boat
models
require
special
mounting kits for proper
installation.
Consult
your
Clarion
dealer for
details.
Figure 5
17
M606
/
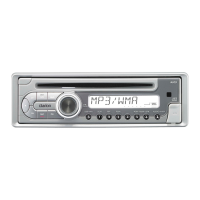
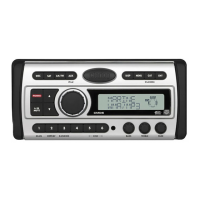
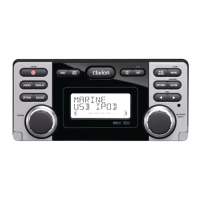
Source unit
)1..
I
I
~
:
s:~
::·~"'
u \
St"d
B;\5
w"h"
Note:
Confirm that the rubber gasket is fastened
securely
to
the base panel.
6) Cautions on Wiring
1.
Be
sure to turn the power off when wiring.
2.
Be
particularly
careful where you route the wires.
Keep them
well
away from the engine, exhaust pipe, etc. Heat may damage the wires.
3.
If fuse is blown,
check that the wiring
is
correct.
If
it
is,
replace
the fuse with a new one with the same amperage rating as the original one.
4.
To replace the fuse, open the lock
on
the source unit side, remove the old
fuse and insert the
new one. (Figure
6)
*
There are various types of fuse cases. Do not
let
the battery side terminal touch other
metal
parts.
Fuse case
Figure 6
7)
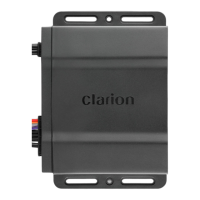
Sample Systems
1
Source unit
2
RCA extension
cable (sold
separately)
3
4-Channel
power amplifier
4
Front speakers
5
Rear speakers
6
Wired remote control
unit
7
SiriusXM-Connect Boat Tuner
8
AUX