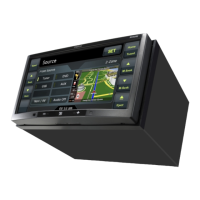
27
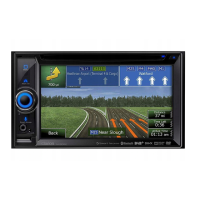
NX509E
English
Owner’s manual
❏ Changing the DVD System
Settings
Note:
• If the Setup operation is performed in the middle of
DVD video play, the disc will restart from
beginning.
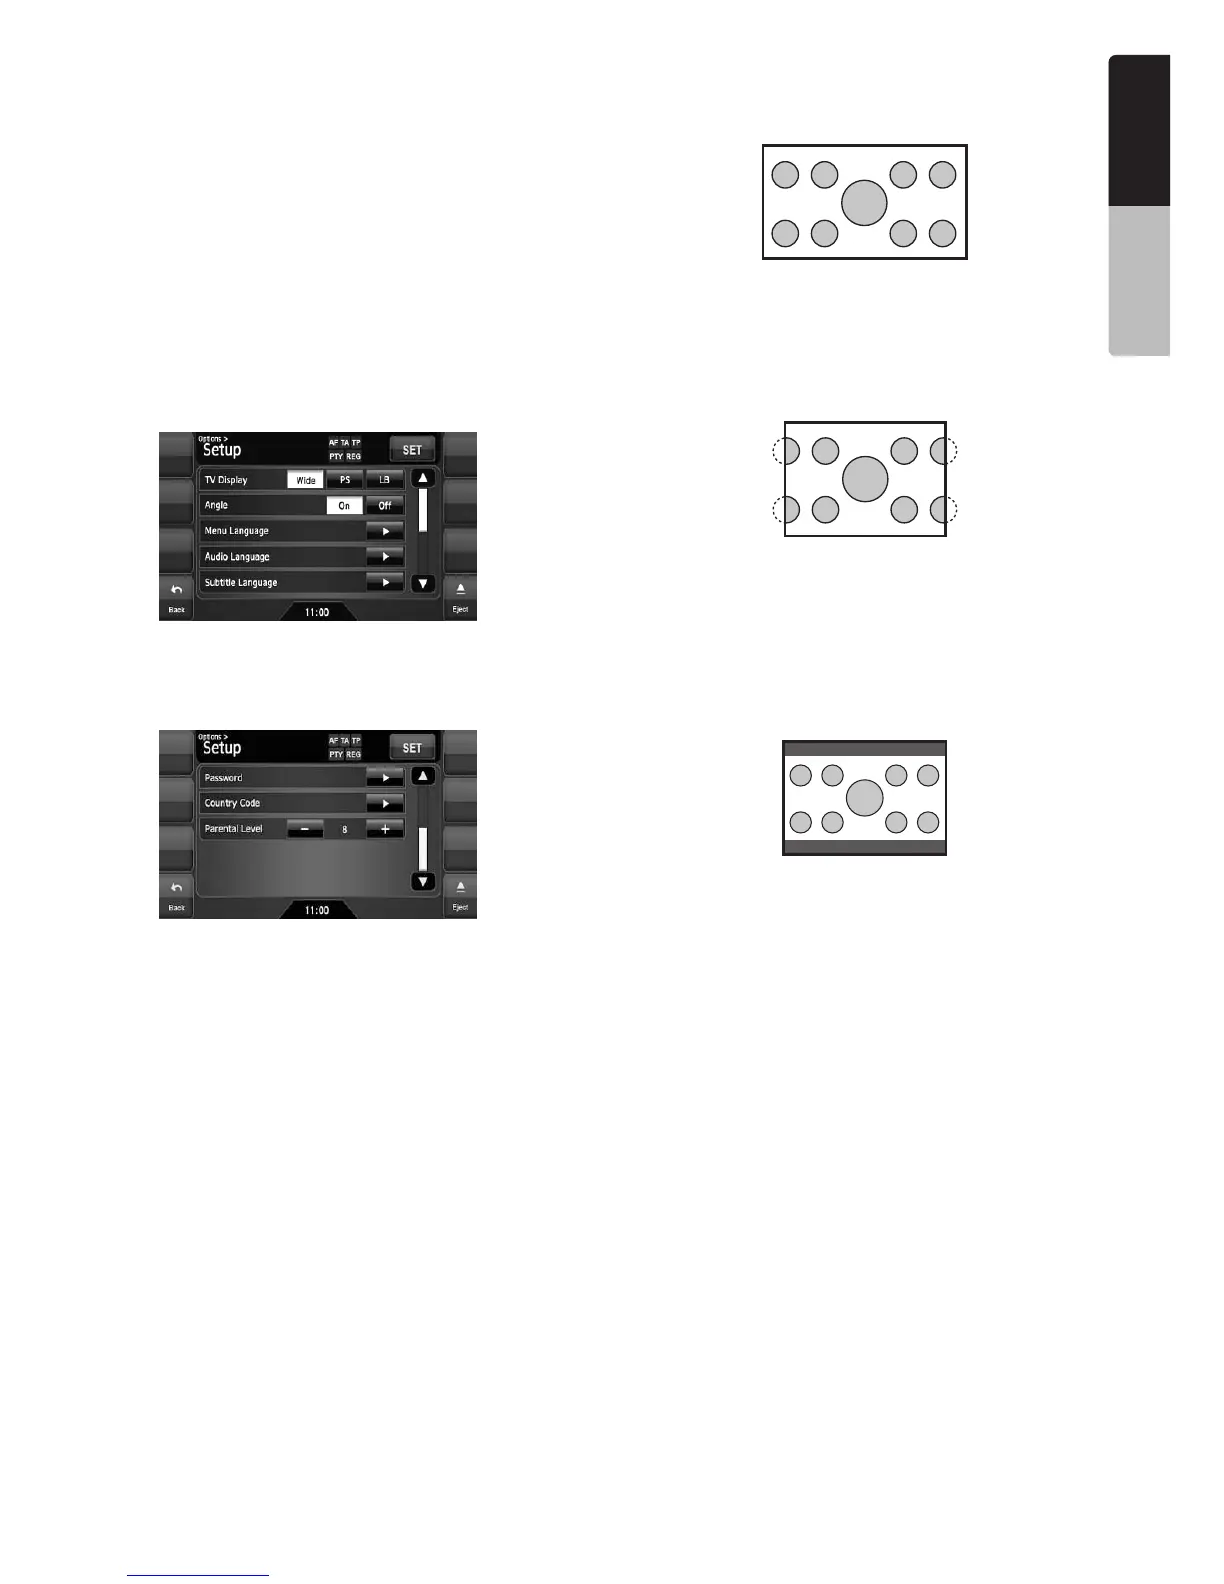
Displaying the DVD Setup screen
1. Touch the screen to display the DVD Video
mode screen.
2. Touch the [Options] key to display the
Options menu.
3. Touch the [Setup] key to display the Setup
screen.
• Touch the [}] key to display the next page.
• Touch the [{] key to return to the previous
page.
4. Perform setting for the desired setting items.
See the following sections for detail.
• In the following sections, only the details of
settings are described, the procedures to
select items are skipped.
5. Touch the [Back] key.
Setting up the screen size
Set up the screen size according to the optional
rear monitor which is connected to this unit.
• The factory default setting is “Wide”.
● When watching through a wide type of the
rear monitor (16:9)
Wide:
● When watching through a conventional
type of the rear monitor (4:3)
Pan Scan:
The leftmost and rightmost areas of the screen
are cut off.
This function allows displaying the important
part of image fully on the screen. In some
cases, image is displayed while being panned
(scrolled).
Letter Box:
A black zone is created in the top and bottom
areas of the screen.
This method displays Cinema Scope and Vista
Vision images without cutting them off by
creating a black zone on the top and bottom
gaps.
Setting up the angle mark display
You can set up so that the angle mark appears on
scenes where the angles can be switched.
• The factory default setting is “Off”.
4-1. Touch the [Wide], [PS], or [LB] key of the TV
Display item to change the screen size to
“Wide”, “Pan Scan” or “Letter Box”.
4-1. Touch the [On] or [Off] key of the Angle item
to turn the Angle function ON or OFF.
 Loading...