7
Parts & Service: 020 8988 7400 / E-mail: Parts@clarkeinternational.com or Service@clarkeinternational.com
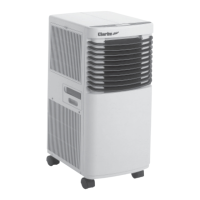
5. Fit the exhaust duct assembly
complete to the outlet port of the
air conditioner and secure in
place by locking down the c-
clamp until it clips into position.
6. Move the air conditioner into
position, and extend/adjust the
flexible exhaust duct to suit your
window layout.
7. Clip the window slider plate to the
duct outlet connector to
complete the duct assembly.
8. Set the window slider plate in
position in the nearest window
opening.
NOTE: The length of the exhaust duct is variable between 480 mm and
1500 mm (adaptor/outlet connector included). Using a shorter
length of ducting uses less energy.
NOTE: The length of duct has been designed to suit the specification of
the air conditioner. Do not use an extension or change to a
different size duct as it may lead to poor performance.
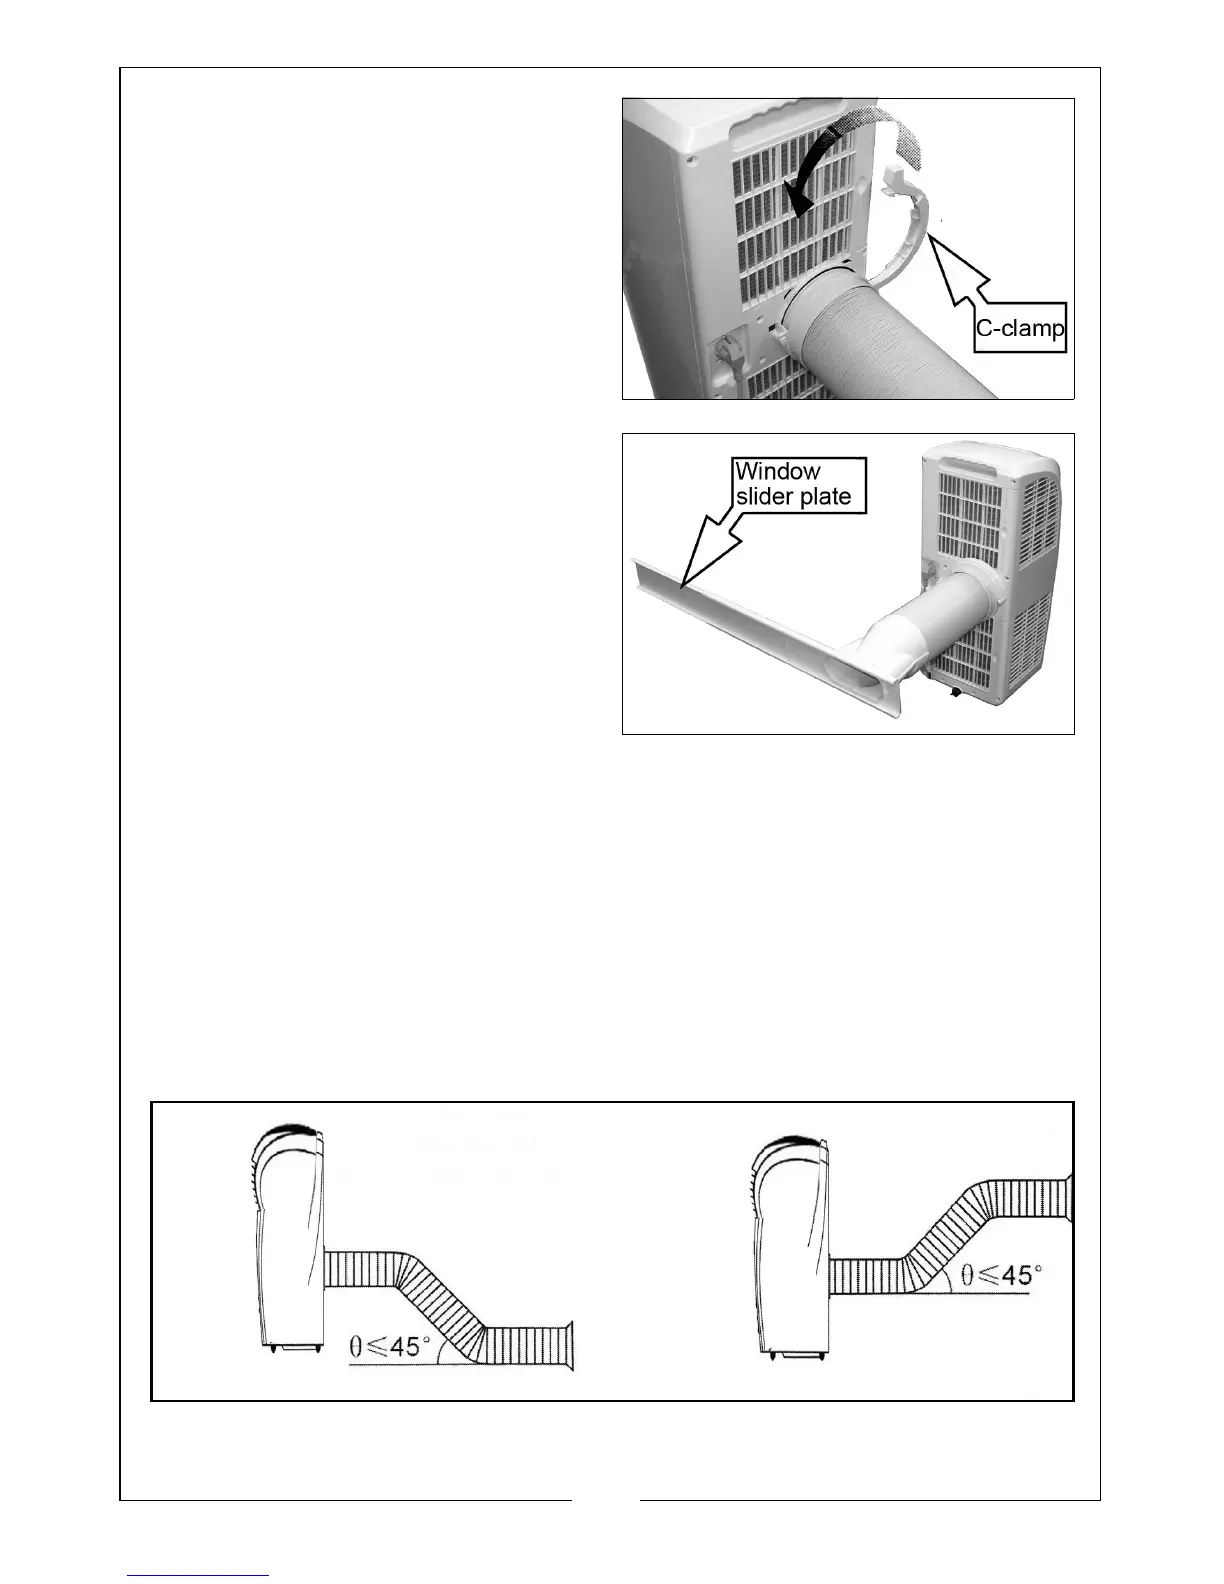
NOTE: The flexible exhaust ducting can be bent to an angle if followed
by a straight section, but tight curves and kinks must always be
avoided.
 Loading...