11
Parts & Service: 020 8988 7400 / E-mail: Parts@clarkeinternational.com or Service@clarkeinternational.com
PREPARING THE WORKPIECE
The area being welded should be perfectly clean. Any coating, plating or
corrosion must be removed, otherwise a good weld will be impossible to
achieve.
FITTING THE WELDING ROD
1. Select the appropriate welding rod and grasp it in the welding rod holder.
• It should be approximately the same thickness as the metal being
welded. Refer to the table below.
USING THE WELDER
1. Plug the welder in to the mains supply and switch on with the switch at the
rear.
• The green “power on” LED will illuminate.
2. Attach the earth clamp firmly to the workpiece as close as possible to the
point of weld.
• Ensure that the earth clamp is attached to clean, solid metal. If necessary
thoroughly clean with a wire brush to guarantee a good connection.
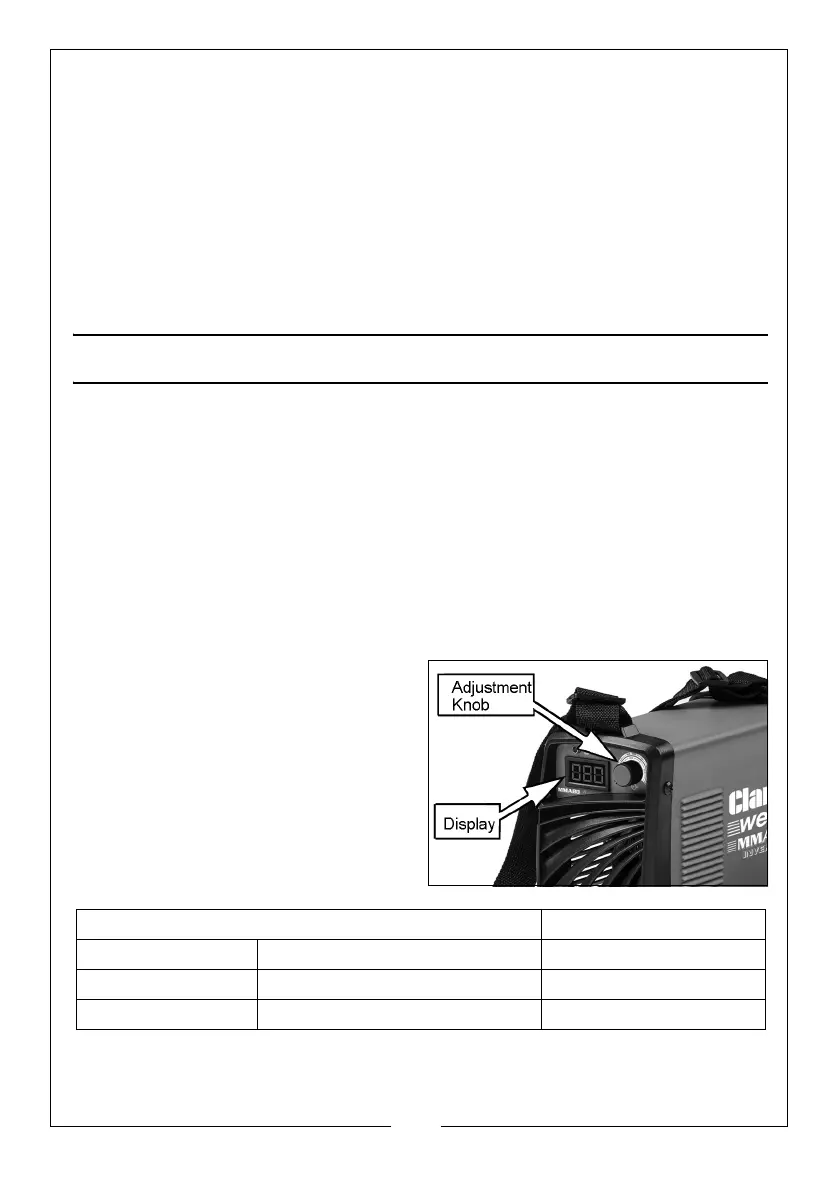
SETTING THE WELDING CURRENT
1. Select the welding current by
turning the adjustment knob and
observing the setting on the
digital display.
• The table below is an indicator of
the welding rod used for a given
thickness of material.
This is intended as a guide only.
2. With practice you will get a feel for the best current settings for different
welding rod thicknesses.
SIZE OF WELDING ROD / THICKNESS OF METAL Display reading
1.6 mm 1.0 - 2.0 mm 20 - 30 A
2 mm 1.5 - 2.5 mm 30 - 50A
2.5 mm 1.0 - 3.0 mm 50 - 80A
 Loading...