4-11
Step 3 - Press the saw bow up button and elevate the saw bow to the highest position.
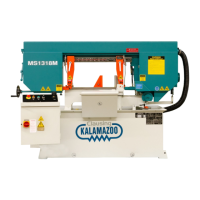
Step 4 - Release blade tension by turning the blade tension handle counterclockwise. The idle wheel
will then move slightly toward the direction of the drive wheel.
Step 5 - Open the idle and drive wheel covers.
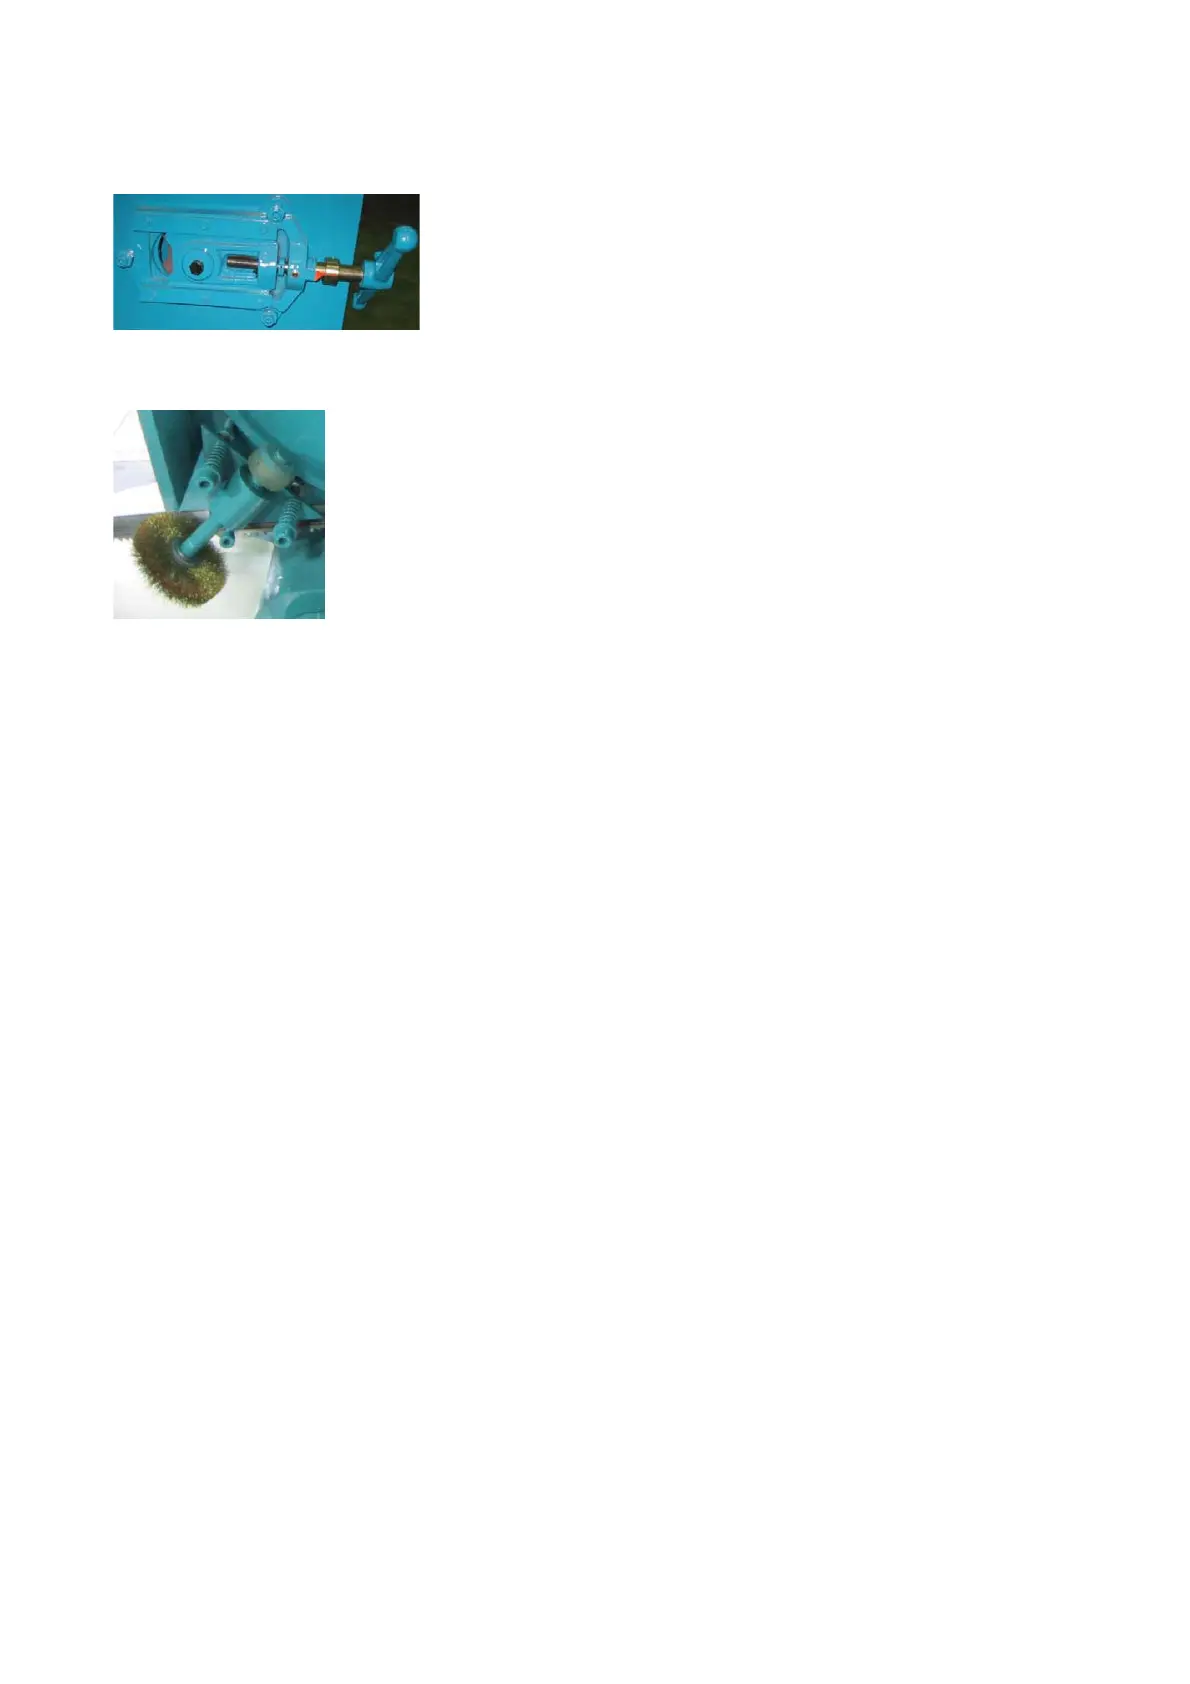
Step 6 - Loosen the adjustment bolt and move the wire brush away from the blade.
Step 7 – Remove the old blade. If necessary, clean the carbide inserts before installing a new saw
blade.
Step 8 - Place the new blade around the idle wheel and the drive wheel.
Step 9 - Insert the blade into the left and right tungsten carbide inserts. The back and the sides of the
blade need to be touching the inserts as well as the adjacent rollers.
Step 10 - Place the blade to the drive wheel and press the back of the blade against the flange of the
drive wheel.
Step 11 - Make sure the back of the blade is also pressed against the flange of the idle wheel.
Step 12 - Apply tension by turning the blade tension handle clockwise. Make sure you have proper
blade tension. Proper tension exists when the blade does not slip on the drive wheel when cutting.
Step 13 - Make sure the sides of the blade are in close contact with the carbide inserts.
Step 14 - Gently close the idle and drive wheel covers.
Step 15 - Press the saw blade start button to start the blade. Allow the blade to run for a few
rotations then press the saw bow up button to elevate the saw bow. Open the wheel
covers and make sure the blade has not fallen off the drive and idle wheels. If the blade
has shifted, follow the same procedure to reinstall the blade again.
Step 16 - Adjust wire brush to a proper position. Refer to Adjusting wire brush in this section.
MS1318M / MS1318SA