4-17
Note the allowable clamping width and height. (Refer to Section 2 General Information
- Specifications)
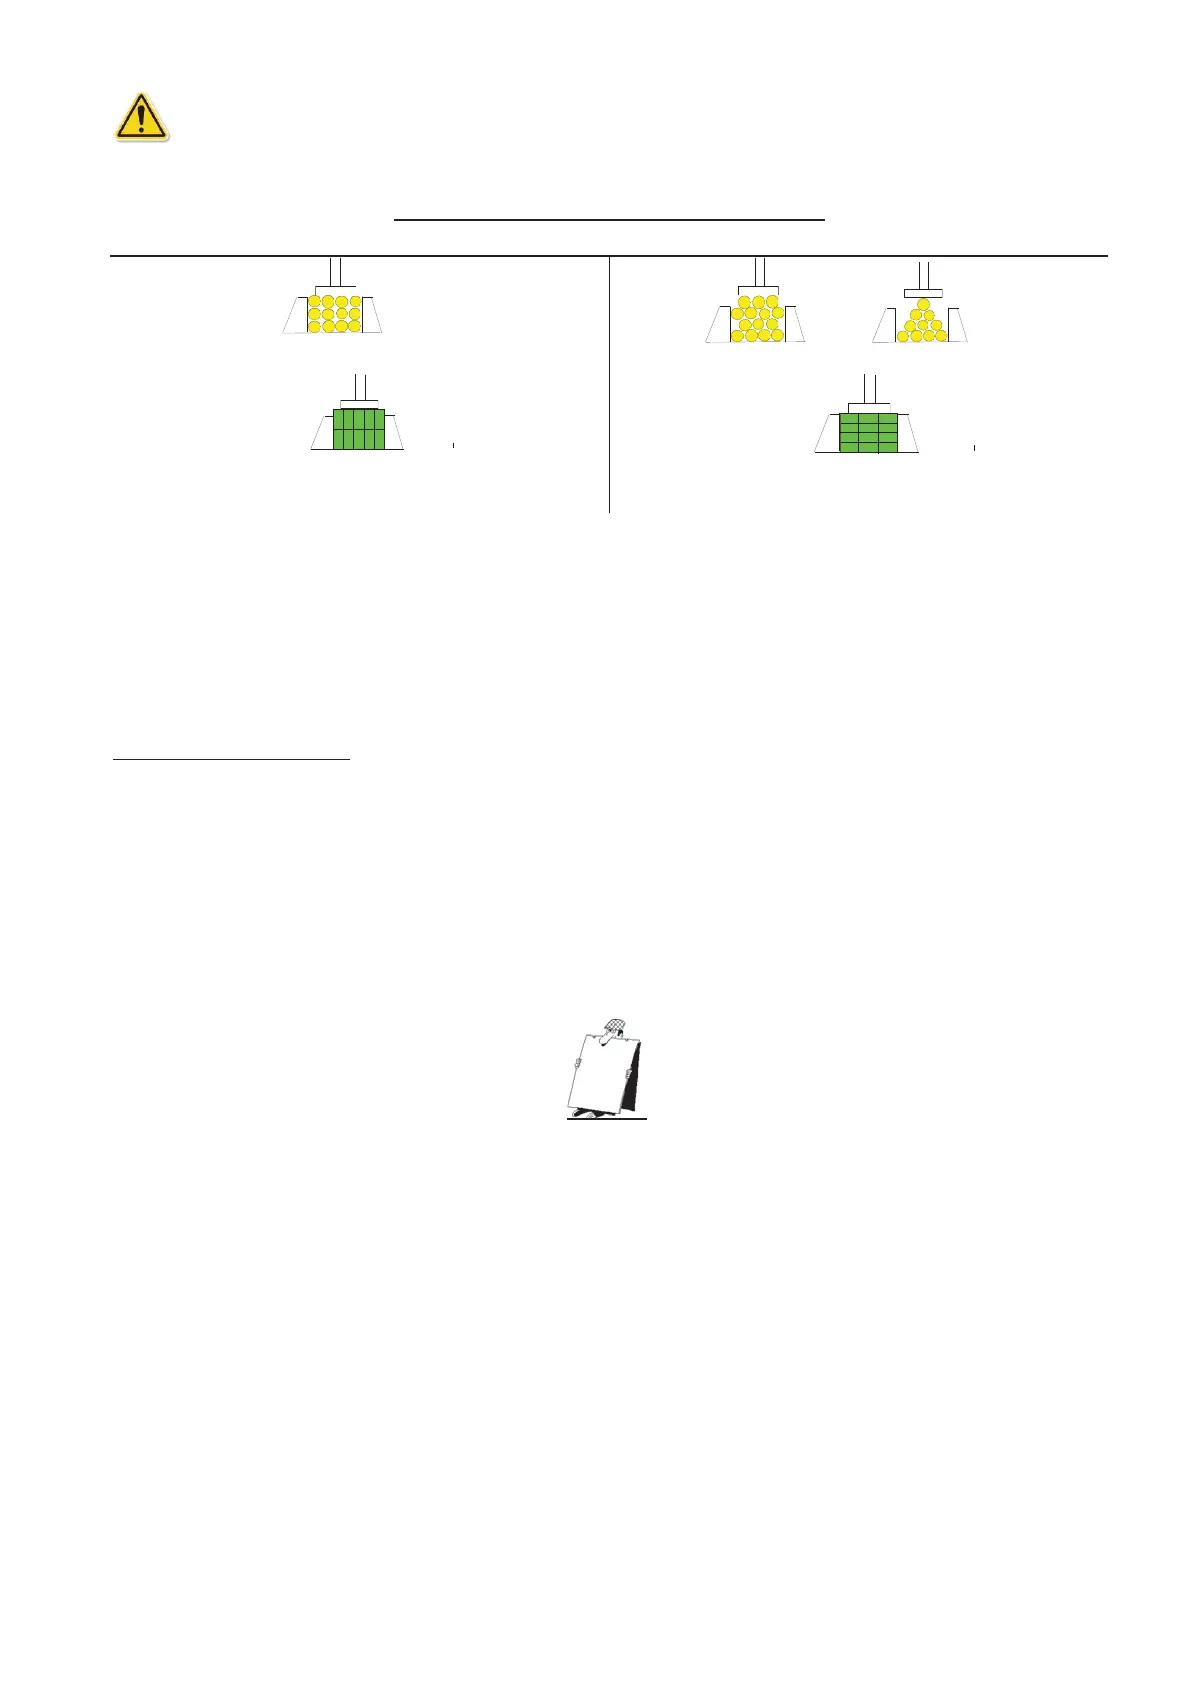
Proper and improper stacking of workpieces
Step 4 – Align the top clamp cylinders with the center of the workpiece and tighten the lock nuts.
Step 5 – Turn the top clamp handles so that the clearance between the top clamp jaw and the top of
the bundled workpiece is within 5 to 10 mm ( 0.2 ~ 0.4 in).
Step 6 – Press Single/Bundle cutting mode button and switch to bundle cutting mode.
Step 7 – For subsequent cutting procedures, refer to the cutting instructions above.
Uninstalling top clamp
Follow these steps to uninstall top clamp for cutting single material:
Step 1 – Disconnect the top clamp hoses.
Step 2 – Loosen the lock nuts and remove the top clamp.
Step 3 – Remove the stud bolts.
TERMINATING A CUTTING OPERATION
STOP
• For MS1318M, the saw blade will stop running when the emergency stop button is pressed.
• For MS1318SA, the saw blade will stop running when the saw bow up button or the saw blade
stop button is pressed.
• For MS1318SA, both the saw blade and hydraulic pump motors will stop running when the
emergency stop button is pressed.
MS1318M / MS1318SA