6
www.infraredsauna.com
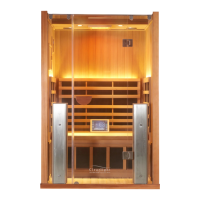
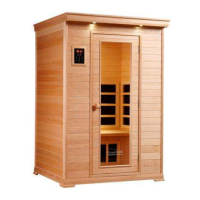
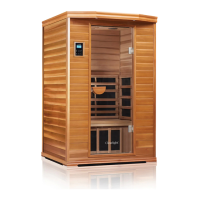
Assembly Instructions
Assembly of the sauna requires two adults to complete.
Please read the instructions thoroughly before and
during assembly to ensure proper installation of the unit.
If you encounter any problems or have questions during
assembly, please feel free to call our Customer Service
department at 1-800-798-1779 or 1-510-601-1775.
(For additional support please consult our install video on
our Service website at service.infraredsauna.com, or the
Clearlight YouTube Channel.)
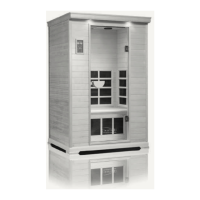
Location of Sauna & Installation Order
When determining a location for your sauna, please keep in mind the following:
1. The main power cord on the sauna must be easily accessible.
2. The location must be dry and level.
3. Your Clearlight sauna is a self-contained and freestanding unit. It should not be built into any structure without
prior authorization.
4. Please maintain a minimum of 4-inch clearance on all sides of the unit to allow air to circulate while giving access
for the power cord.
5. We recommend plugging your sauna into a dedicated circuit to ensure it functions properly/ doesn’t trip the breaker.
Panels should be installed in the following order:
1. Floor
2. Back Wall
3. Side Walls
A. Le Side Wall
B. Right Side Wall
4. Under Bench Support
5. Connect Under Bench Heater
6. Installing the Bench
A. Le Bench
B. Right Bench
7. Wood Roof
Safety and Handling Tips: Be careful when carrying and installing glass pieces to avoid breakage. Make sure the glass
is securely fastened during installation before leing go of any individual piece that could break.
8. Connect Heaters in the Roof
9. Latch Two Buckles on the Le Side of the Roof
10. Install Wall Locks (Eyehooks)
11. Glass Roof
12. Right Side Roof Latch
13. Front Le Glass Wall
14. Front Right Glass Wall and Door
15. Weather Stripping Door Seal
16. Front Heaters
17. Door Handle
18. Plug in Power
Scan to visit our
website
Scan to visit our
YouTube Channel