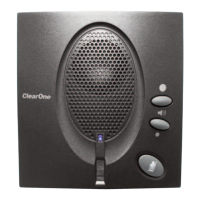
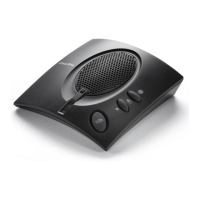
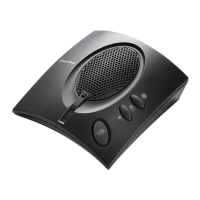
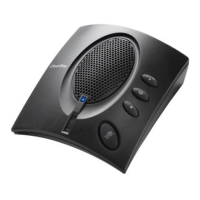
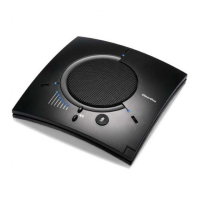
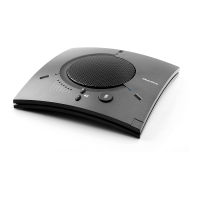
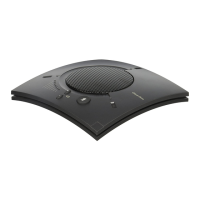
Chapter 2: CHAT 60 Controls
55
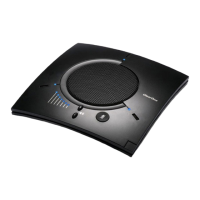
CONNECTING YOUR CHAT 60
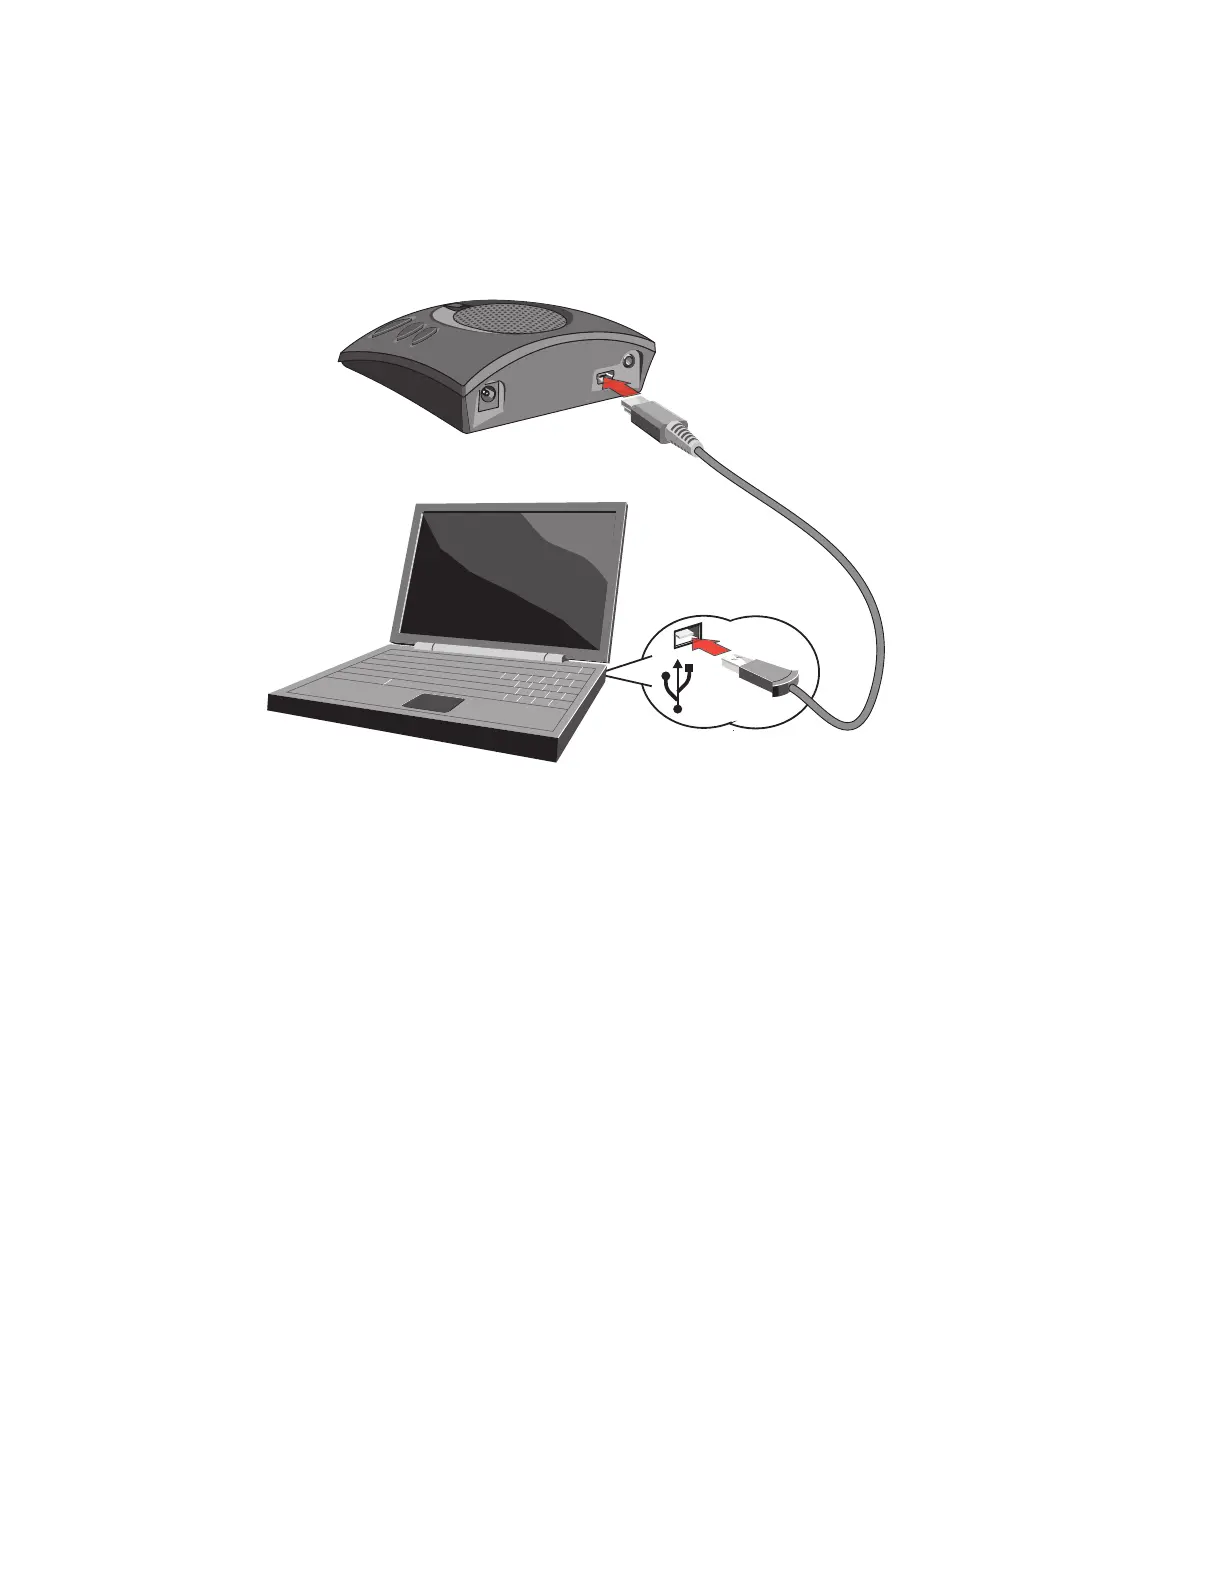
1. Use the included USB cable to connect the CHAT 60 to a USB port on your computer.
2. The status LED on the front of the CHAT 60 turns blue, then red, then blue again to indicate that Windows
recognizes the CHAT 60.
3. The status LED on the front of the CHAT 60 turns blue, then red, then blue again to indicate that Windows
recognizes the CHAT 60. The
WWiinnddoowwss NNeeww HHaarrddwwaarree FFoouunndd
dialog appears and Windows installs the
USB 2.0 device drivers for CHAT on your system. When the installation is complete, click
CClloossee
.
Once successfully connected to your computer, the CHAT 60 will automatically become the default audio
device for Windows (speaker and microphone). When you run Skype, the CHAT 60 will also become the
default speaker and microphone for Skype calls, replacing your computer’s speakers and microphone. For
more detailed information about using Skype and changing the audio settings, please refer to the Skype
website at www.skype.com.
>
NNoottee::
If your sole purpose for purchasing the CHAT 60 is to use it with Skype and you do not inted to
use it with hardware devices other than your PC, you do not need to review the rest of this manual.
The remaining pages of this manual describe how to connect the CHAT 60 with devices other than a
PC and how to install and use the CHAT software in order to correctly configure the CHAT 60 for use
with those devices.
Since the CHAT 60 obtains its power from your computer via the USB cable, connecting it to a
different hardware device will require an external power supply, which is not included with the CHAT
60. This power supply can be purchased from ClearOne (part number 561-159-001).