Do you have a question about the Clesana C1 and is the answer not in the manual?
Provides information about the installation manual and where to find updates.
Explains the meaning of various symbols used throughout the manual for clarity.
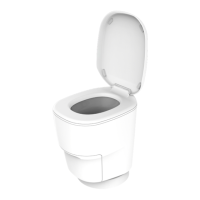
Defines the intended application of the waterless toilet for sanitary bagging in recreational vehicles.
Specifies that only qualified and authorized personnel should install the Clesana C1.
Emphasizes using original parts and maintaining the toilet's technical condition for safety.
Details the critical safety measures and risks associated with electric shock during installation.
Warns about fire risks due to incorrect cabling, loose connections, or improper wiring.
Highlights the danger of electrical component damage and fire from reversed polarity.
Advises keeping the area clear to prevent finger crushing from the toilet's rotating mechanism.
Explains potential water damage from leaks in the water line or faulty sealing.
Warns about health risks from bacteria in stagnant water and contamination.
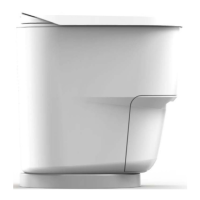
Provides main dimensions and rotating limits for Clesana C1 with L-Adapter.
Provides main dimensions and rotating limits for Clesana C1 with round base.
Initial steps before installation, including checking delivery and tools.
Guidance on selecting an appropriate location for the Clesana C1.
Step-by-step instructions for removing an old toilet and preparing water lines.
Instructions for preparing the base adapter or round base before mounting.
Provides a connection diagram for the Clesana C1 electrical system.
Detailed steps for performing the electrical installation of the Clesana C1.
Instructions for securely mounting the L-Adapter to the floor.
Instructions for attaching the L-Adapter to the wall.
Final steps for finishing the installation with the L-Adapter.
Steps to prepare the round base before mounting.
Instructions for securely mounting the round base to the floor.
Instructions for flush mounting the control panel into a wall opening.
Instructions for mounting the control panel using a wall-mounted housing.
Steps to connect the Clesana C1 unit electrically to the power supply.
Procedures to verify the correct function of the installed Clesana C1.