EasyManua.ls Logo

Clesana C1 - Install the control panel; Flush mounting

Clesana C1
17 pages
Print Icon
To Next Page IconTo Next Page
To Previous Page IconTo Previous Page
Loading...
25/3224/32
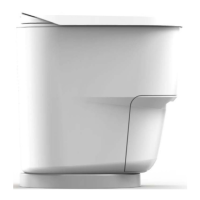
3. Place the round base on the L-Adapter.
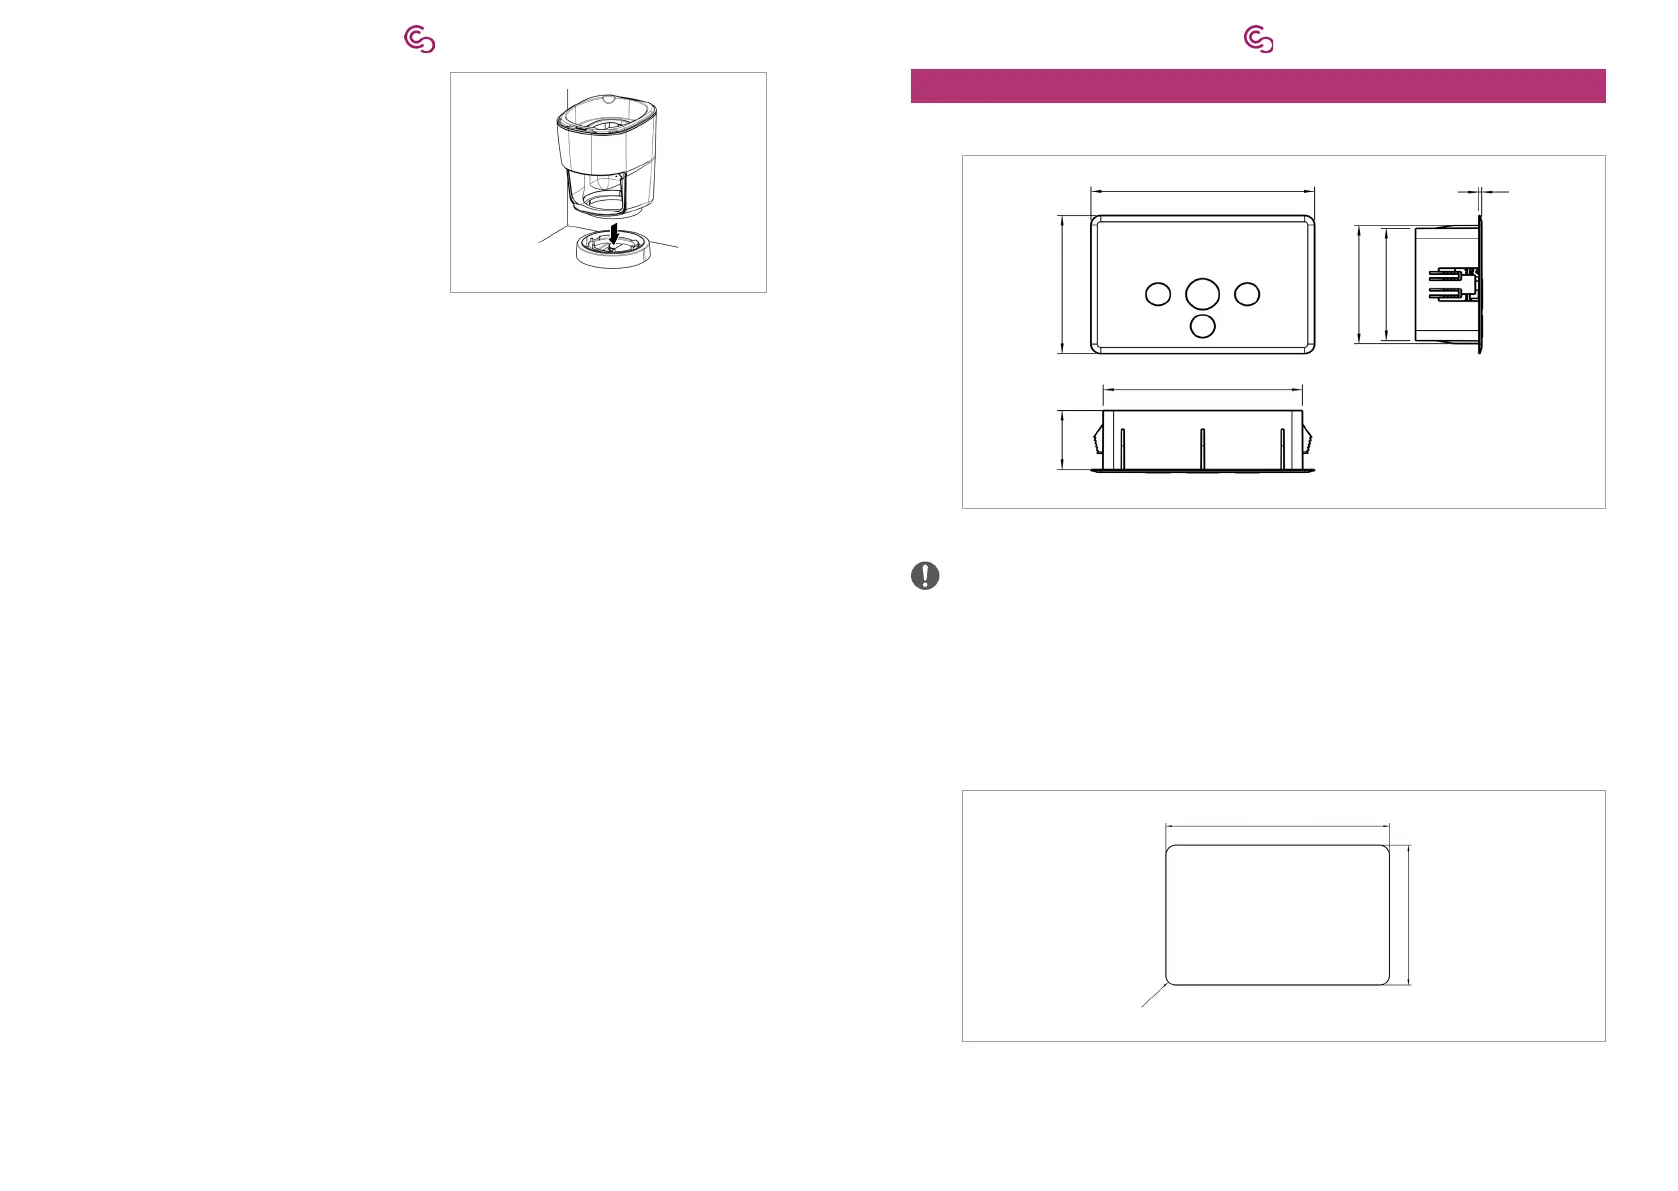
10. Install the control panel
10.1. Flush mounng
128 mm
85 mm
36.3 mm
114 mm
72.9 mm
69 mm
1.8 mm
Fig. 6: Control panel measurements

wall to install the control panel.
1. 
points:
The display is clearly legible.
The control panel can be easily operated.

The distances between the control panel and the L-Adapter is smaller than the

116 mm
72.5 mm
max. R5
Fig. 7: 
2. Create the wall opening according to the dimensions in the Fig. 7.
3. Lay the cable ends from L-Adapter or round base to the control panel.

Related product manuals