Disassembly
2 - 6 Removing the Keyboard
2.Disassembly
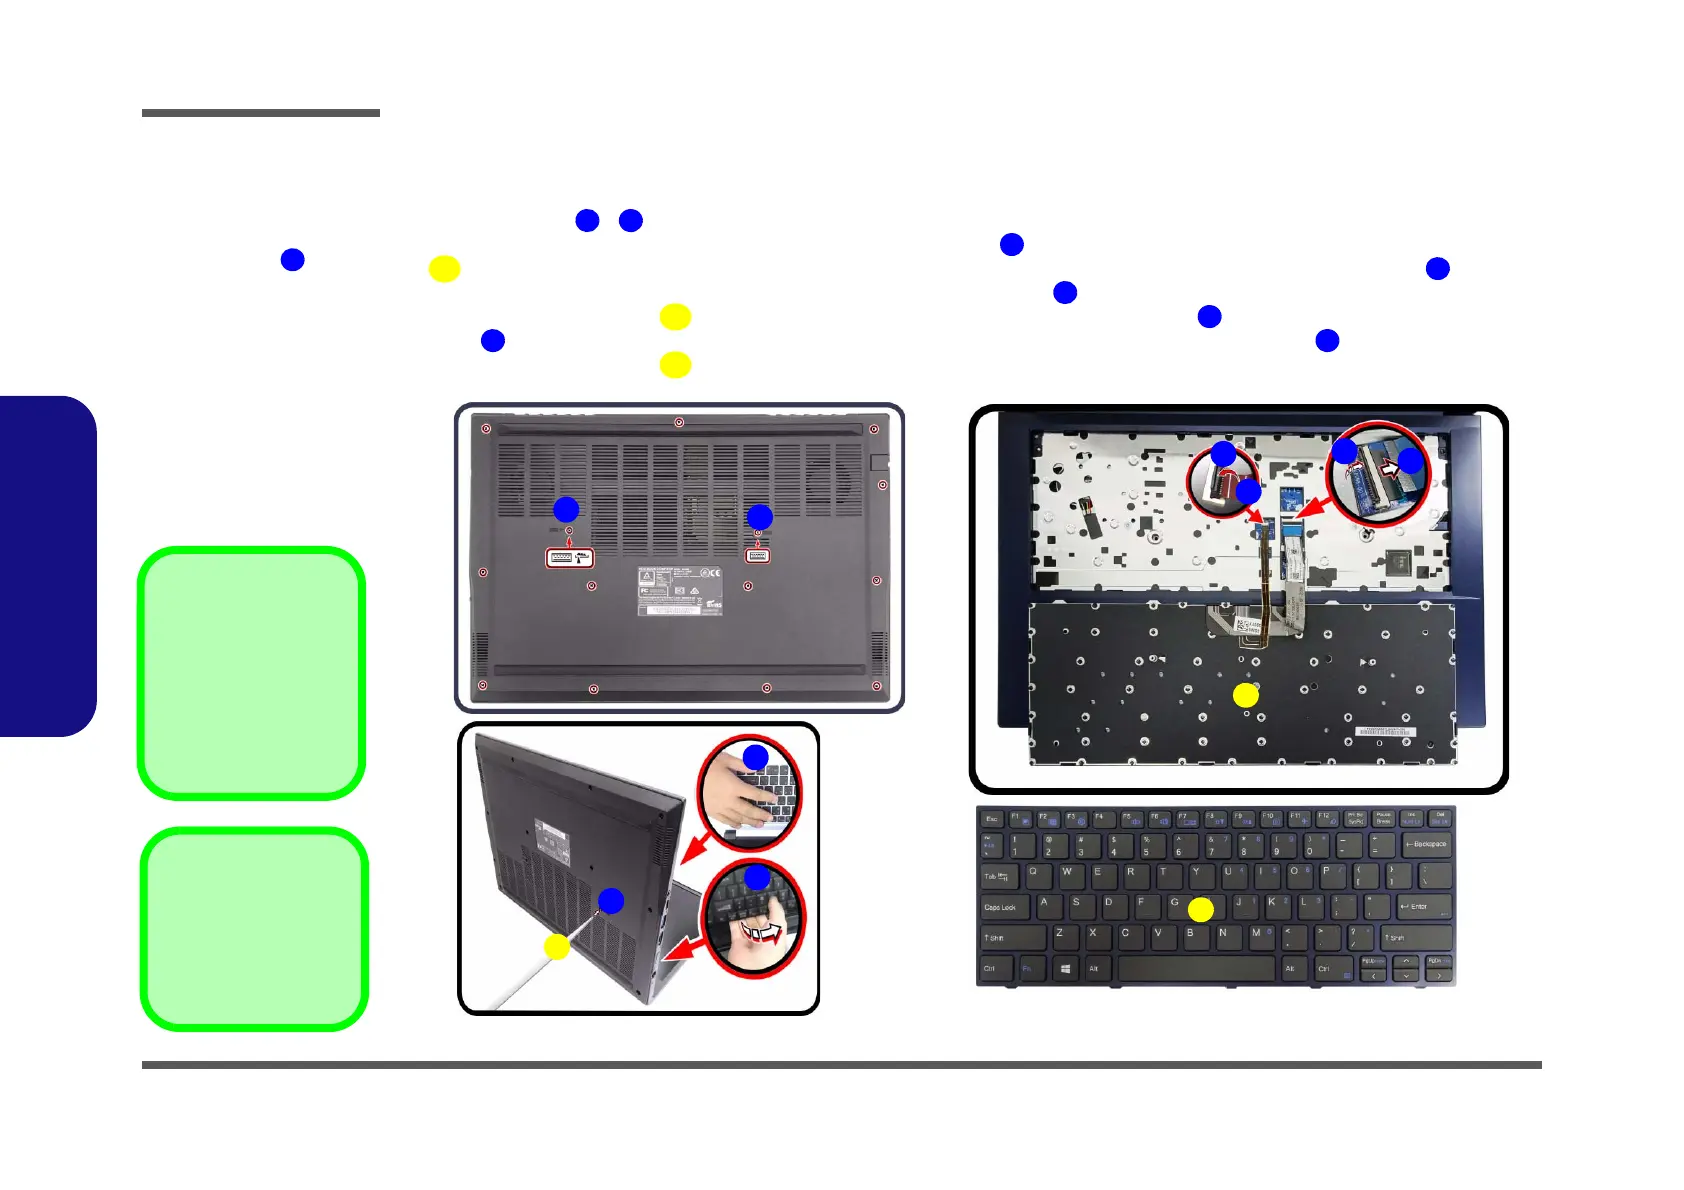
Removing the Keyboard
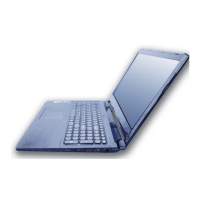
1. Turn off the computer, turn it over, remove the battery (page 2 - 5).
2. Remove screws - from the bottom of the computer
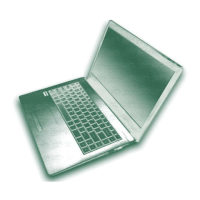
3. Open it up with the LCD on a flat surface before pressing at point
to release the keyboard module (use a special eject stick
size - φ2.0mm to do this, do not exert too much pressure to avoid damaging the keyboard) while supporting
the
keyboard and then releasing the keyboard in the direction of the arrow
as shown (Figure 2a)
4. Carefully lift the keyboard
up, being careful not to bend the keyboard ribbon cable . Disconnect the keyboard ribbon
cable from the locking collar socket by using a flat-head screwdriver to pry the locking collar pins
(Figure 2b).
5. Carefully lift the keyboard off the computer (Figure 2c).
4. Eject Stick
7. Keyboard
•2 Screws
Figure 2
Keyboard Removal
a. Remove the screws and
press at point to un-
snap keyboard from the
bottom of the computer .
b. Lift the keyboard up and
disconnect the keyboard
ribbon cable from the
locking collar socket.
c. Remove the keyboard.
Re-inserting the Key-
board
When re-inserting the
keyboard firstly, align the
keyboard tabs at the bot-
tom of the keyboard with
the slots in the case.