3.3.7 BRAKE PEDAL – Figure 3.3.1I
To operate vehicle brakes, press brake pedal. Pressing the brake pedal also activates brake lights.
NOTICE: Never rest your foot on brake pedal while operating the vehicle. This wears brake pads, creates
drag and causes excess battery discharge.
3.3.8 ACCELERATOR PEDAL – Figure 3.3.1J
The accelerator pedal controls the speed of the vehicle in the same manner as a conventional automobile. The pedal
must be fully released when changing directions.
To avoid injury, speed in reverse should always be kept at a minimum.
3.3.9 PARKING BRAKE – Figure 3.3.1K
All Payloader models are equipped with a parking brake lever. To operate, pull up and back to engage; push forward
and down to disengage.
NOTICE: Do not operate the vehicle with the hand parking brake applied. Damage to the vehicle could
result.
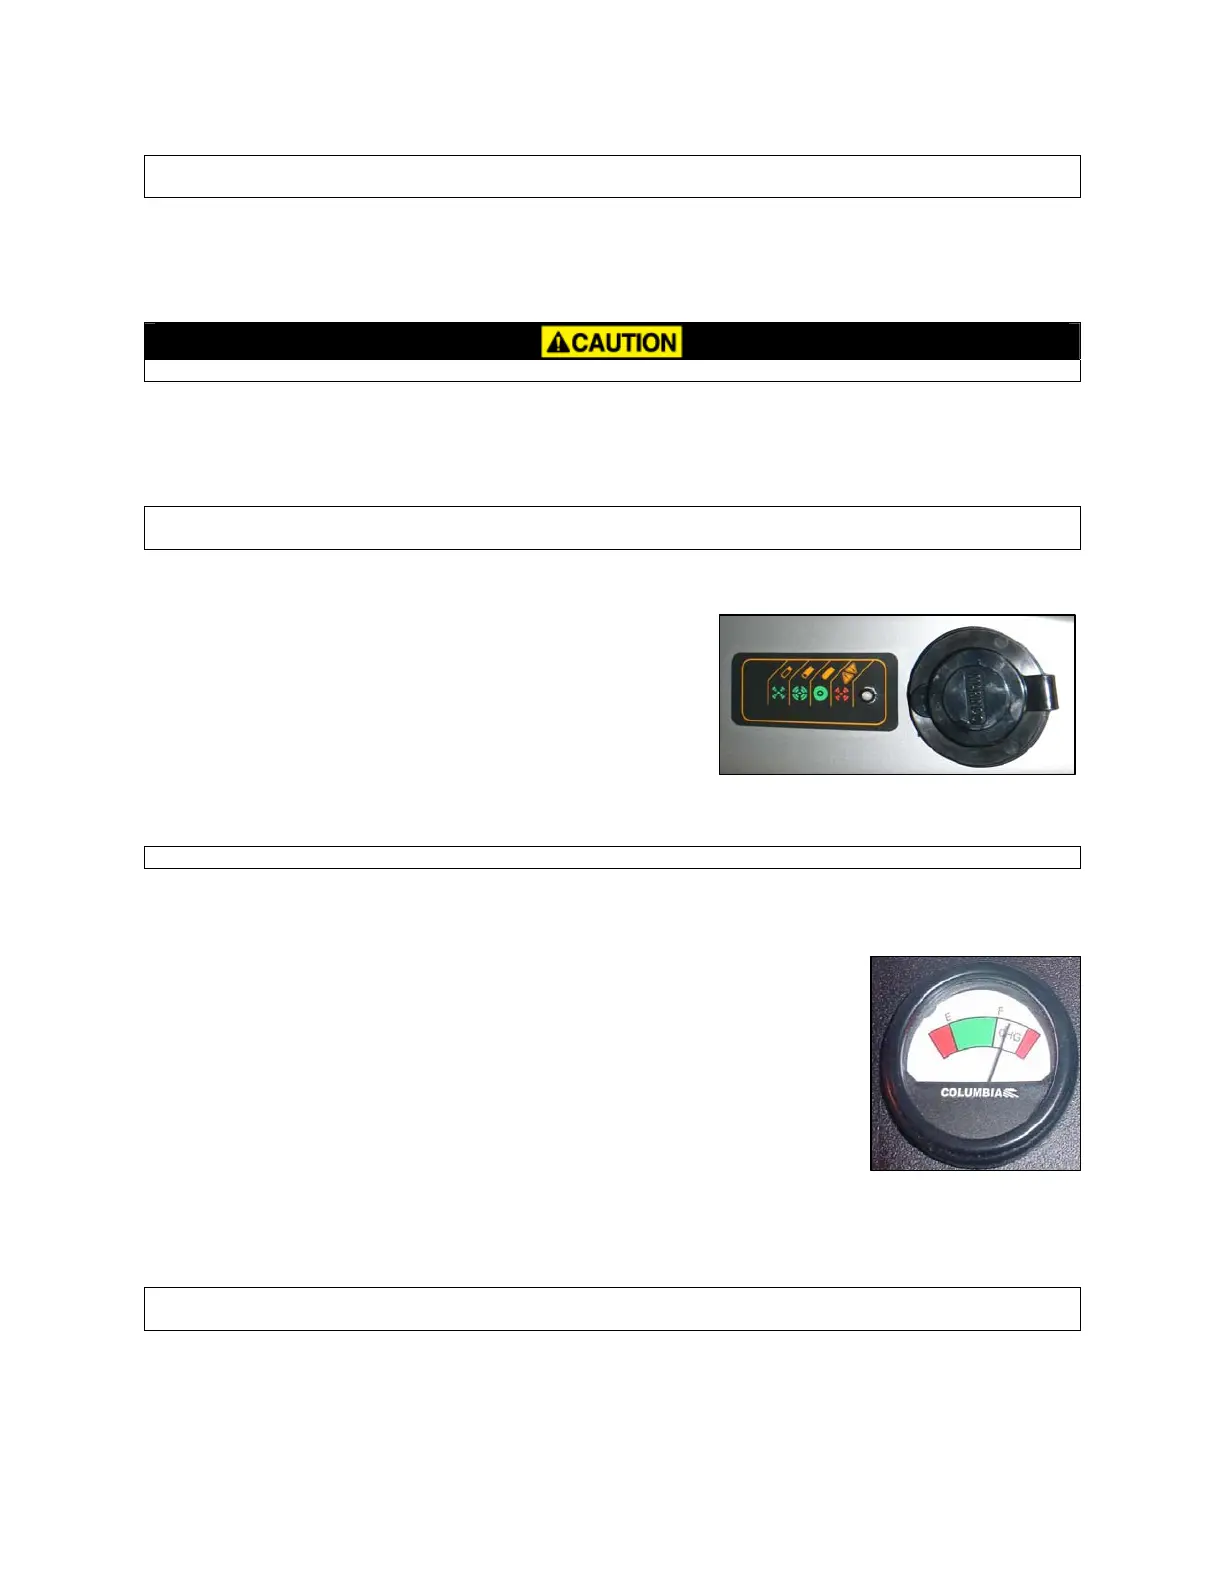
3.3.10 CHARGER RECEPTACLE & REMOTE LED
T
he charger receptacle (Figure 3.3.2) is located on the panel by the
driver’s left leg. The AC cord is plugged in here for battery charging.
The charger is inter-locked with the traction control system which
powers down the vehicle during charging. Near the receptacle is a
remote multicolored LED which will indicate the Delta Q charge
status. See Section 4.5.1 for information on the remote LED.
Al
ways apply the parking brake when charging.
Figure 3.3.2
NOTICE: Before removing the AC cord, be sure to check the Delta-Q status lights.
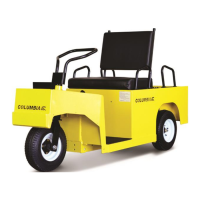
3.3.11 BATTERY STATE OF CHARGE METER - Figure 3.3.3
DC Drive Vehicles only
This meter will display the battery state of charge. Located on the support panel in front
of the steering wheel.
It is an
analog gauge meter with an indicating needle and a colored background. It is a
continuously reading meter. At rest with fully charged batteries the meter should read in
the right white region.
When accelerating quickly, the needle will move to the left green region near the very far
left red region. This is normal. If the needle continues past the green region into the very
far left red region, it indicates that the batteries need recharging as soon as possible to
avoid a shut-down of the vehicle.
Figure 3.3.3
W
hen decreasing speed, the needle will move to the right as electrical energy is being
“regenerated” back into the batteries.
NOTICE: At 80% discharge, you must immediately charge batteries or vehicle operation will cease and
permanent battery damage could occur.
3-3
BC 2012