6
• Press SET to confirm the adjusted value and exit parameter value adjustment mode.
• To display the next parameter in the row, press SET.
3.4. Controller programming
Automatic PID control parameter tuning (Auto-tune)
Before starting the Auto-tune function, ensure the controller is properly installed, the system is functional,
and the main parameters from levels 3 and 4 are already adjusted. The auto-tuning function automatically sets
the values of the following parameters: P1, i1, db1, GAP1, P2, i2, d2. The operator must set
manually the duration of the on/off output relay cycle CYt1, CYt2. For current output ─ set to 0, for relay
output ─ try with 10.
a) Set the parameter At to YES.
b) Set a temporary automatic decrease of the set point during auto tuning via the AtVL parameter.
With AtVL = 0, the tuning process will be performed around the set point. With AtVL = 5 °C
and set point SV = 200 °C, the auto-tuning will be performed around 195 °C (this avoids overheating
due to the process variable cycling during the auto-tuning process). If in doubt, set AtVL = 0.
c) Unsuccessful auto-tuning. Possible reasons are:
• Too high AtVL value (if in doubt, set to 0).
• Great system inertia. Set PID parameters manually.
3.4.1. Programming at LEVEL 1
Normally, the controller is at level 1 and displays the measured value. To view the next parameter
from this level, press SET.
95
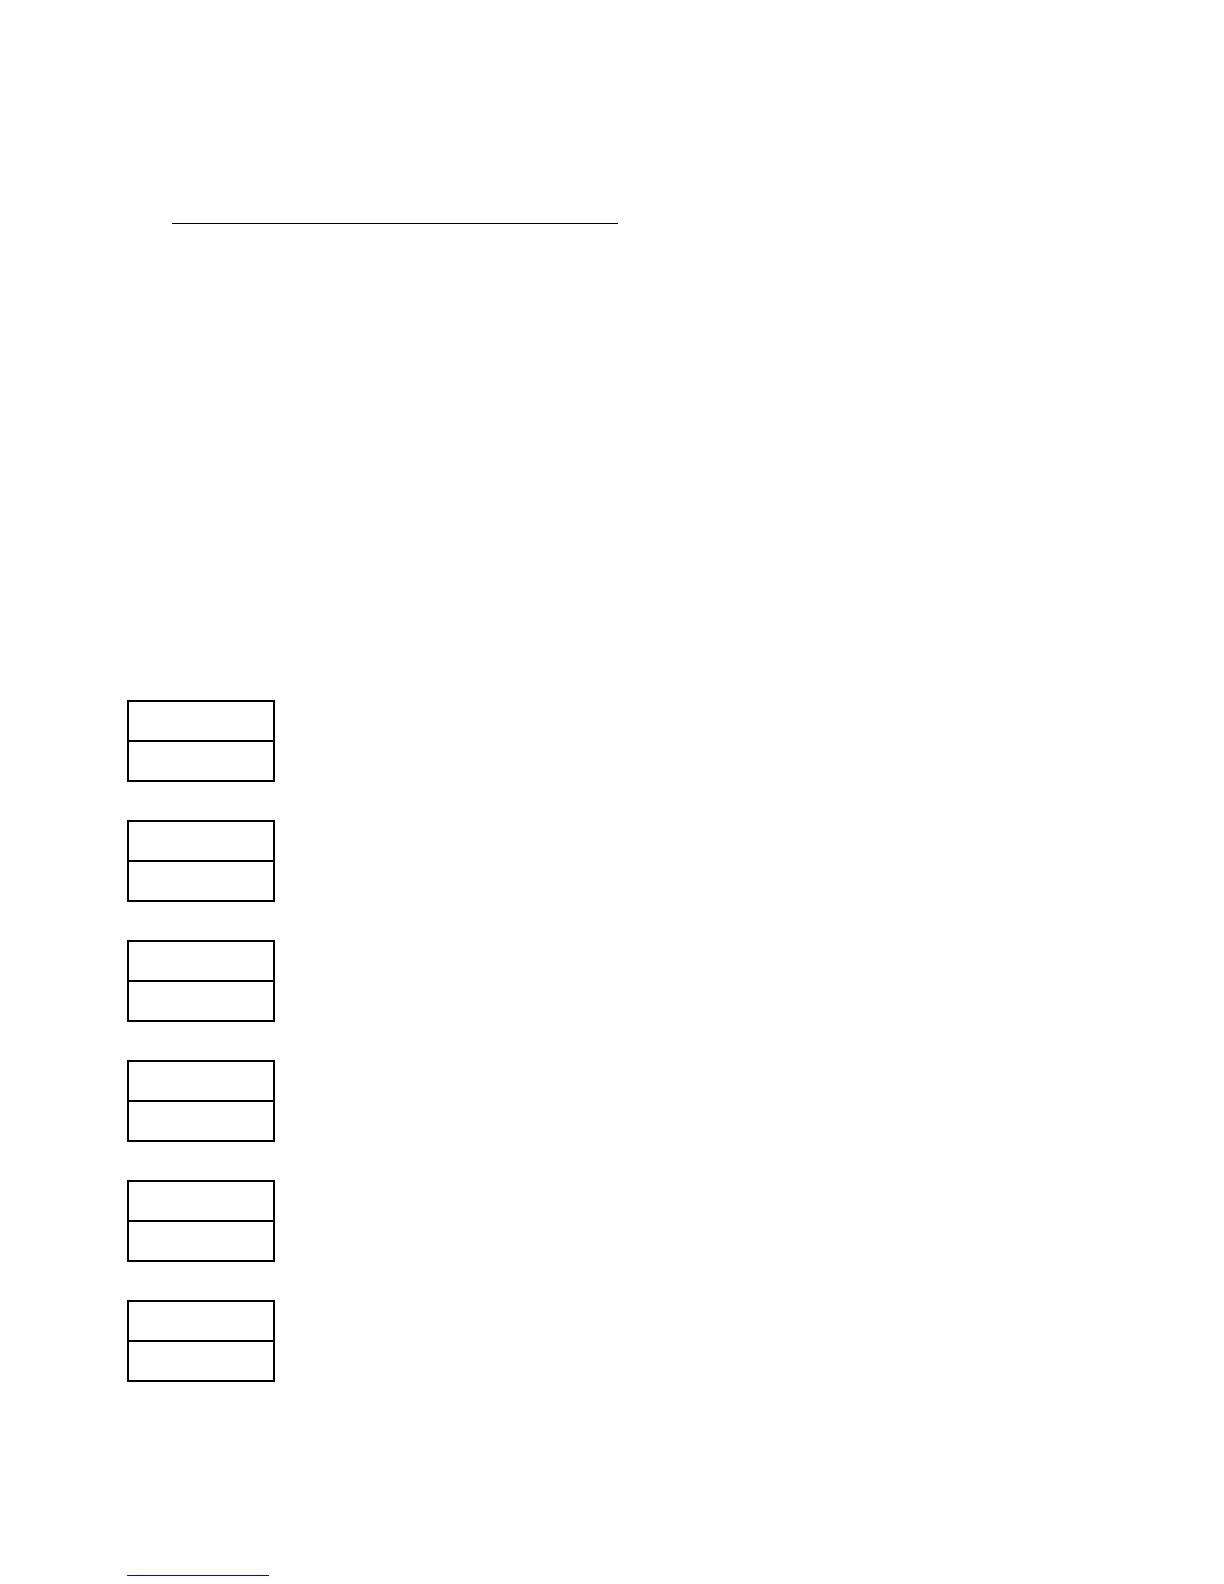
PV Measured value
100
SV Set point
↓ SET
OUtL
In manual mode: output value in percents from 0 to 100%
100
In auto mode scales down control output; it is recommended to keep the value = 100%
↓ SET
At
Enable/disable auto-tuning
YES / nO See "Automatic PID control parameter tuning (Auto-tune)" above
↓ SET
AL1
Alarm 1 limit
0
↓ SET
AL2
Alarm 2 limit
0
↓ SET
AL3