EN
INSTANCE 2
•
SyStem wIth SImplebuS addreSSeS In
progressive order with initial address
other than 1
Example: No. 51 Initial Simplebus address
Apartment 1 (Index 1) Address 51
Apartment 2 (Index 2) Address 52
Apartment 3 (Index 3) Address 53
…
Apartment 50 (Index 50) Address 100
} Set the S1 microswitches as per the
initial Simplebus address.
See “Addresses table” on page 28
Example 51
} Raise and lower (ON OFF) reset microswitch 2.
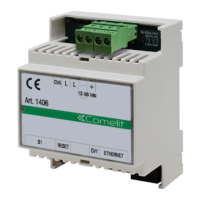
» Art. 1406 automatically programs the Simplebus
addresses of the 50 apartments, starting from the
address set on the module.
» Art. 1406 will restart automatically.
Note: In systems with an initial Simplebus
address greater than or equal to 191, the highest
address will remain 240.
Example: initial Simplebus address: 230; number
of apartments that can be configured: 11.
INSTANCE 3
•
SyStem wIth SImplebuS addreSSeS In non-
progressive order
Example:
Apartment 1 (Index 1) Address 3
Apartment 2 (Index 2) Address 5
Apartment 3 (Index 3) Address 9
…
Apartment 50 (Index 50) Address 85
} Set all S1 microswitches to OFF.
} Raise and lower (ON OFF) reset microswitch
2.
» Art. 1406 will restart automatically.
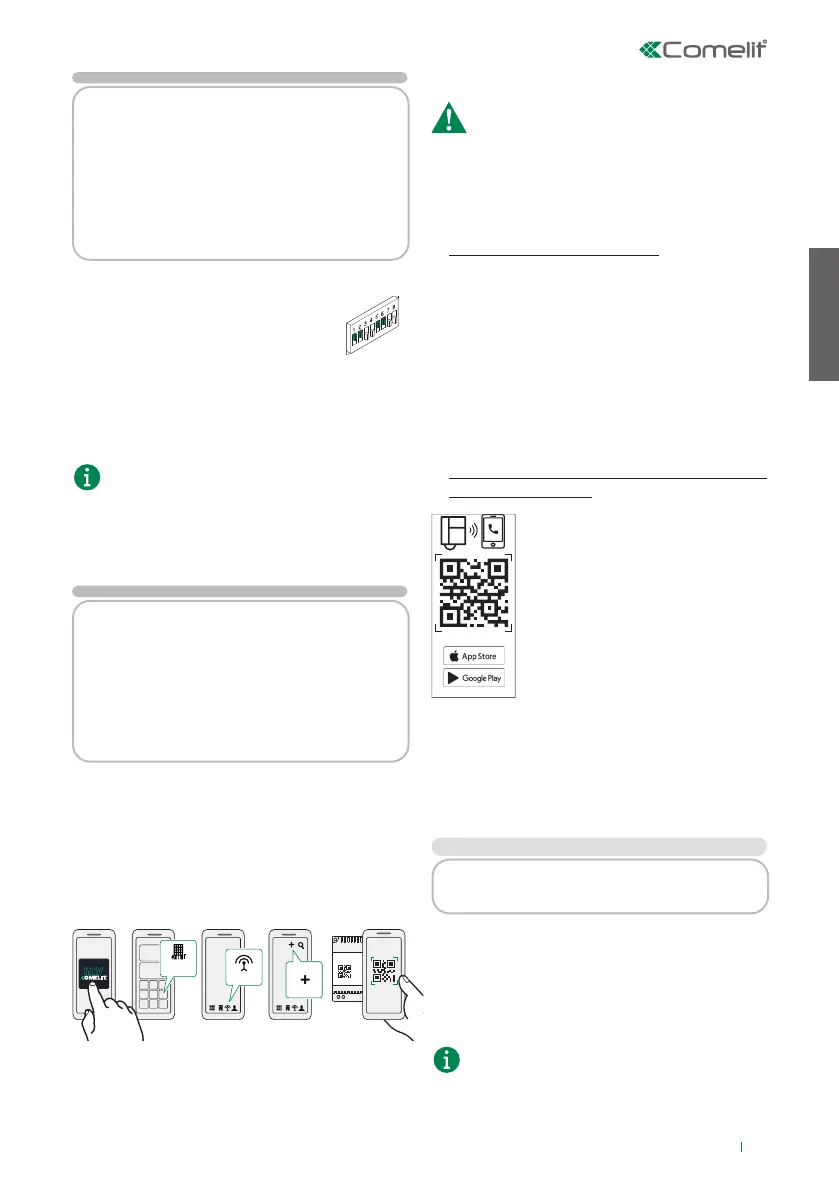
At this point the device needs to be linked with the
MyComelit account. Proceed as shown below:
GESTIONE
IMPIANTI
DISPOSITIVI
2.
1.
3.
1406
4.
5.
ID32
DEVICES
SYSTEM
MANAGEMENT
6. Finally, follow the setup wizard.
} Proceed with free addressing in the “System
management” section of MyComelit, via app or via
browser.
The device must be connected to the internet!
} Print the confi guration showing the
correspondence between the Simplebus address
and the Index value shown on the labels.
2. Fill in the System Data form
} Make a note of the system confi guration using the
form provided in the package.
List the general system information and make a note of
the Simplebus address assigned to each apartment.
This module should be sent to the building
administrator or to the individual responsible for
system maintenance, to keep track of activations and
to provide the activation QR code if it is misplaced.
3. Distribute the labels and booklets
intended for users
The package includes 50 adhesive
labels and 50 instruction booklets in
line with the maximum number of
apartments that can be configured.
Both show the QR code required by
the user in order to download and
activate the SimpleApp.
Warning! We recommend sticking the
label on the backplate or, if necessary,
on the rear of the internal unit; do not
stick the label on dark surfaces or on
other surfaces which could make it difficult to read.
The QR code is unique to each apartment and allows
the user to independently register up to 15 users for
each Simplebus address. Keep in a safe place for
future reference in the event of future activations
or tenant changes!
INSTANCE 1
•
SyStem wIth SImplebuS addreSSeS In
progressive increasing order from 1 to 50:
} Apply label 1 to the internal unit with address 1.
} Apply the user booklet with the same index as the
label to the internal unit or hand it to the user in
the apartment in person.
} Repeat these steps for all apartments.
The DIP-switch configuration for the internal unit
is shown at the bottom of the label for double-
checking purposes.
9
 Loading...