9
2.7 Correct operation checks
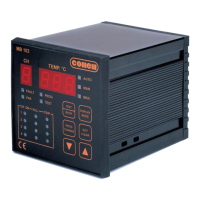
The unit features two test levels to ensure that the switchboard is reliable and the state signaled correctly.
The first level is dedicated to the front panel signaling LEDs,
while the other checks to make sure that the command relay functions properly.
2.8 Signal tests
Press the on the control panel to find out whether there are any faulty components.
All 19 LEDs and the display segments will light up for 2 seconds.
2.9 Zeroing procedure
Resetting the re-entered fault signal.
If a probe is faulty, the Temperature Control Unit indicates:
• release relay “Fault”
• the “alarm”, “trip” and “fault” LEDs come on
• the fault channel is displayed
• an error message is displayed alongside the fault channel:
SSP: probe short-circuited
OPP: probe interrupted
If the fault is intermittent (as in the case of faulty cables), the faulty sensor can be safely identified when the release signal returns since
the LED continues to flash.
To reset the fault signal, press for two seconds until the FLt signal appears on the display.
The fault signal reset function can be used in both the automatic and manual modes.
How to reset the maximum temperatures detected:
The function allowing the detected maximum temperatures to be reset is only available in the maximum log display mode ( “MAX”).
This function allows the maximum logs to be reset to the current temperature values.
To reset, press for two seconds until the rES signal appears on the display.
2.9.1 Factory settings
TEST
To restore the factory settings, access the programming mode and press
the key for a few seconds.
Do not confirm the last step if you wish to quit the programming mode without
saving the changes made to the thresholds.
Quitting will occur automatically after about 1 minute.