6) Click [Active Cloud] to activate Cloud and Email will receive the URL related to Cloud
User input the registered user name to visit the above website and the following interface will
be popped up.
7) Click the icon at the upper-left to view the folder(CloudDVR000) made in the 4th step .
8) Enter the folder to view the DVR captured pictures .
5.2.5 System
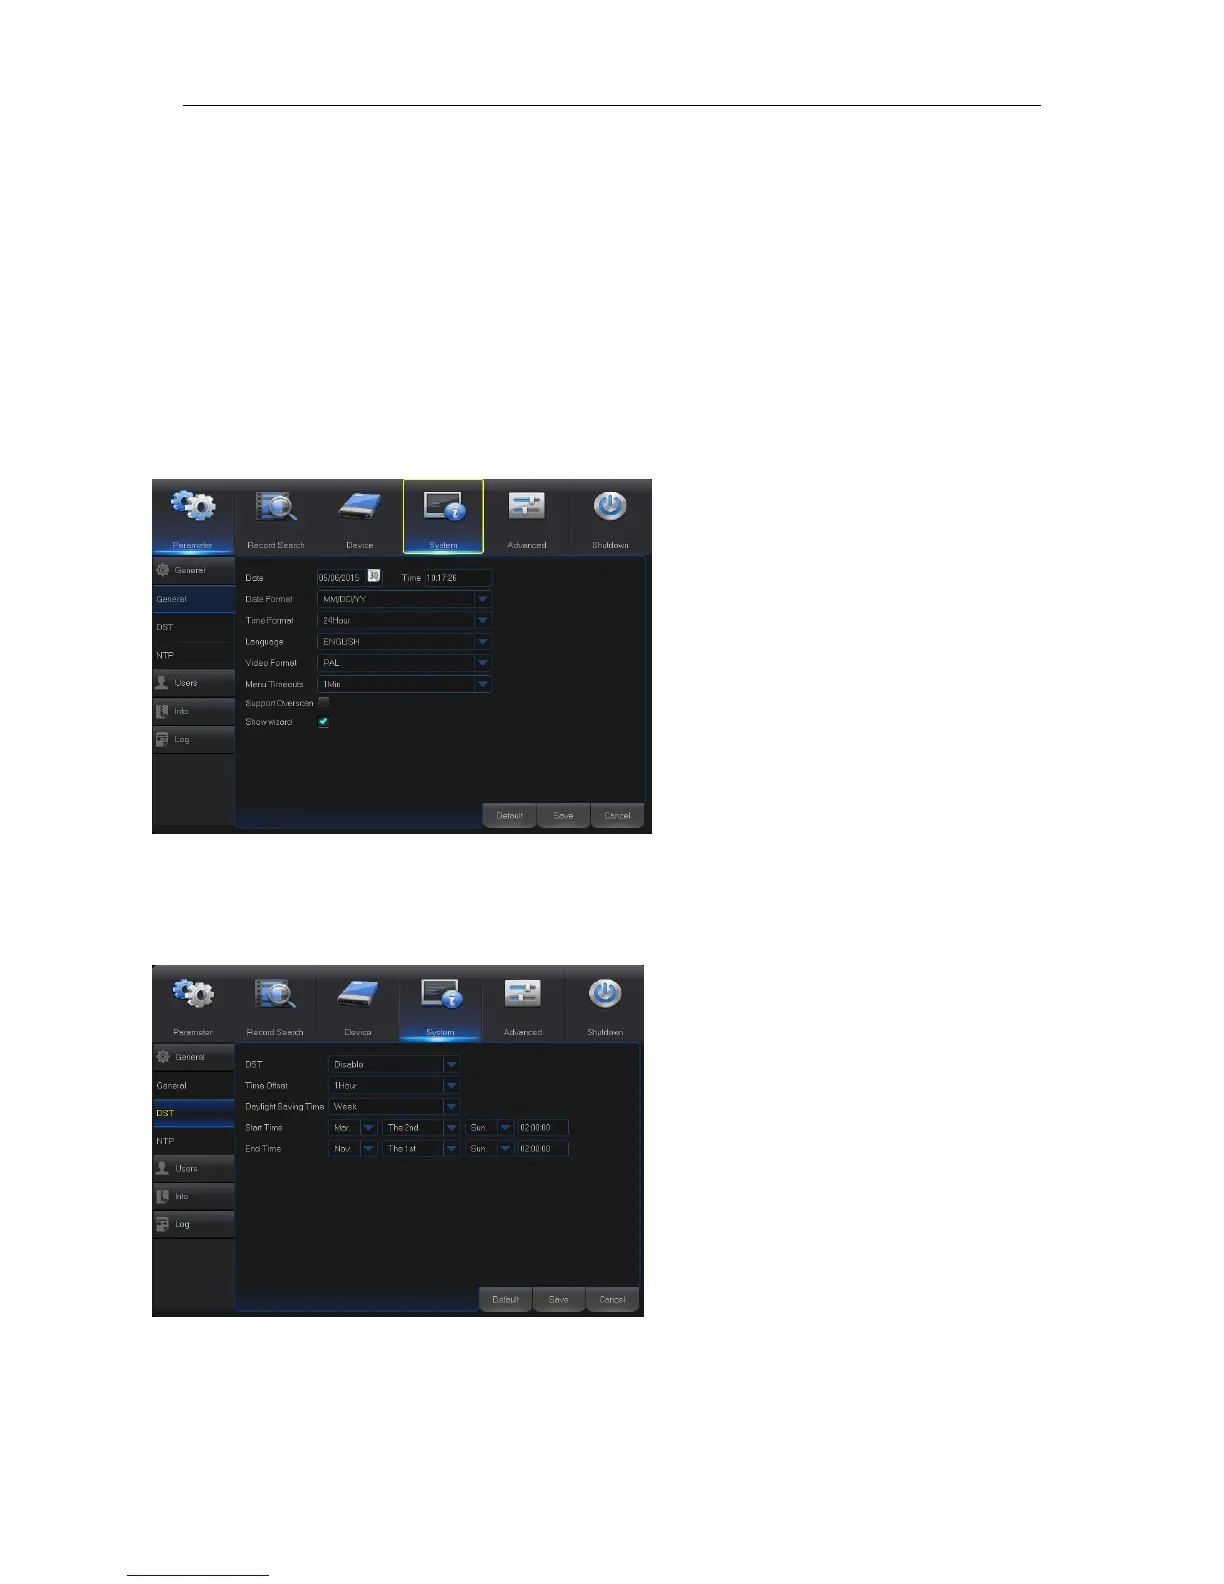
1. General
Go to “Main Menu” → “System” → “General” → “General” to get the interface shown as Fig. 5-40
Fig. 5-40
2. DST
Go to “Main Menu” → “System” → “General” → “DST” to get the interface shown as Fig. 5-41
Fig. 5-41
Enter into the interface shown as Fig. 5-41
to set DST, Time Offset, Start Time and End
Time.
User may set Date, Time, Date Format,
Time Format, Language, Video Format,
Menu Timeouts and Show Wizard in this
page.